All posts by marshman

Selfish Twichers!

We live opposite Dungeness Bird Reserve and as such get lots, and I mean lots, of bird watchers or twitchers as they are known driving down the lane to see the birds. No problem except the vast majority of them don’t have their eyes on the road as they are too busy gazing across the fields looking for the latest arrival. They will happily drive along at 10 miles an hour along the full length of the lane oblivious to oncomming cars or the traffic being held up behind. When they see anything of interest they just stop, right in the middle of the road. A quick sound of the horn – as allowed in the highway code – to alert them of your presence behind and they suddenly re-enter the real world and move over to the side of the road.

For the last couple of weeks there have been a pair of new birds sighted at various places along the side of the lane – they must be new arrivals judging by the number of people stopping and looking with their outside telescopes. Well today they made it down to the field to the side of our house and this afternoon cars started congregating along the front of our property with people gazing across our land to see these birds. We had seen them and thought that they could be a couple of turkeys escaped from the poultry farm nearby! Any one typically unthinking and selfish twitcher just abandoned his car half way across the end of our driveway – nothing stopping him driving another 6 feet further forwards and leaving the drive clear but no that would be too easy. Being a cantankerous old git I decided to approach him as he returned to his car and point out where he had left his car. As expected he couldn’t see the problem!!

Anyway here are some pics of said birds – if you know what they are then please let me know:

KONICA MINOLTA DIGITAL CAMERA

Apologies for the quality but it was getting a bit dark and the sea mist was coming in.

KONICA MINOLTA DIGITAL CAMERA KONICA MINOLTA DIGITAL CAMERA KONICA MINOLTA DIGITAL CAMERA

Lister rehab continues –

Having spent so much time over Xmas “playing” with the 3D printer it came to my attention that the woodshed is starting to look a bit bare – the cold spell last week “swallowed” a big chunk of the wood reserves! so thoughts turned to finishing the work on the Lister.

Yesterday afternoon I set about cleaning up all the metal work and fuel tank. Usual procedure – aggressive wire wheel on the mini angle grinder ( goggle people – those bits of wire really do dig in!) to clean off all the old paint and rust. Then a quick coat of what ever I have lying around in either a tin or rattle can (aerosol paint tin to the uninitiated). All was well until I got to the tank, 3 rust holes in the base of it – I assume its where the diesel floats on top of any water in the system, so the water rots out the bottom of the tank. Anyway, no problem I though – I have a spare engine somewhere, I’ll pinch the tank off of that, it’s been dry stored for years it’ll be OK. Well 15 minutes later after I had found the engine, moved it to where I could get at the tank and the removed the tank I found it had no bottom at all! – Back to square one. The solution was to clean up the base really well removing all traces of rust and then tin and solder the holes. Years ago I got a car body soldering kit for lead loading bodywork. It consists of a really aggressive flux, some tinning butter and some thick sticks of solder with a wide paste temperature range. Worked like a dream, I coated the whole bottom section.

Next repair job was on the ducting plates that direct the airflow around the cylinder, When I removed them I found four of the fixing tabs had snapped off. 5 mins with the gullotine and spot welder saw new tags fitted. Everything was then sprayed up and left to dry.

Next up setting the cylinder head clearance – I had already cleaned the head, removed the valves and reground the seats etc. They really were in quite good condition so only a light grind was needed.  To measure the clearance between the head and the piston you lay a thin piece of lead on top of the piston, fit the head, turn the crank to push the piston over top dead centre, then remove the head and measure the thickness of the lead. Not having a suitable piece of lead I used four bits of multicore solder twisted together to make a bit of lead “rope” – worked really well. The clearance was 1.06mm. so I ended up removing the copper gasket at the base of the cylinder and double checking that there were no burrs anywhere. When rechecked it was 0.8mm, just in tolerance.

KONICA MINOLTA DIGITAL CAMERA

“Squashed” solder rope!

KONICA MINOLTA DIGITAL CAMERATank cleaned, soldered and painted.

KONICA MINOLTA DIGITAL CAMERA

Duct panel with new fixing tags spotwelded on.

KONICA MINOLTA DIGITAL CAMERA

Tank looking like new – paint was still soft so the diesel took some of it off again!

KONICA MINOLTA DIGITAL CAMERA

Fan cover ready to go back on.

KONICA MINOLTA DIGITAL CAMERA

Cylinder and duct covers fitted.

KONICA MINOLTA DIGITAL CAMERA

Head, injector & rockers fitted.

KONICA MINOLTA DIGITAL CAMERA

Nearly there, rocker cover, fan cowl and manifold fitted.

KONICA MINOLTA DIGITAL CAMERA

Ready for the flywheel, airfilter and silencer!

More soon!

My New Toy – Huxley Duo 3D Printer

Father Christmas was very generous this year and got me a 3D Printer, I’ve been looking at them for a while but couldn’t quite justify the cost – though recent falls in price have made them more and more attractive, Anyway Santa delivered me a cardboard box full of bits which turned out to be a complete kit for a Huxley Duo 3D printer. Great Christmas present, Its like Meccano, an electronics kit, Airfix and a bunch of computer games all in one!  Here is a link to the website.

https://reprappro.com/shop/reprap-kits/huxley-duo-kit/

The Huxley Duo is an older design – apparently called an “A” frame. It doesn’t look as neat as say the Ormerod (sold by RS Components) but it is one of the cheapest ways into 3D Printing. Having built it and produced some basic prints I can say the performance is very good. Reasonably fast with good accuracy and resulution – I printed some Lego bricks that I modelled in Designspark Mechanical and they actual “click” together straight off the printer – just like the real thing,

2014-12-26 16.07.58 
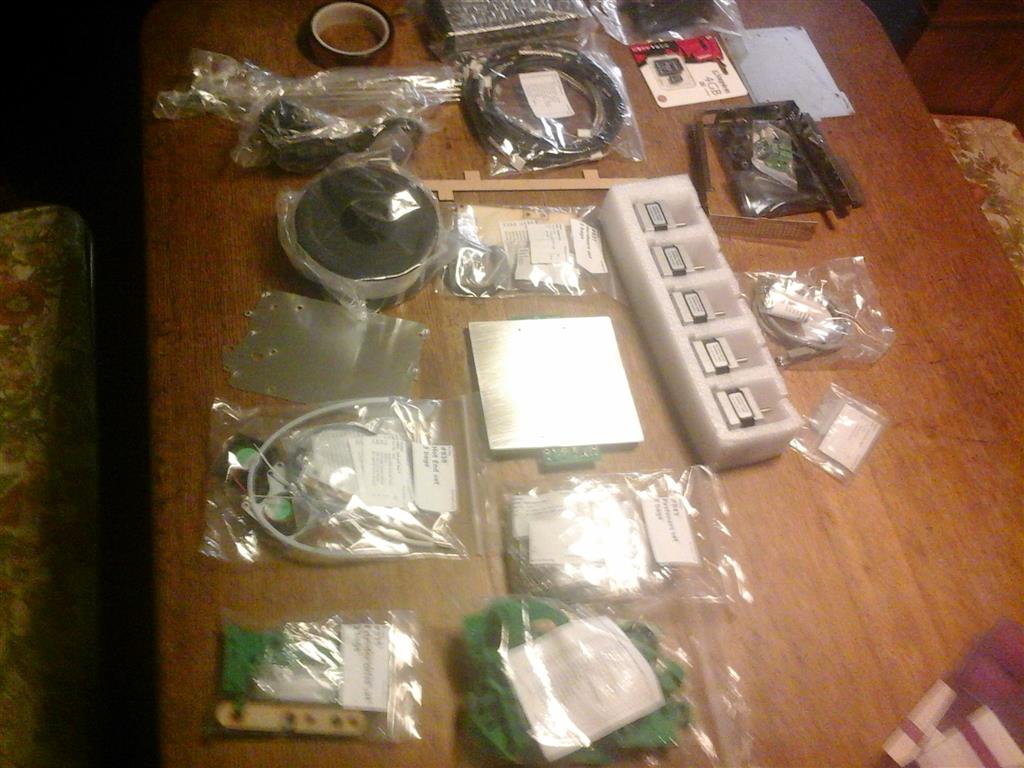
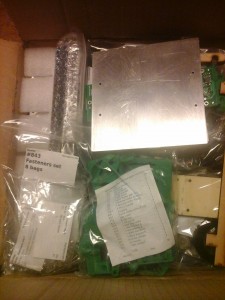
This is the box of bits

2014-12-26 16.09.57 (Medium)
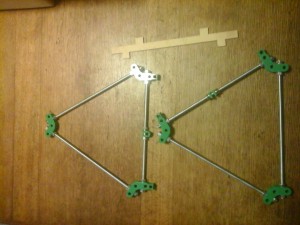
Looks like this when all laid out.

Instructions are all online on the reprap website. Very detailed with lots of pics. The kit really is complete and no soldering is required as all the wiring looms are already made up with connectors and crimps.

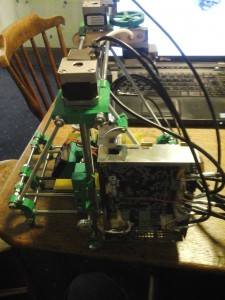
Here are a few more pics showing various stages of construction.

2014-12-26 16.34.10 A Frames complete

2014-12-28 19.54.09 2014-12-28 19.54.20 B2014-12-29 11.09.28 2014-12-29 11.09.36
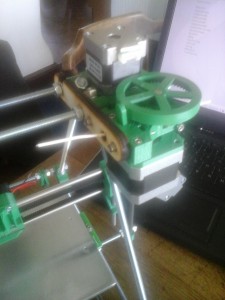
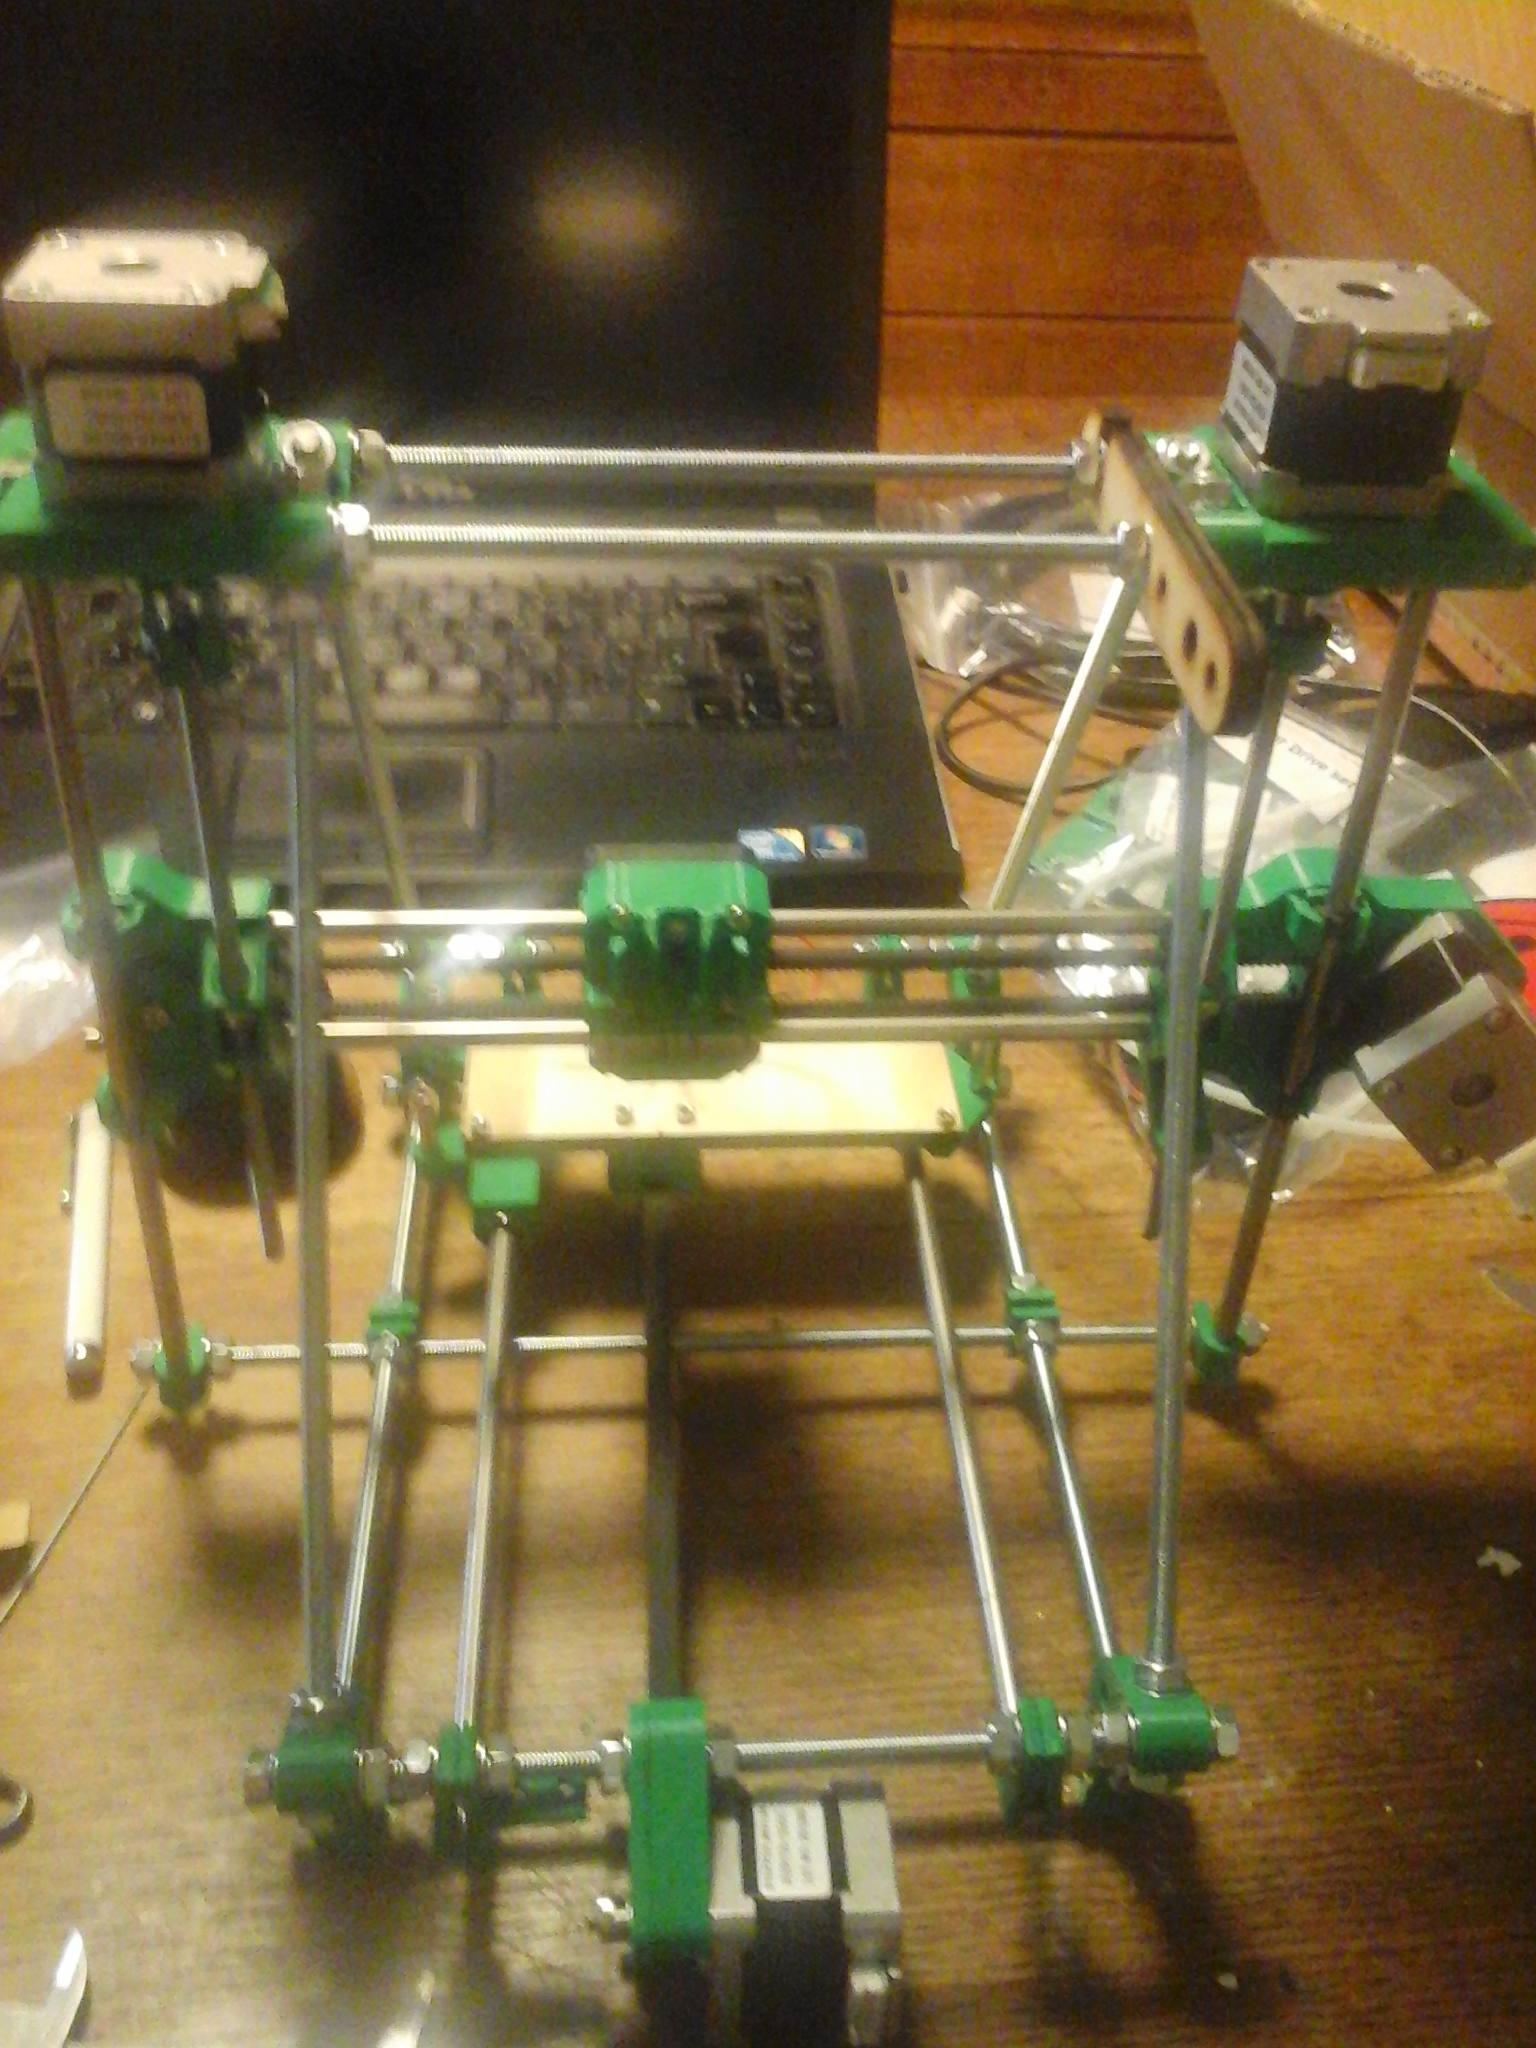
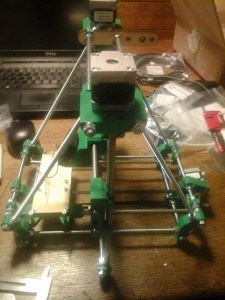
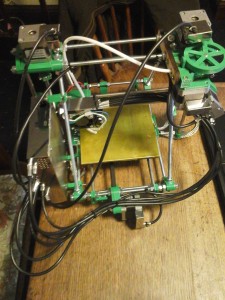
Main Construction complete – just needs to be wired up now!

2014-12-29 11.09.46 2014-12-29 15.45.45 2014-12-29 17.26.59 2014-12-29 17.27.08
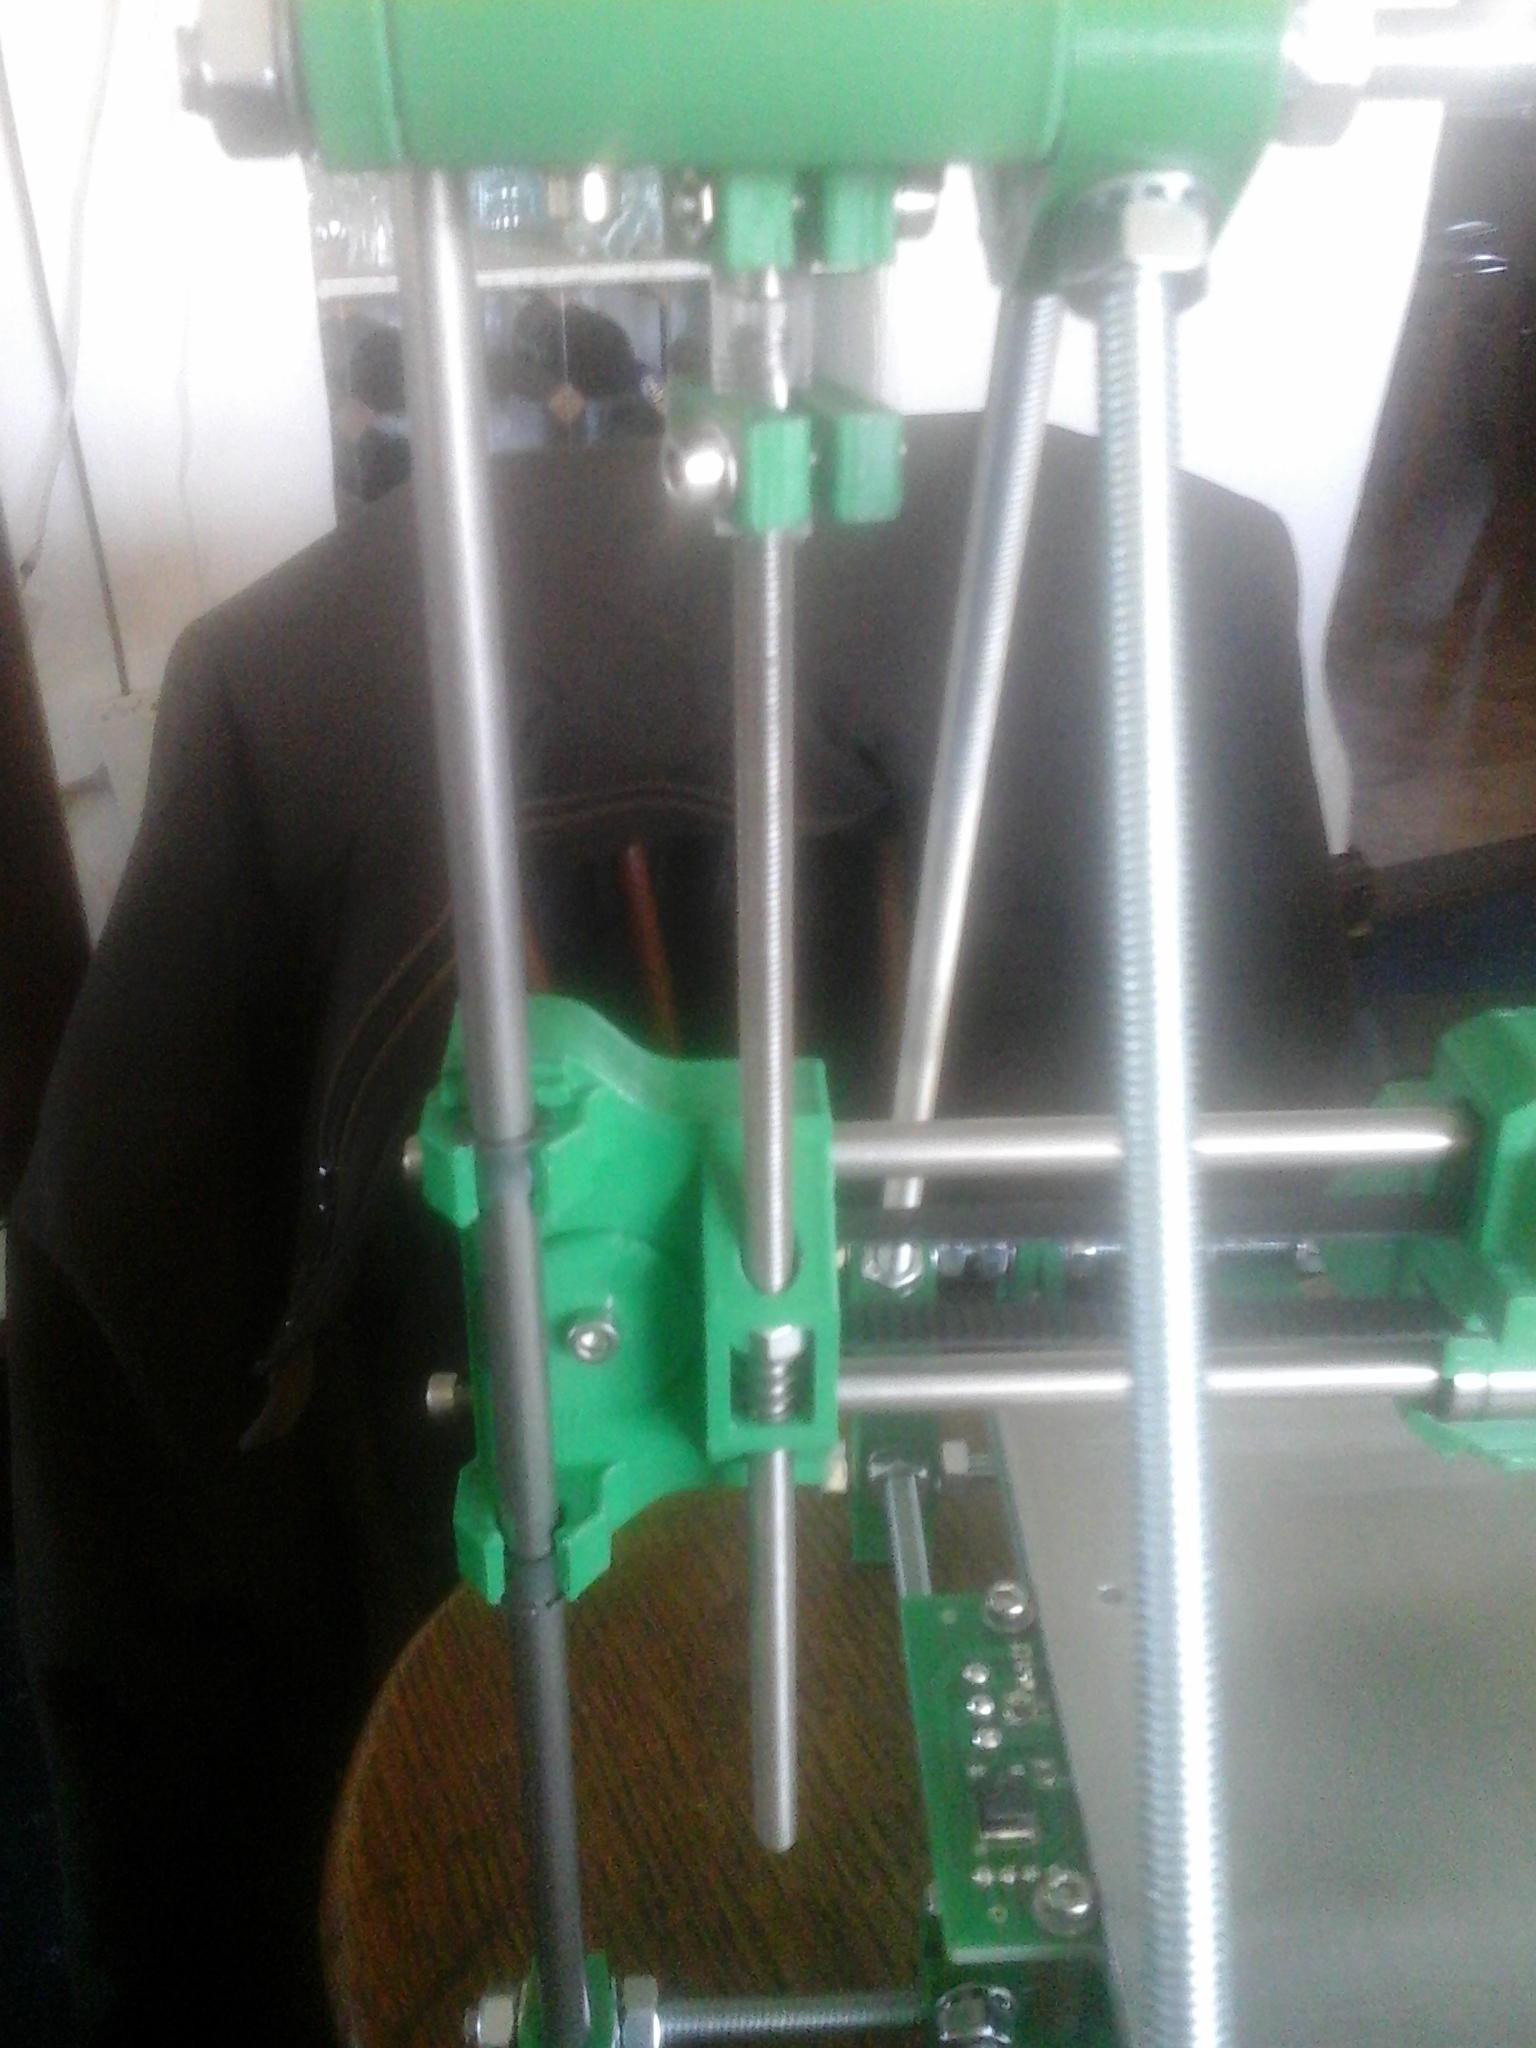
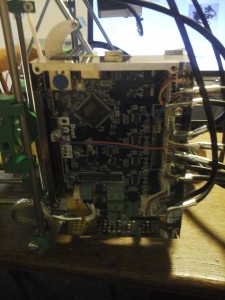
Arduino Duo controller PCB. Wiring is a bit of a squeeze and the Z motor wires could do with being a bit longer, Amazing the thought that they seem to have taken over EMC. All wires are shielded and grounded to the metal enclosure. Even the stepper motors have little shields.

2014-12-29 17.27.20 2014-12-31 11.52.18
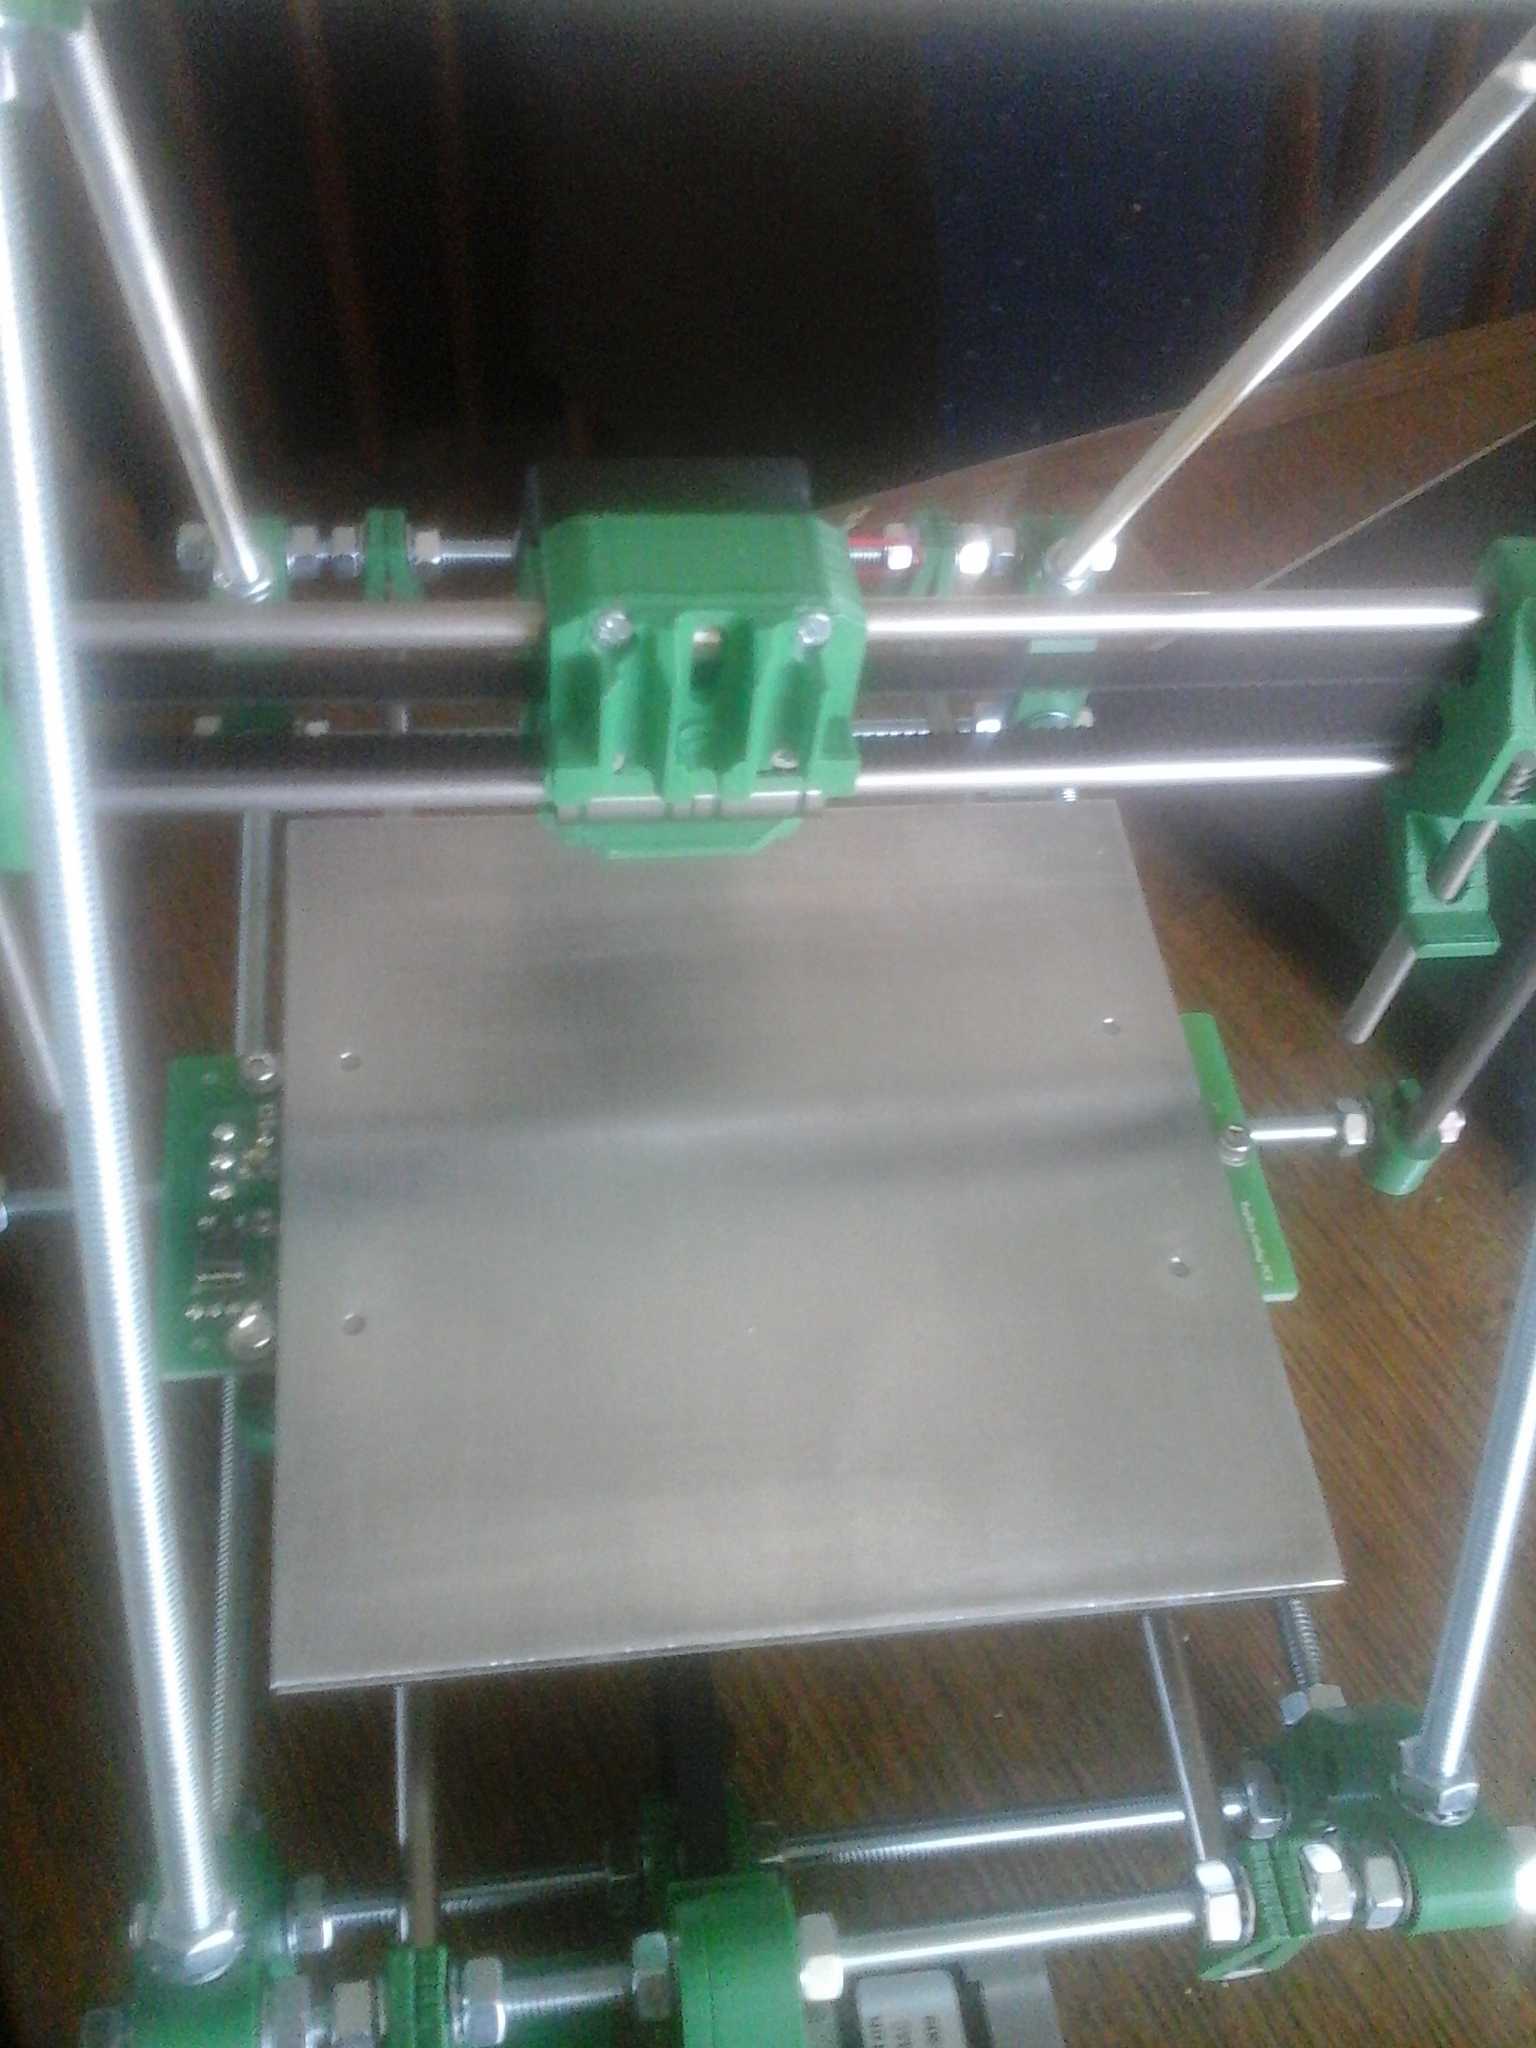
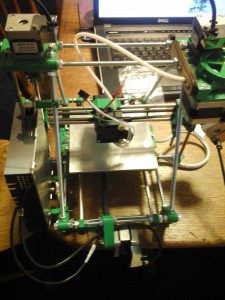
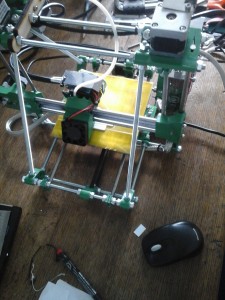
Complete and ready for calibration.

The Calibration process probably took as long as anything else. The instructions are not as detailed and also cross over with the Ormerod design so a little bit of improvisation was involved, (it is of course much more likely that I just misread everything in my excitement).

The hardest bit is realising you need some paper targets on the bed for the proximity sensor to “home in” on. Then leveling the Z arm. The software is clever (or just sensibly written) to compensate for a none level/parallel bed, It probes at the four corners and compensates/corrects the height as the bed traverses the X and Y axes. But the more time you spend getting the frame square and the bed level the better the results. I’m pleased to say the fram is pretty square and the test pieces that you print off to check alignment were pretty much spot on first time.

The software “recommended” consists of “Pronterface” and “Slic3r”. Both open source. Pronterface is just a control interface for communicating with the printer over the USB link. However what you find out eventually is that the Arduino Duo software has a web interface built in and this is all you need. Set the local IP address in the config.g file on the SD Card, plug in an Ethernet cable to the printer and your router and away you go – it really is that simple. “Slic3r” is the software that takes your 3D CAD model (STL format preferred) and turns it into the control codes the printer understands, “G” codes. I’m still playing with all the settings to get the best prints – filament size, layer thickness, extrusion speed, retraction, extrusion and bed temperatures – the list is almost endless.

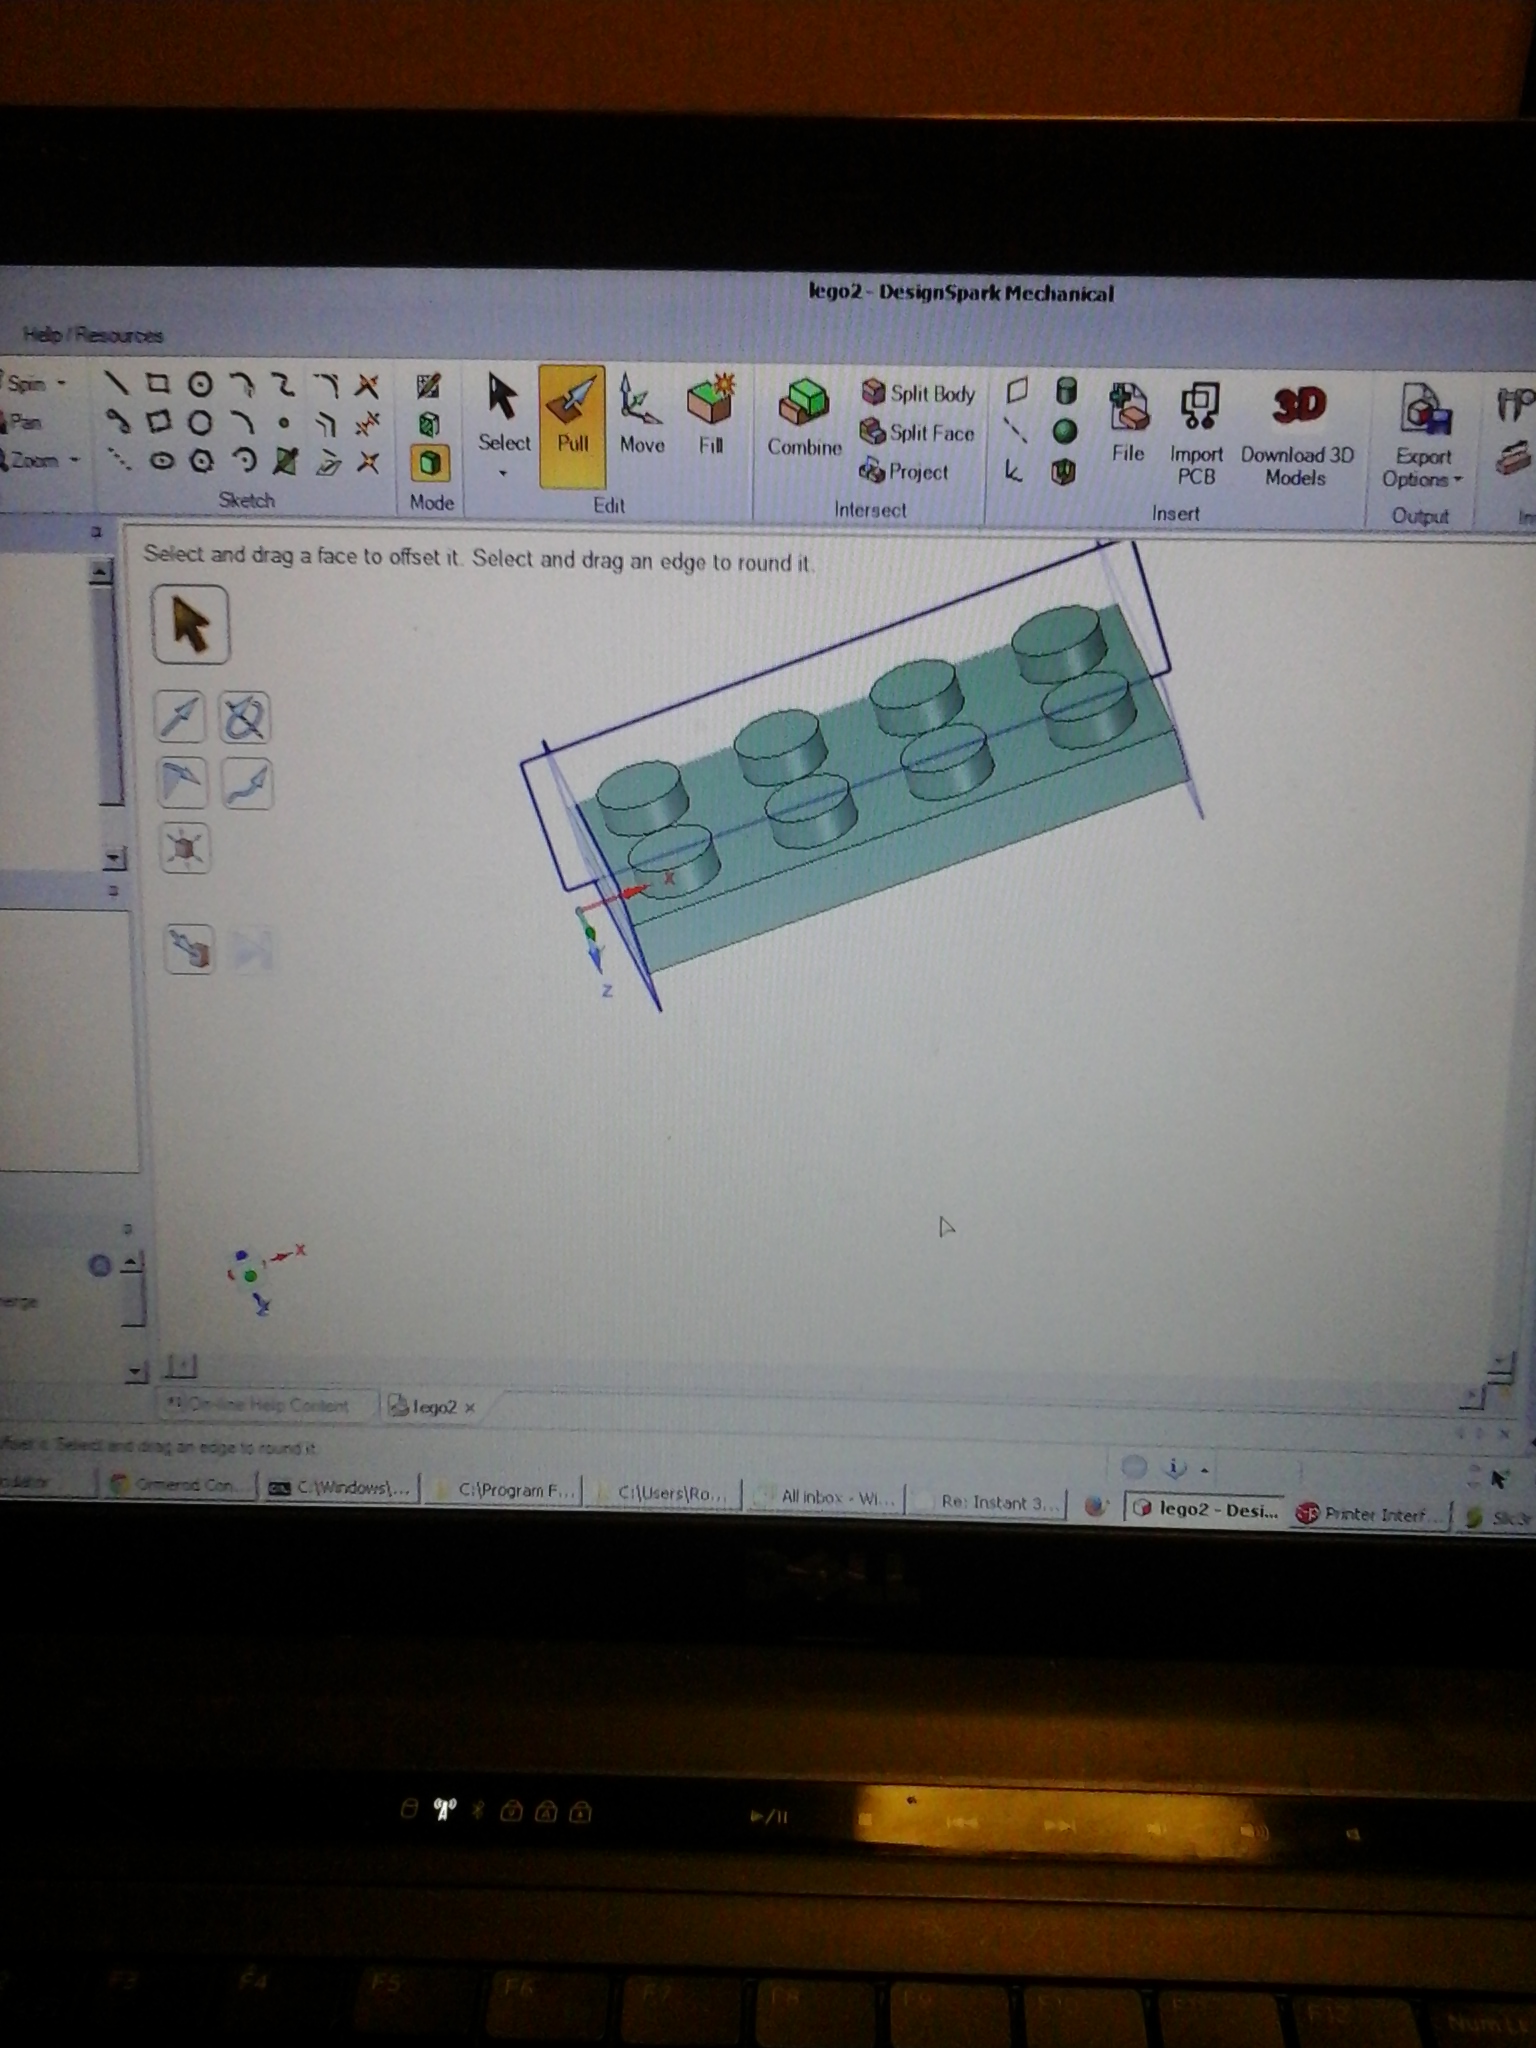
Enough for now, I’ll leave you with some shots of the Lego brick – drawn on Designspark Mechanical (free), converted from STL to G codes via slic3r, copied onto the SD Card and then printed.

2015-01-01 21.24.31 
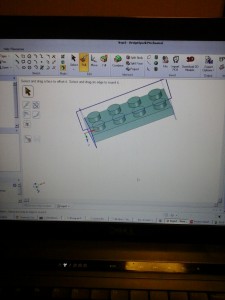
First draw it in 3D!

2015-01-01 21.24.372015-01-01 21.24.43    
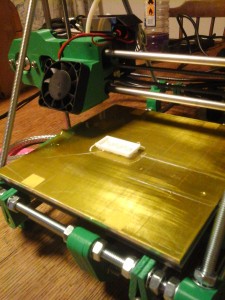
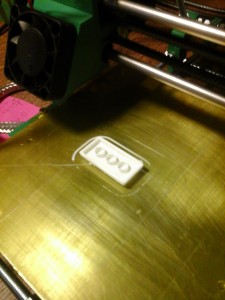
Then print it – upside down!! not the ideal way to print this but couldn’t find the mirror function – found it later in slic3r – well a way to achieve the same thing.

2015-01-01 21.26.582015-01-01 21.27.14
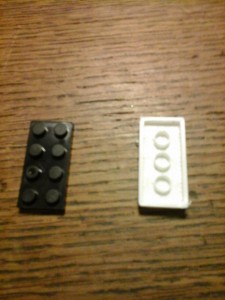
The end result, amazing tolerance – it actual “clicks” onto the black brick. I did print a second one and they both fitted together. Might contact Lego and put in a bid for mass producing bricks for them!

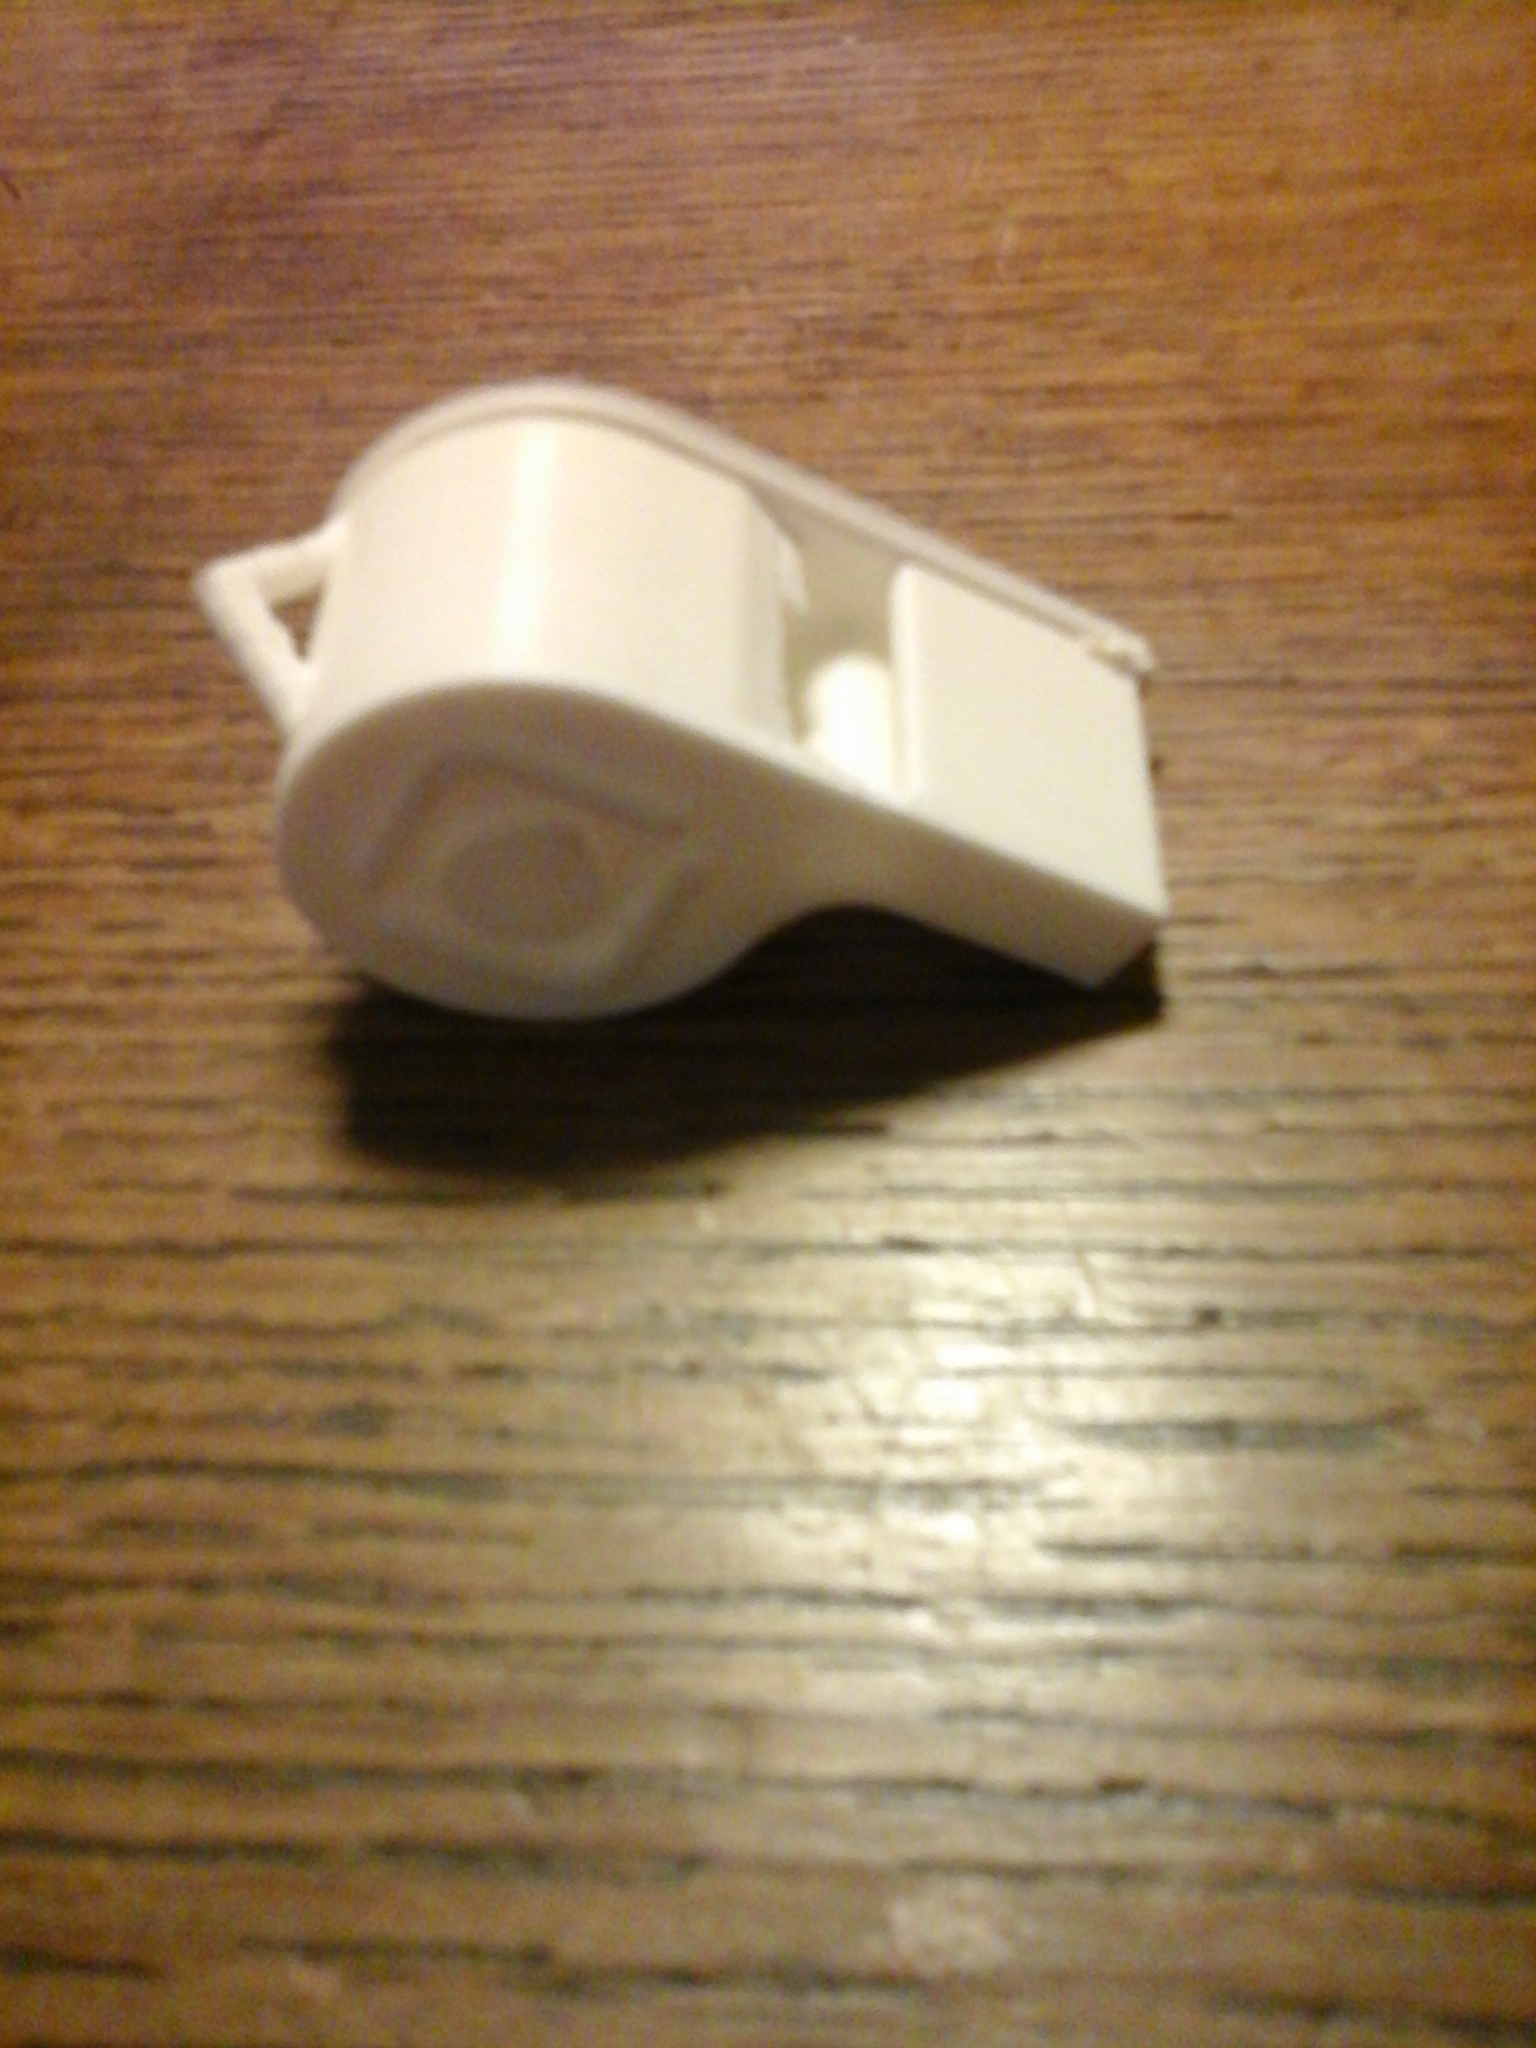
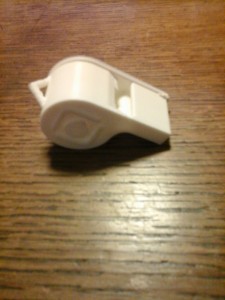
Conclusion: for the price – £290 +VAT (£350) its great One of the demo models is a whistle. Compared to some other 3D prints I have seen the vertical walls are reasonably smooth and the dimensional accuracy is superb, Only critisism is that there is no where for the filament roll. Ought to be one of my first real projects to make a proper mount for it. At the moment its running from a screwdriver “spindle” balanced on a couple of cardboard boxes.

2015-01-03 20.06.15 2015-01-03 20.05.35

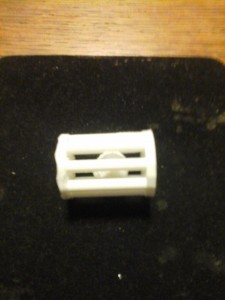
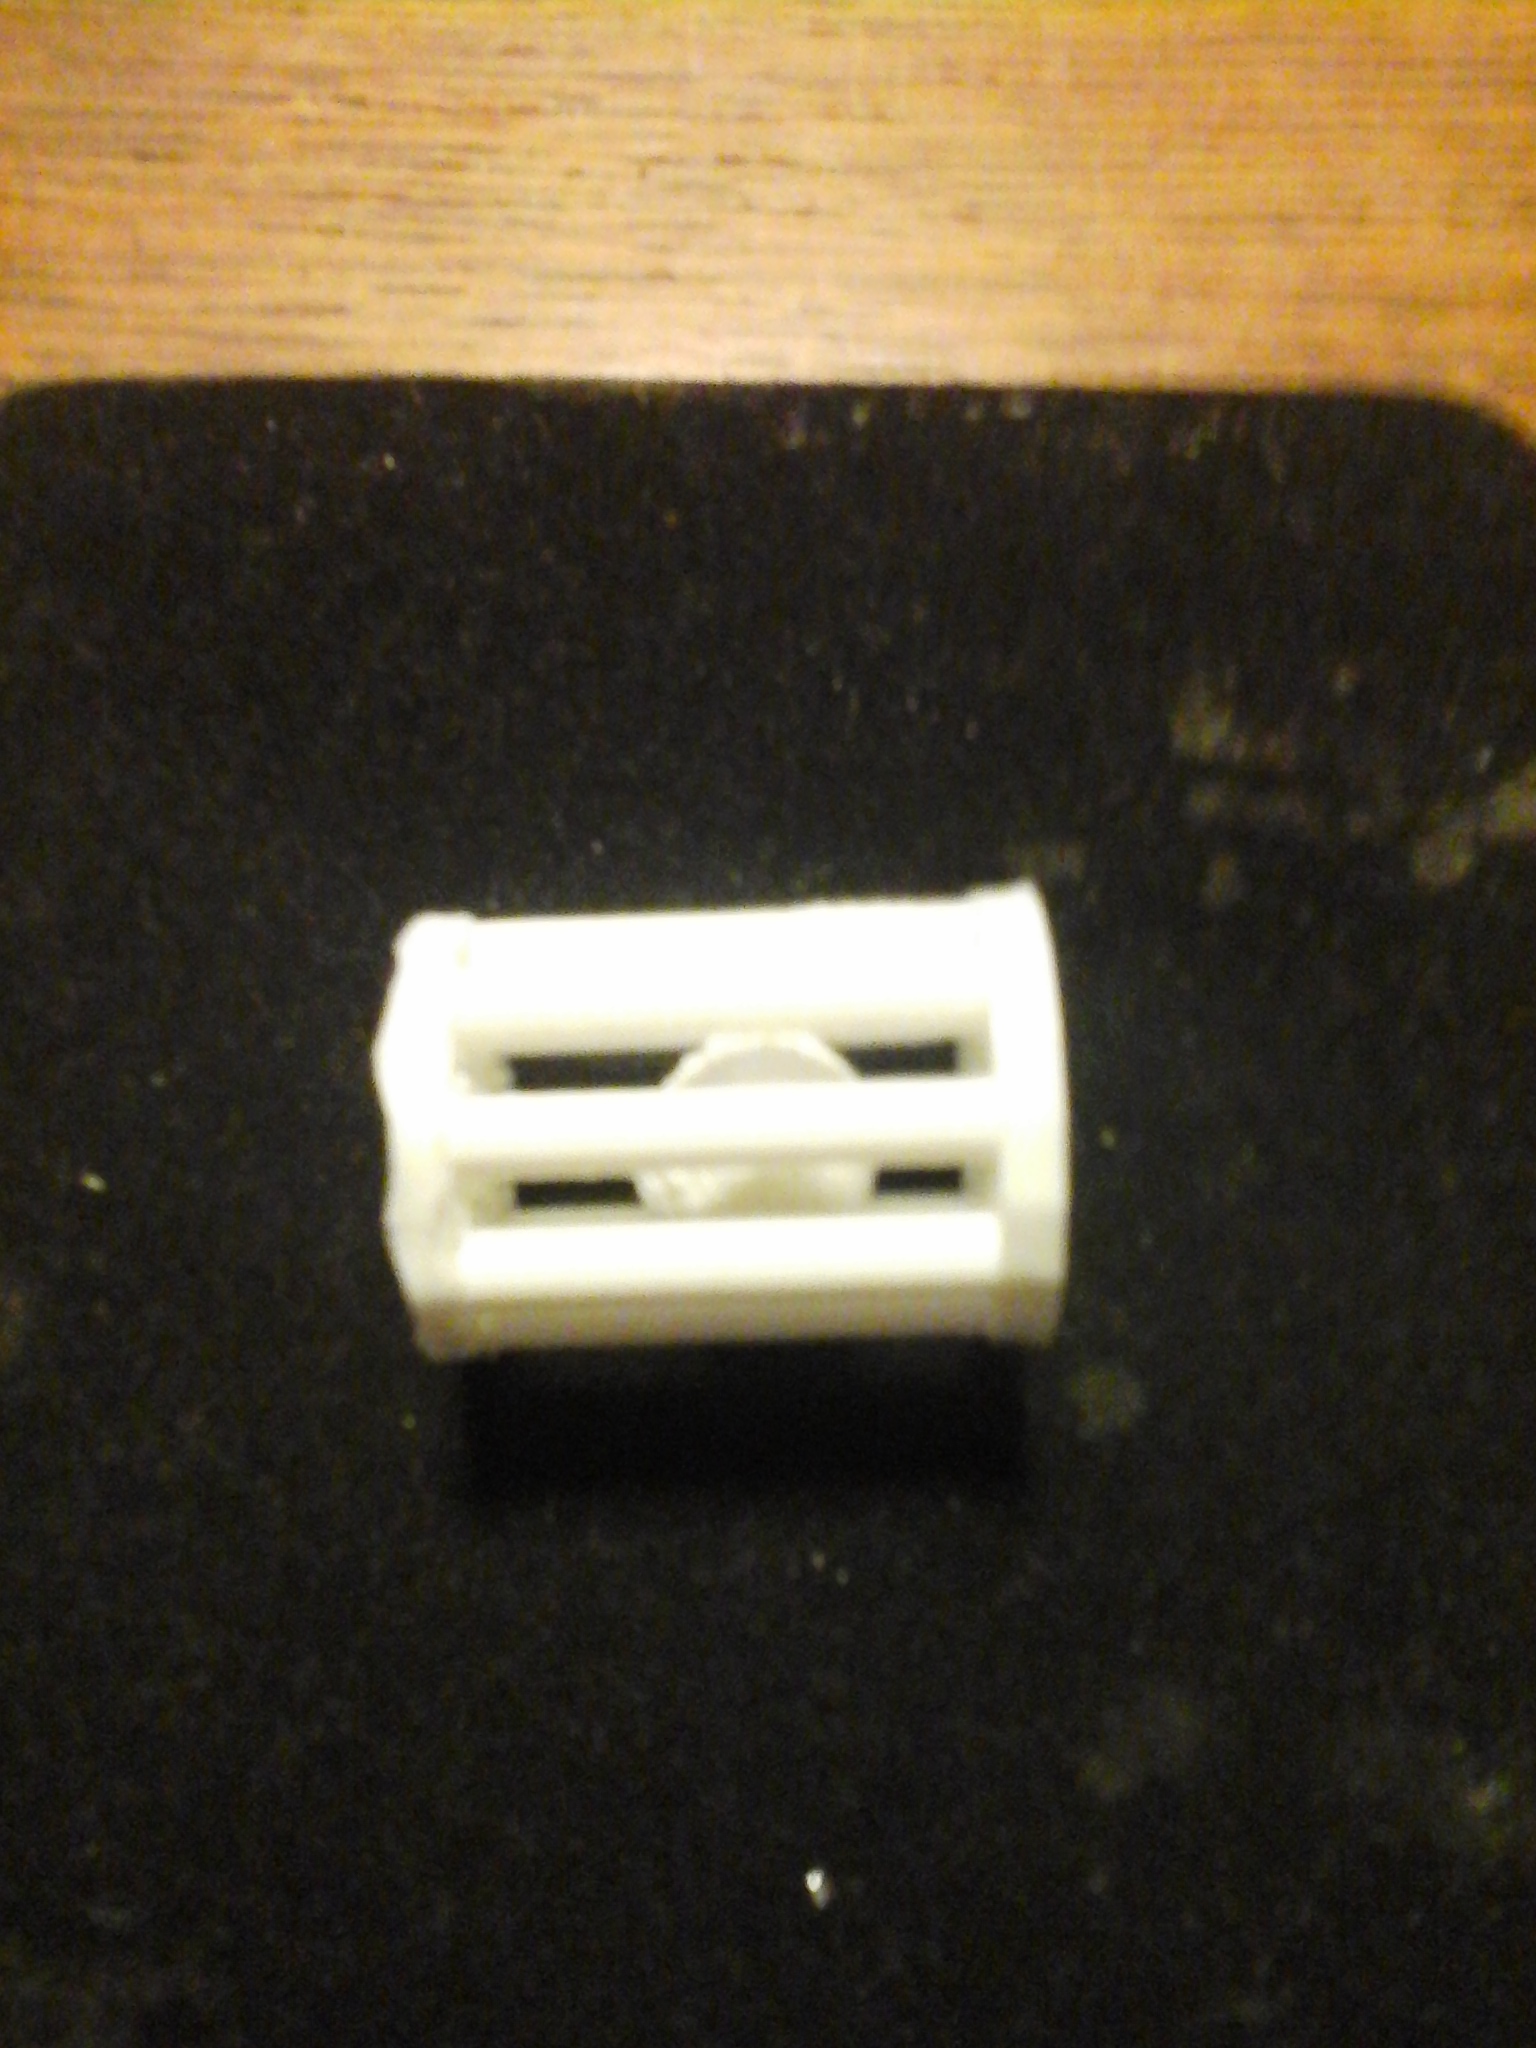
“impossible moulding”                                                 Whistle

Both as printed. The whistle works really well. The impossible moulding consists of a ball inside a cage. I didn’t think it through and the contact point at the base of the ball wasn’t really “stiff” enough to hold the ball still whilst it was printed. The result was the the ball kept rocking back and forth as it was printed so it isn’t the most spherical ball in the world but it is still a ball in a cage, more of a rugby ball than a football though!

That’s it for now, just going to play with Autodesk 123 Design – yet another free bit of software to do 3D stuff with.

Internet Forums

What is it with some people? They join a forum and put up a few posts – then something happens and they loose all common sense. A typical example is a classic car forum. They make a few posts then on the advice of some other “experienced” members they order some parts. Sometimes a part takes a nano second or two longer to arrive than they would like, or arrives damaged. What do they do?? Do they contact the supplier and give them chance to sort it? NO, they go straight onto the forum, berate the supplier, organise a posse to go round and give them a good kicking. After a period (could be hours or days) some sensible person will suggest they contact the supplier to resolve the issue. This they do and guess what! the supplier apologises and sorts the problem. No need to have sent the boys round or anything!

It’s hard enough to survive in business these days without customers making life more difficult. If I had my way everyone would have to take a common sense test before being allowed any where near t’interweb.

Of course I’m perfect 🙂

And now I’ve started on the subject why do the same people always feel the need for a group hug when their pride and joy passes an M.O.T.?  Any car should be roadworthy before it goes anywhere near a public highway, classic cars are supposed to be cherished and cared for if you believe the DVLA stats. So any classic should just sail through an M.O.T. without any drama. Incidentally, many of these people who have cars that “scrape” through with a few advisories or worse actually fail, (to lots of support and commiseration from fellow forum members and lots of offers to reform the recently dismembered posse to go round and beat up the b£$^£^%d M.O.T. tester) are the same ones that want the absurd pre 1960’s cars M.O.T. exemption extending to their own cars.

For the record, in my opinion EVERY motor vehicle should be M.O.T’d before it is allowed on public roads, no matter how old or how well looked after. In fact in many ways the older a car the more important it is. There are so many literally clueless classic car owners today, it’s frightening – I met several this summer!

Lister LD1 Diesel

KONICA MINOLTA DIGITAL CAMERA Me thinks it needs a decoke!!!

This is a pic of my Lister LD1 Diesel engine. It normally lives outside driving my sawbench. It was fitted – if thats the right word – about 20 years ago and has lived outside eversince. It’s been regularly serviced – uh hum!  – ok. then I’ve kept topping up the oil and and diesel as required.  Anyway, the other weekend I started it up as usual and started to cut up some wood, after about 15 minutes I thought it doesn’t sound quite right and it smells a bit hot. So wisely I decided to stop it and have a look. Well it stopped quicker than usual and then smoke started appearing all around the engine, it was very, very hot.  Closer examination revealed that all of the cooling ducts were virtually blocked solid with oil and sawdust – shame on me!

So a strip down and clean up ensued.

KONICA MINOLTA DIGITAL CAMERA

Pic showing that even the cooling fins on the head were clogged up.

KONICA MINOLTA DIGITAL CAMERA KONICA MINOLTA DIGITAL CAMERA

Right hand pic shows cylinder cooling fins totally clogged, left hand shows the exit side – no air coming through so lovely and clean!

KONICA MINOLTA DIGITAL CAMERA


This is the flywheel / fan. Its not too bad but still needs a good clean.

KONICA MINOLTA DIGITAL CAMERAFan ducting – again covered in soot, oil and sawdust.

Now I just need to strip it down, clean it up and reassemble.


More Later……..