
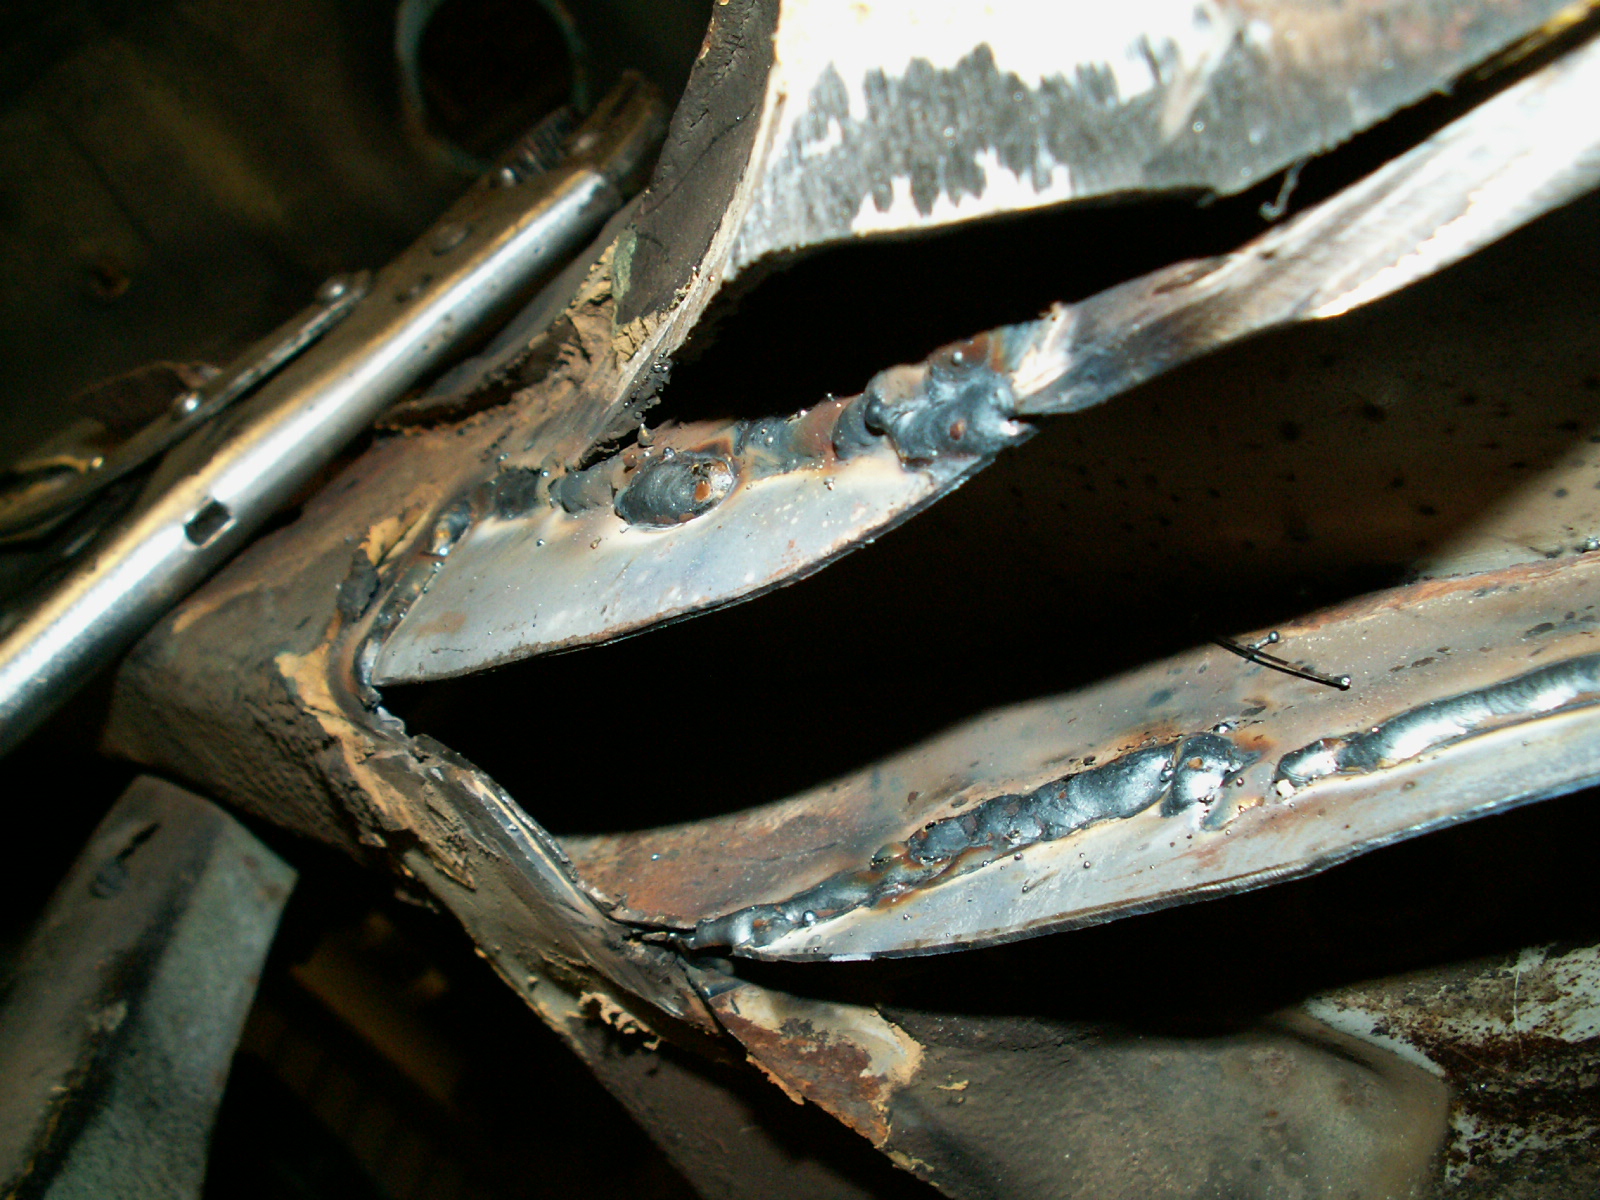
It gets worse before it gets better! I started on the worst looking bit, the front near side chassis leg where it runs down under the footwell. Basically I used a hammer and old 1″ wood chisel the remove the factory undrseal. This revealed the the full extent of the corrosion – so I thought! So I cut out the rusty metal with an angle grinder. I started removing the bottom of the chassis box section, I could then see inside. It was quite shocking to see that the sides had rotted as well – the rot was from the inside out – meaning that to the casual observer all looks OK.
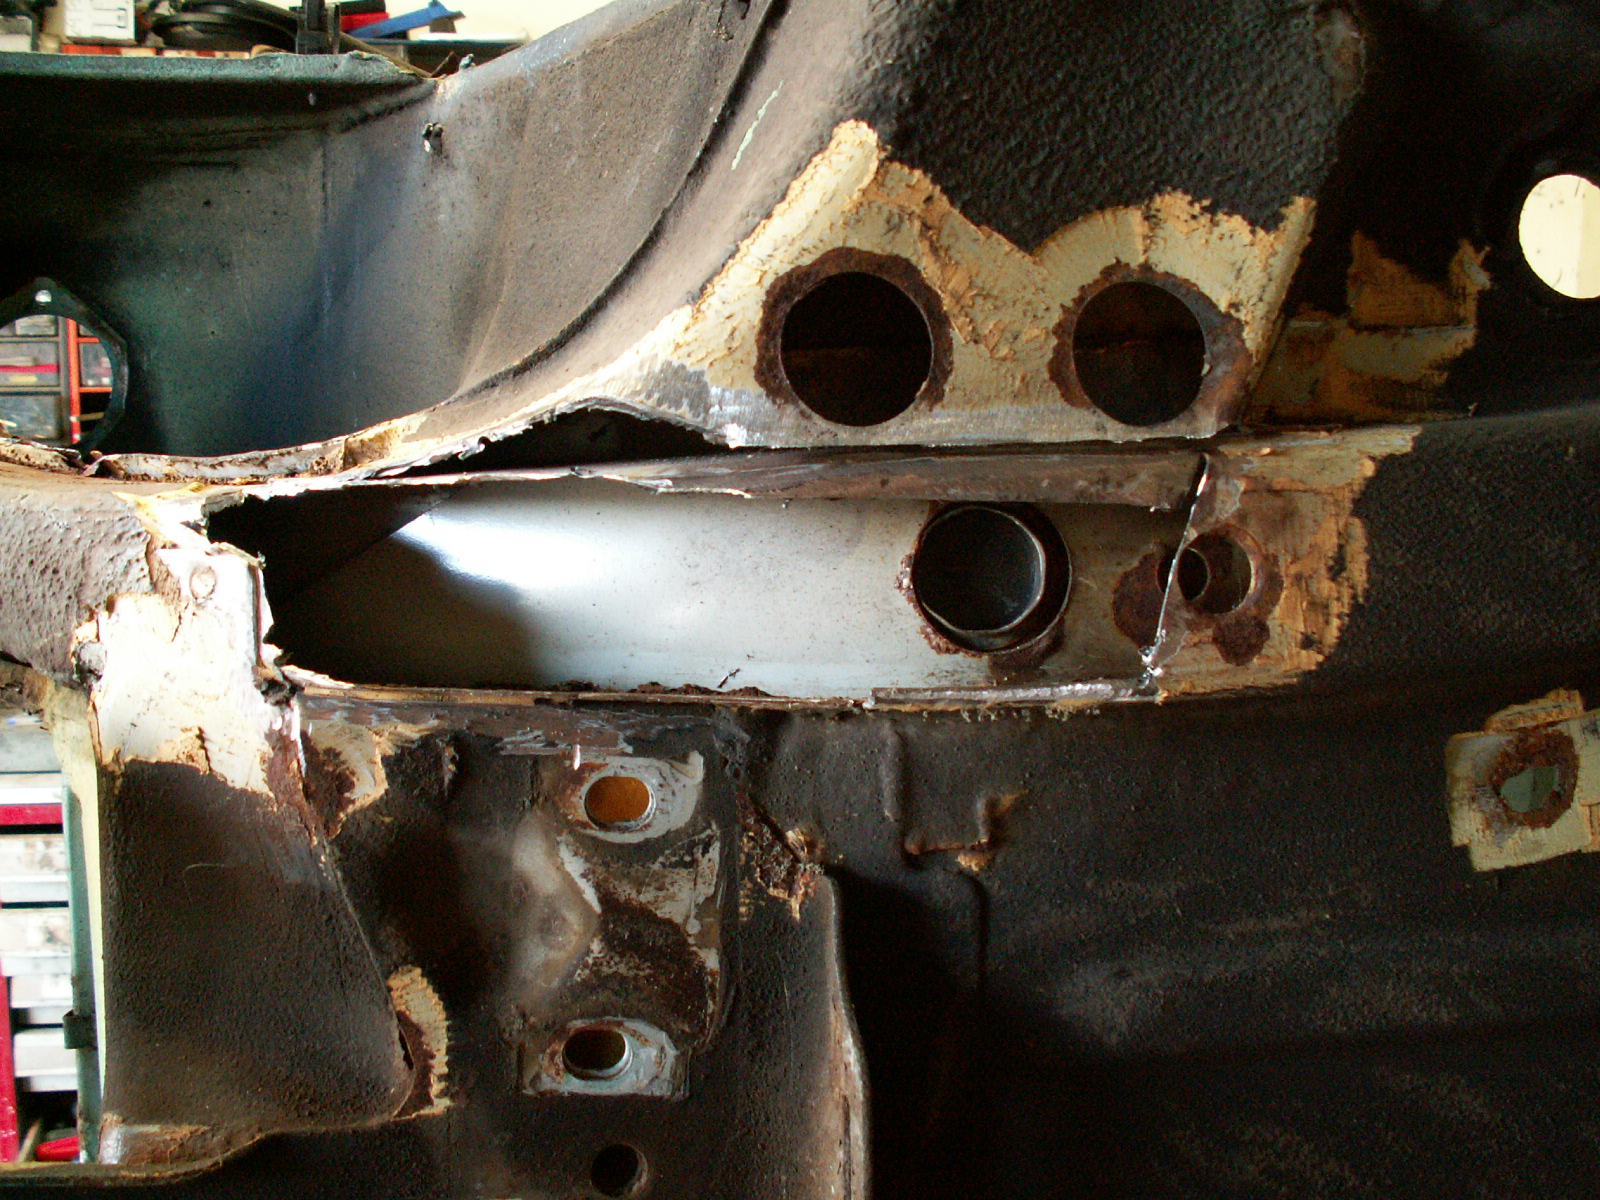
This pic shows the extent of the rotten metal.
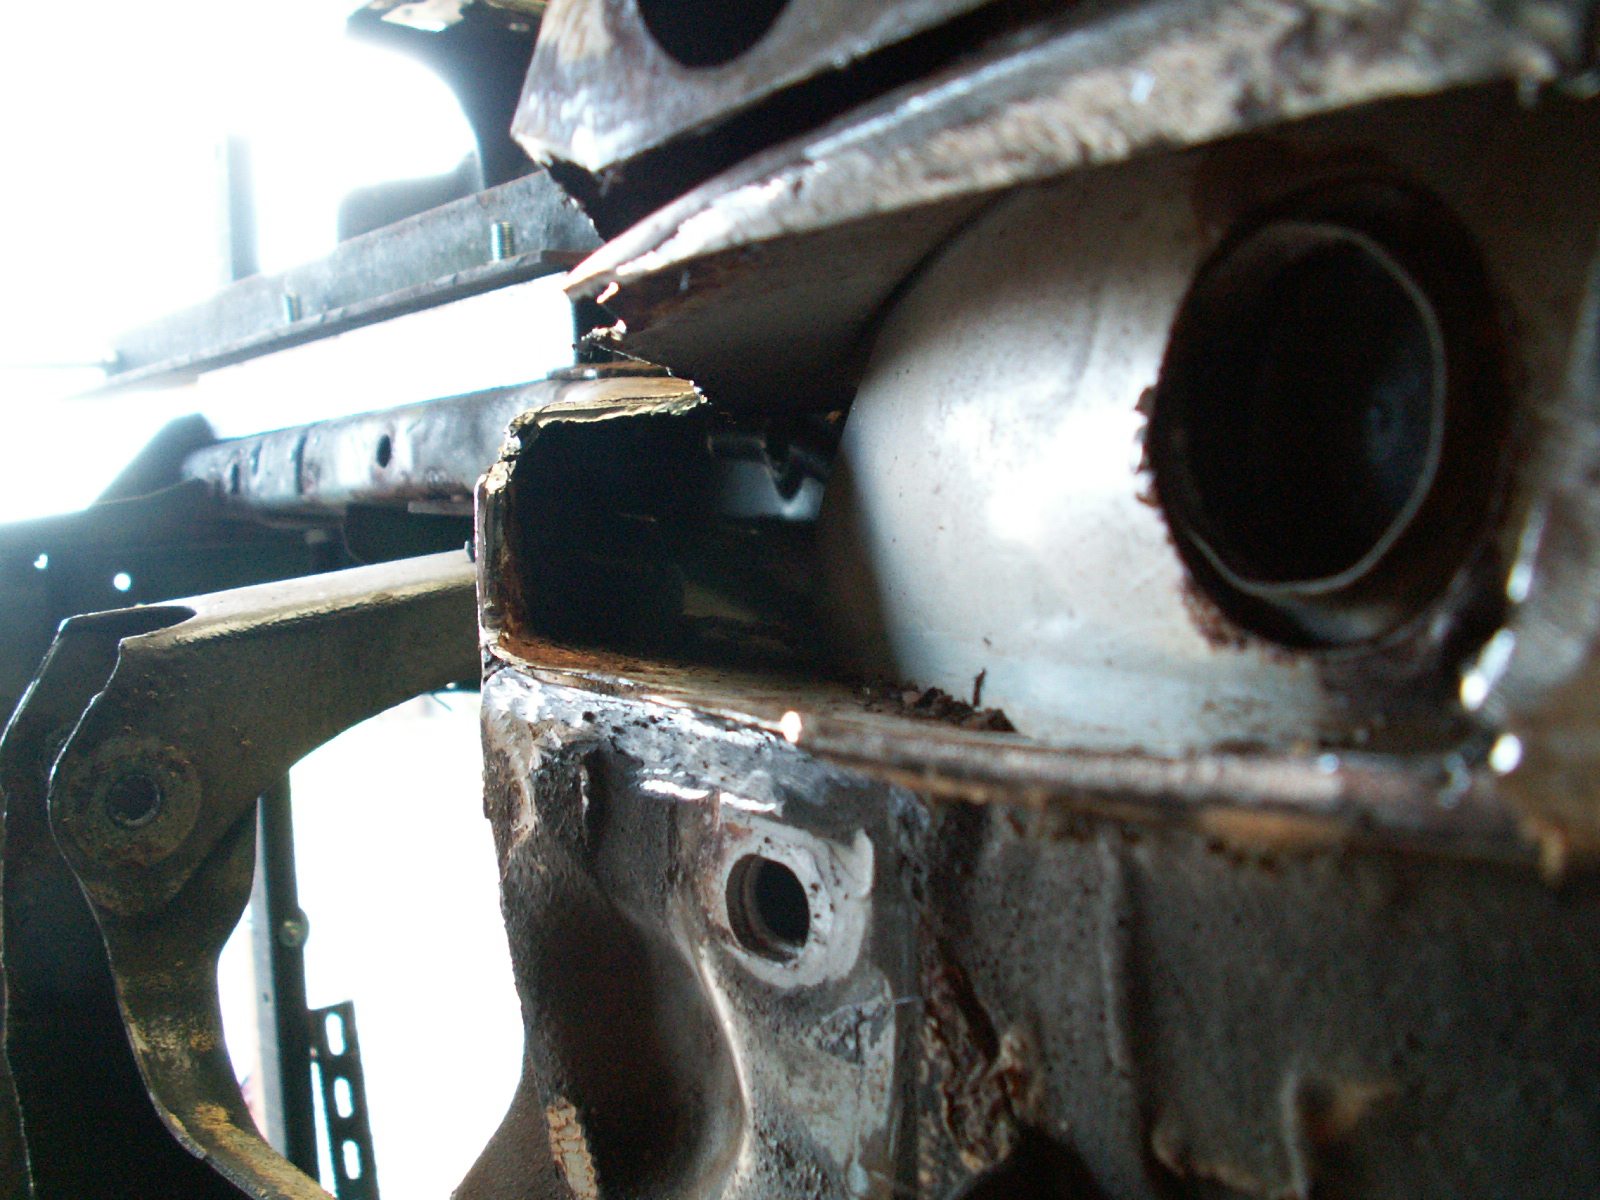
And another.
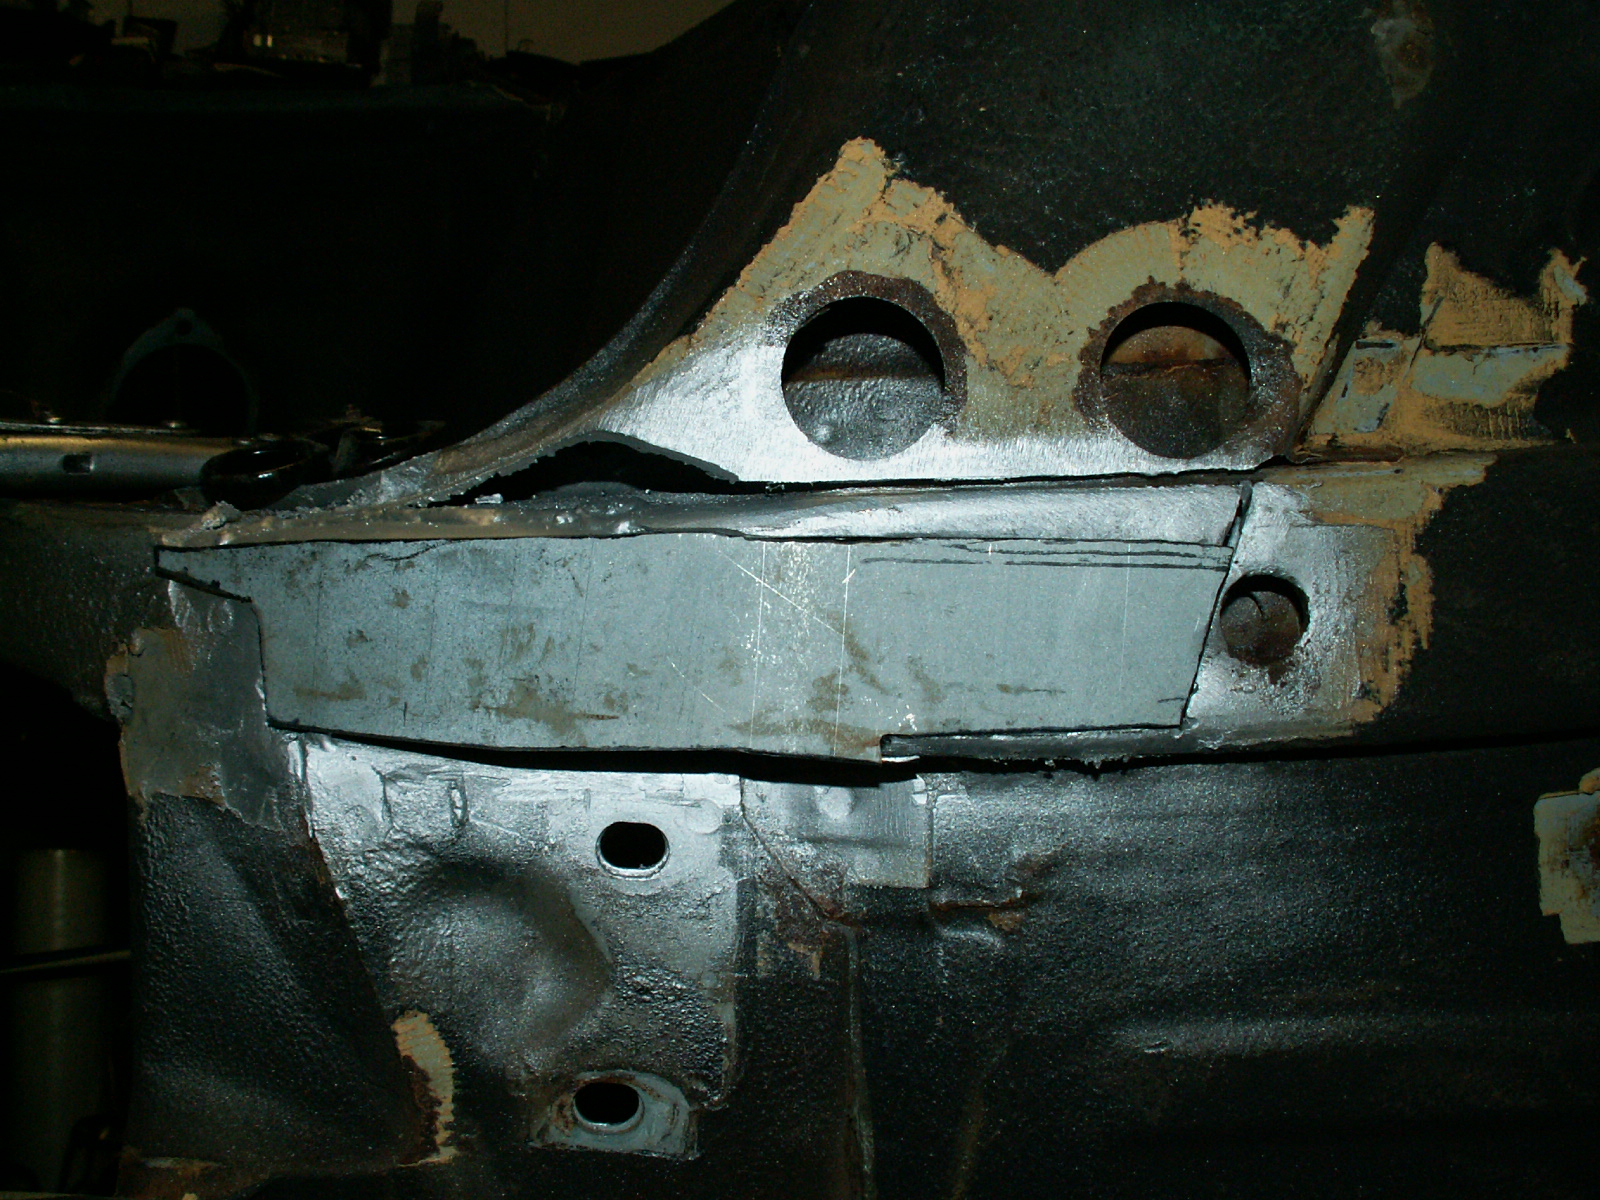
With the bad stuff gone, time to start a reconstruction – shame you can’t DIY 3D print steel yet! First bit was to build up the two sides of the box section.
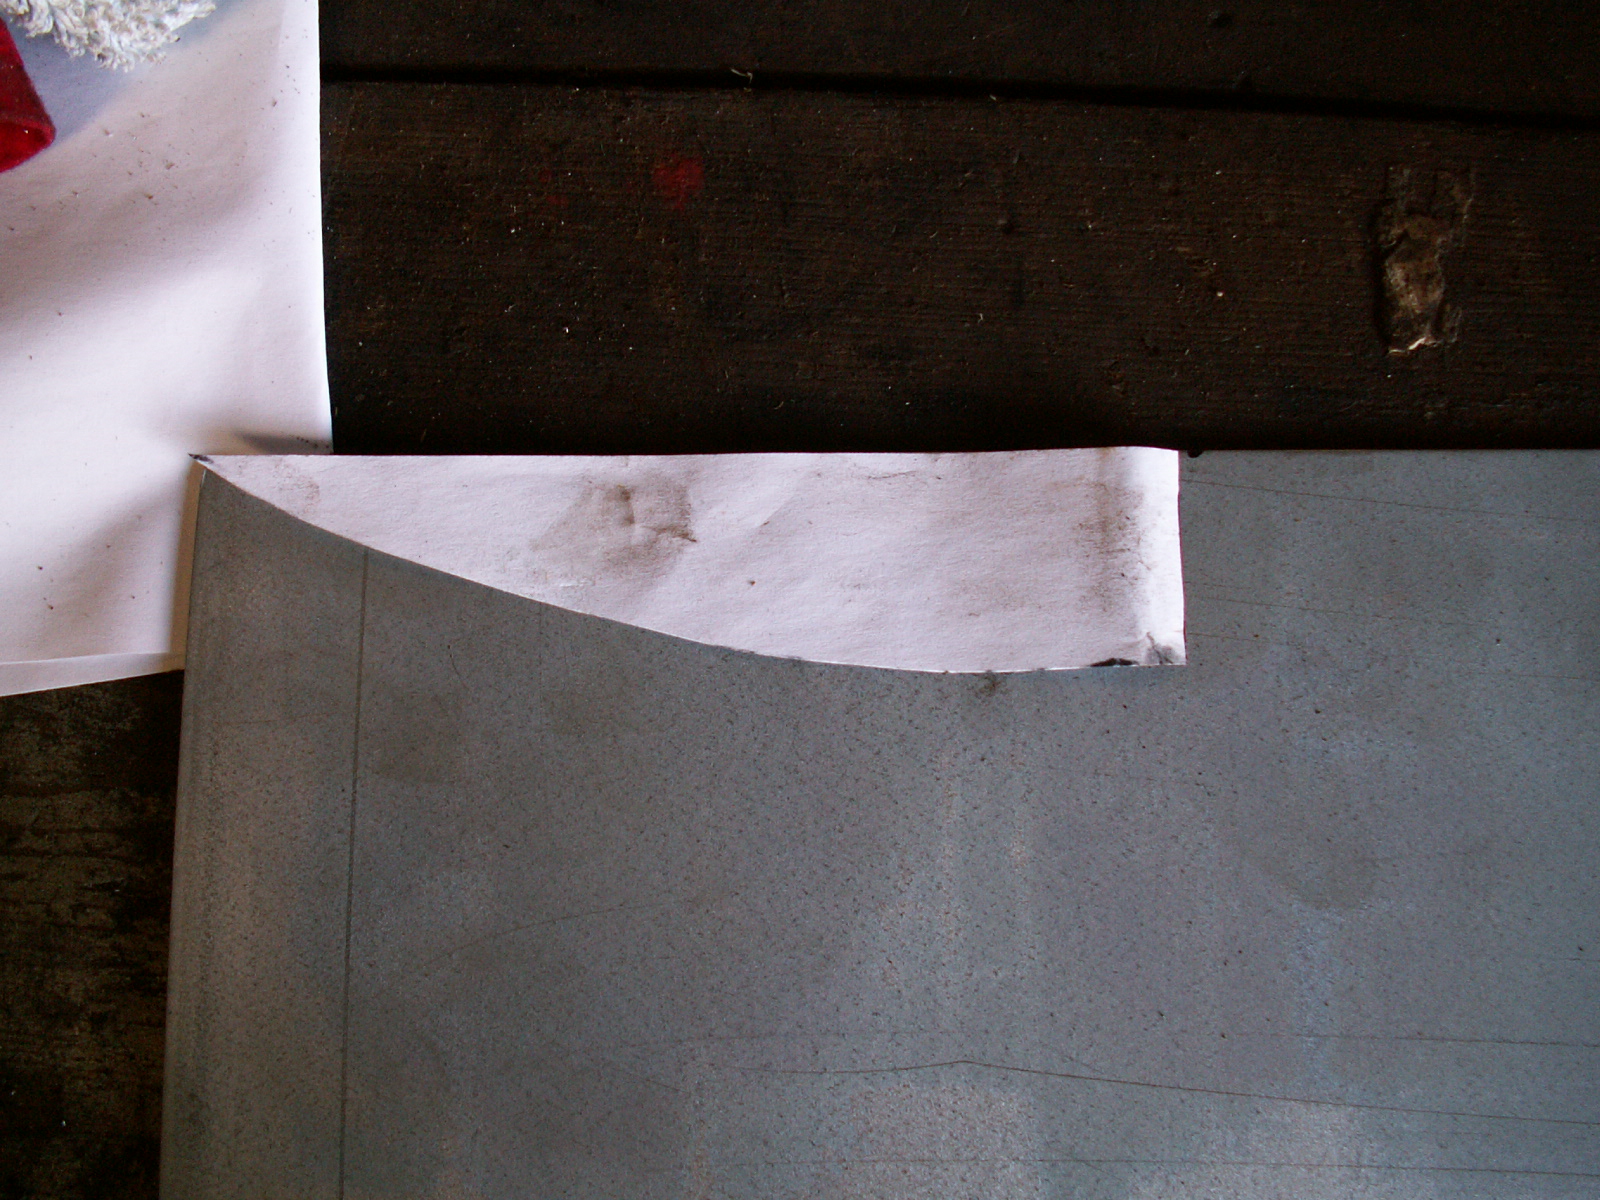
Make a paper template and transfer this to the metal sheet. As this is a chassis section I’m using 1.2mm thick steel sheet. The sheet is a zinc coated one – trade name of this particular stuff is Zinctec. Basically a corrosion resistant weld through zinc finish – approx £18 for a 1m x 1m sheet. For body work and other non structural bits you can get away with 0.8mm thick.
Measure twice, cut once, goes the old adage. So before you cut the steel sheet double check your paper template is correct.

Steel sheet marked up ready to cut out. You can just about cut the steel with aviation snips but I use my bench sheers to rough out the section. Any bits that aren’t quite right I trim up with the angle grinder.
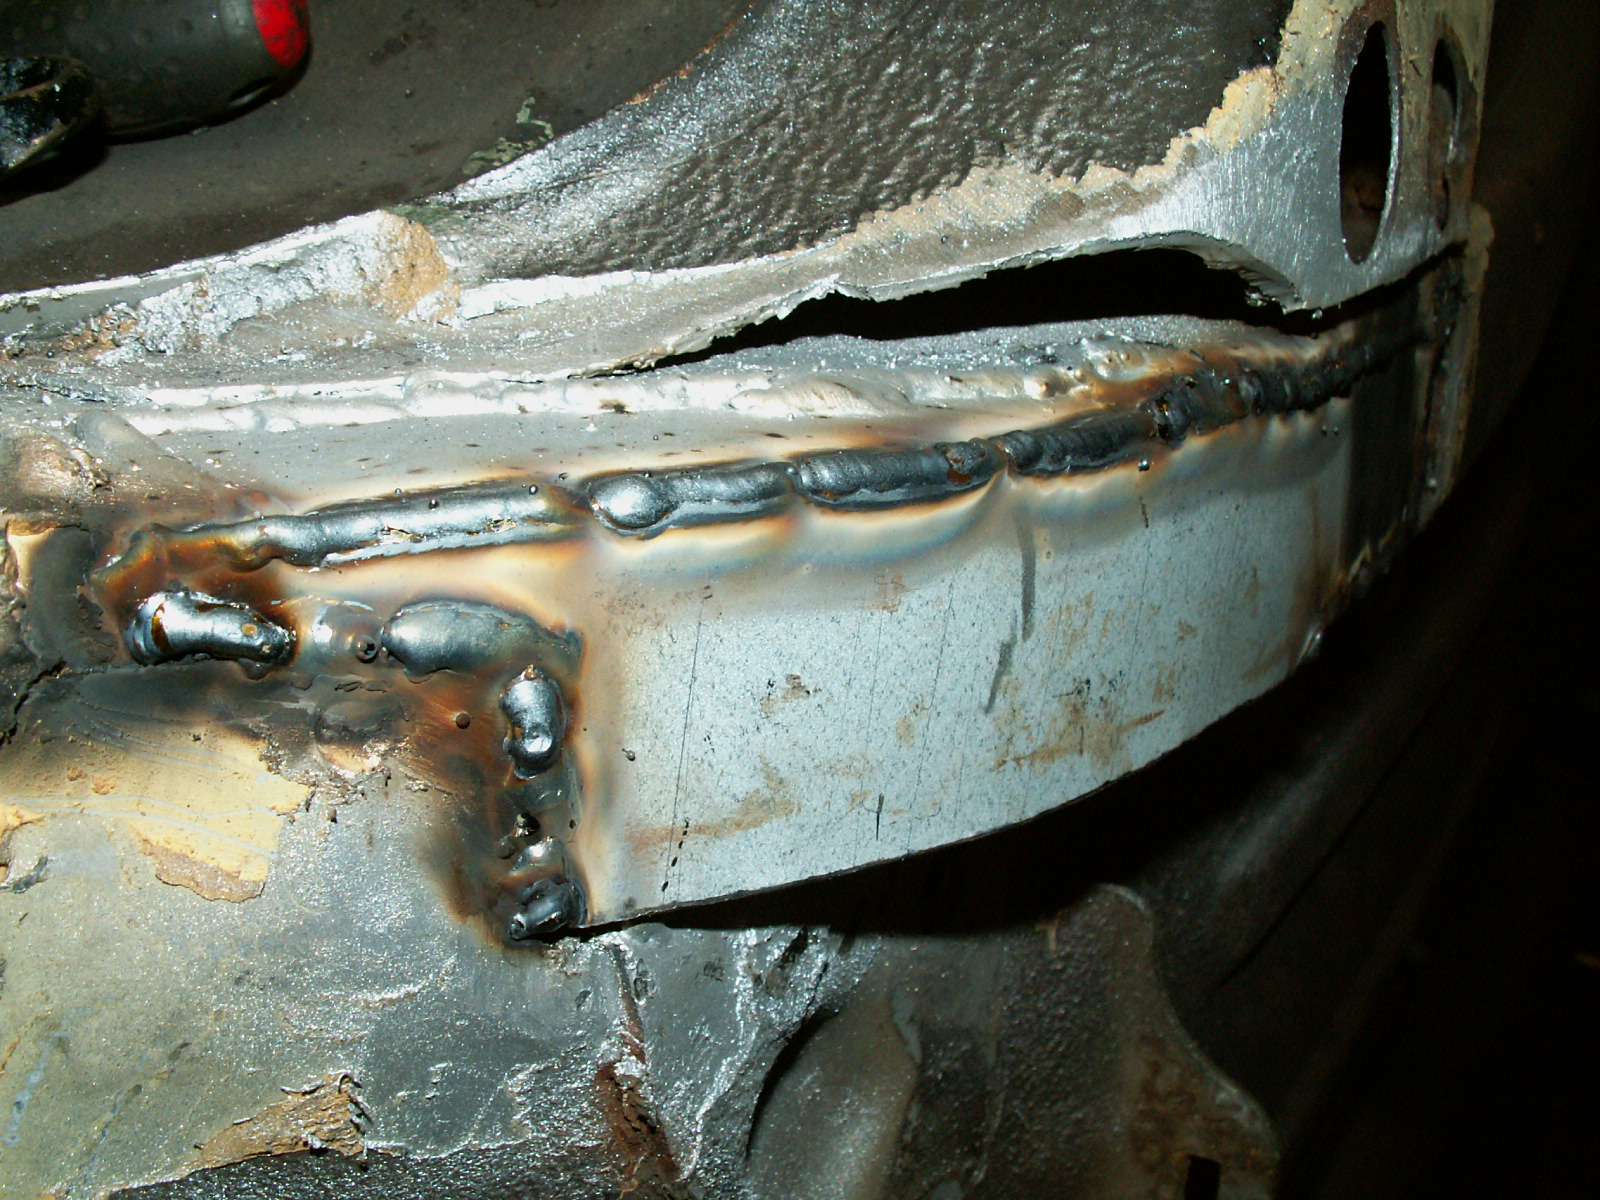
Got carried away and forgot to take some more pics. This shows both sides welded in. I’ll tidy the welds up later where required using the grinder. Note I have continuously welded all the joints rather than just spotting them.

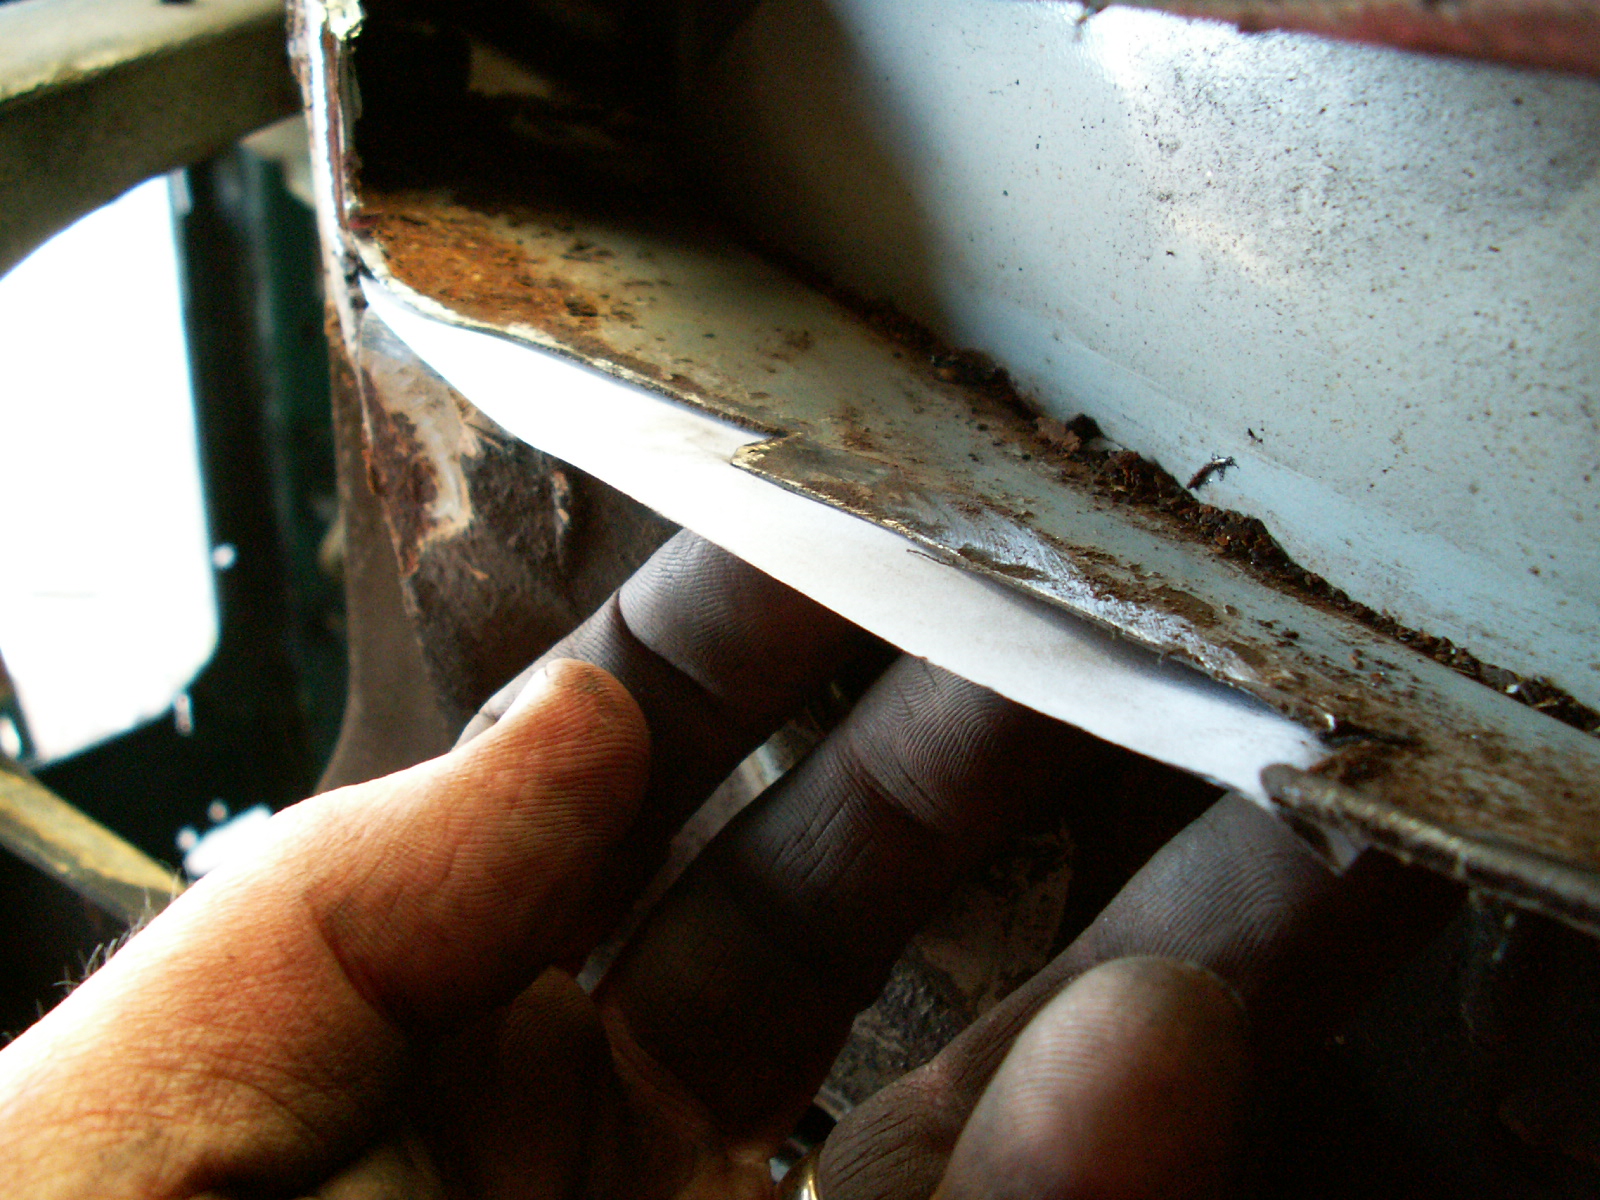
Now I need to make a long strip and curve it roud to close up the box section.

Again I made a paper template. Before closing the box section off I sprayed the inside with Zinc rich weld through paint (I bought a few cans from Frosts when it was on offer a few weeks ago.) Really good stuff.
New piece ready to weld up, all edges carefully trimmed to fit well so its easy to butt weld all round.
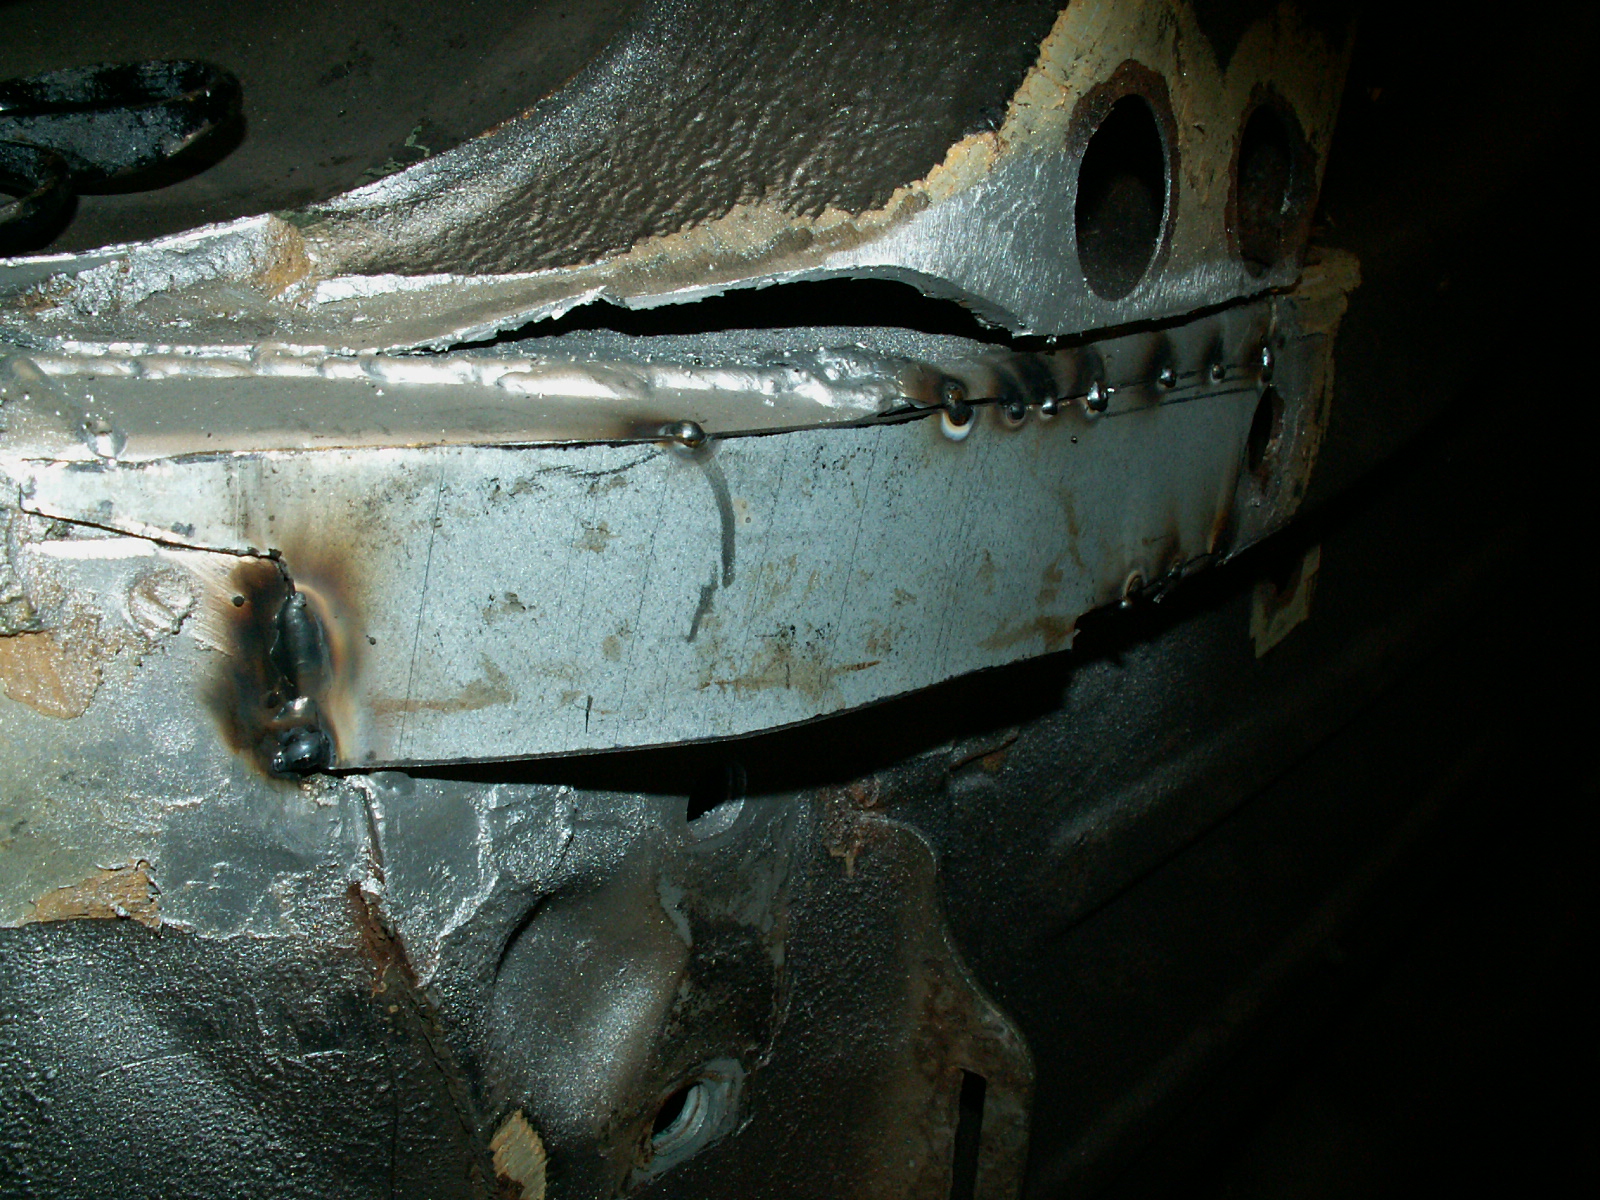
As this is curved piece I started by tacking one end and tesing it round the curve and then tacking the other end when happy with the fit.
Getting there, one end fully welded.
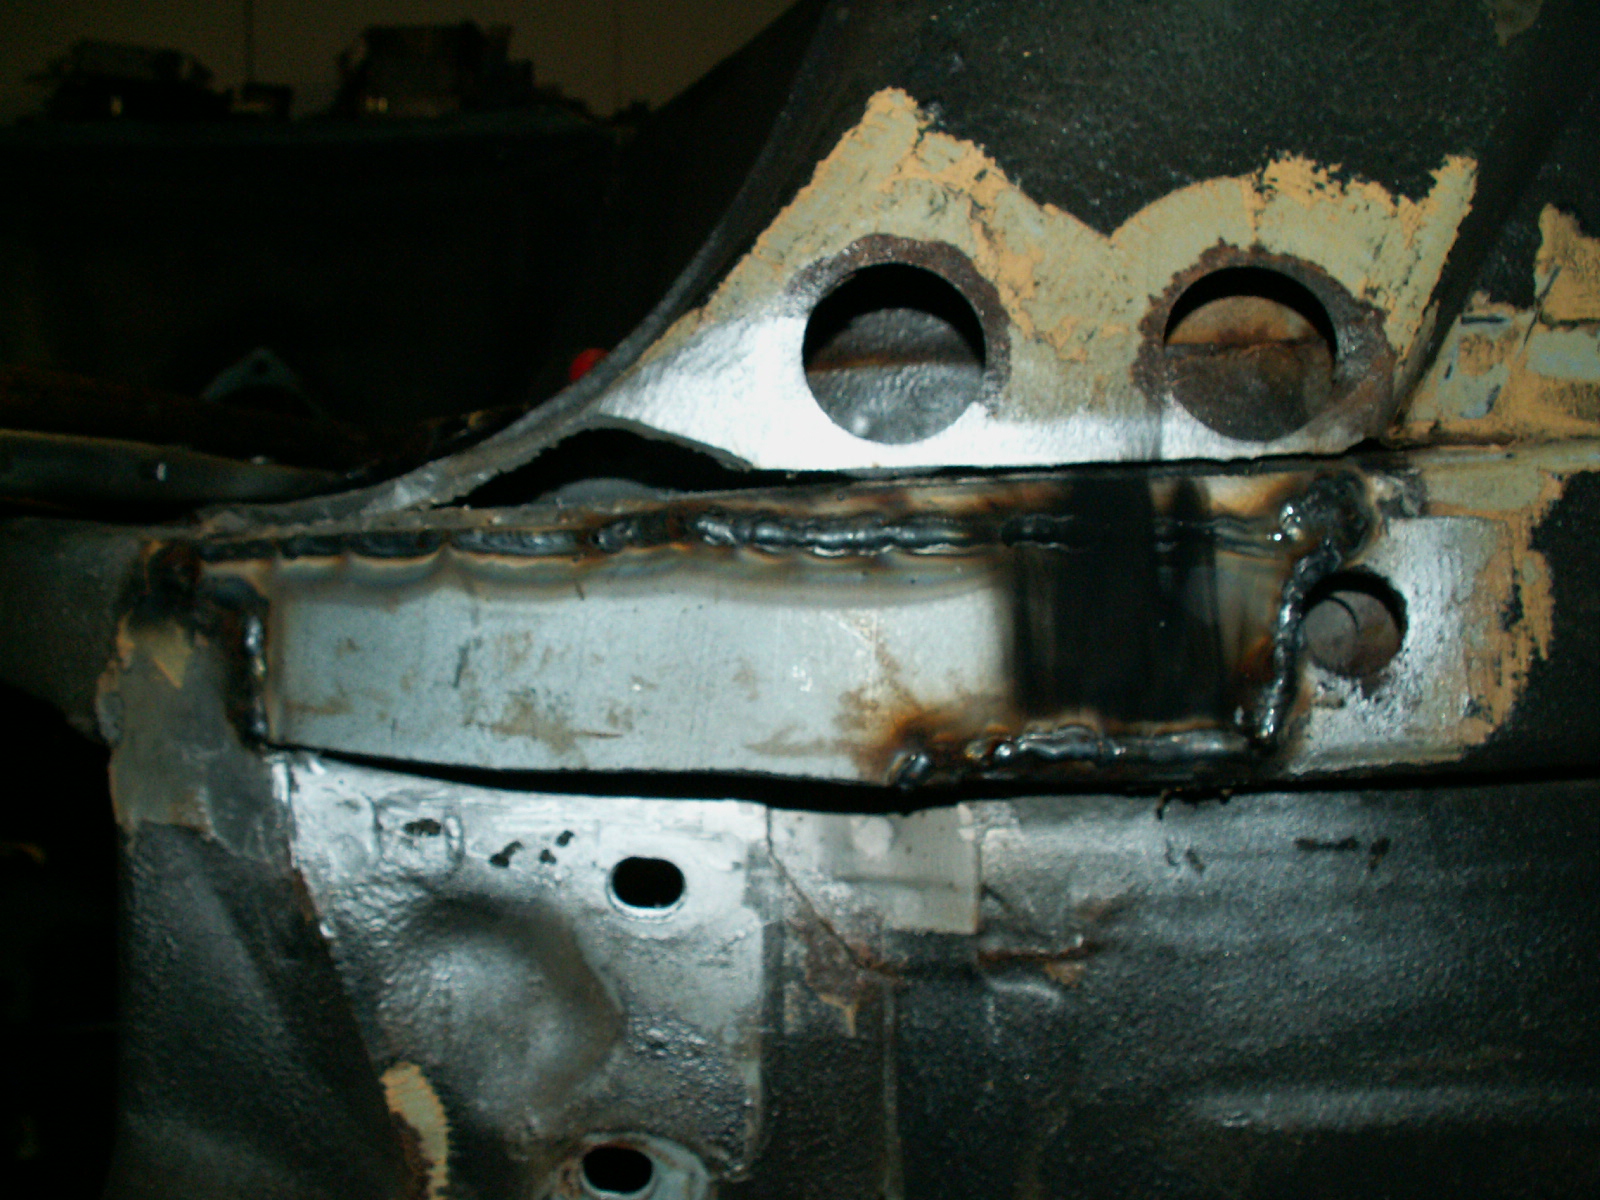
Now welded all along one edge. Will roll the shell over on the spit to get a good angle on the other side. Note the welding is improving as I get into it again!
Next time finishing off the second layer.