
Last few bits – Fuel tank, pipes and front struts and wishbones.
Lets start with the fuel tank.
1. Remove the filler cap and undo the 2 torx screws to release the filler tube.
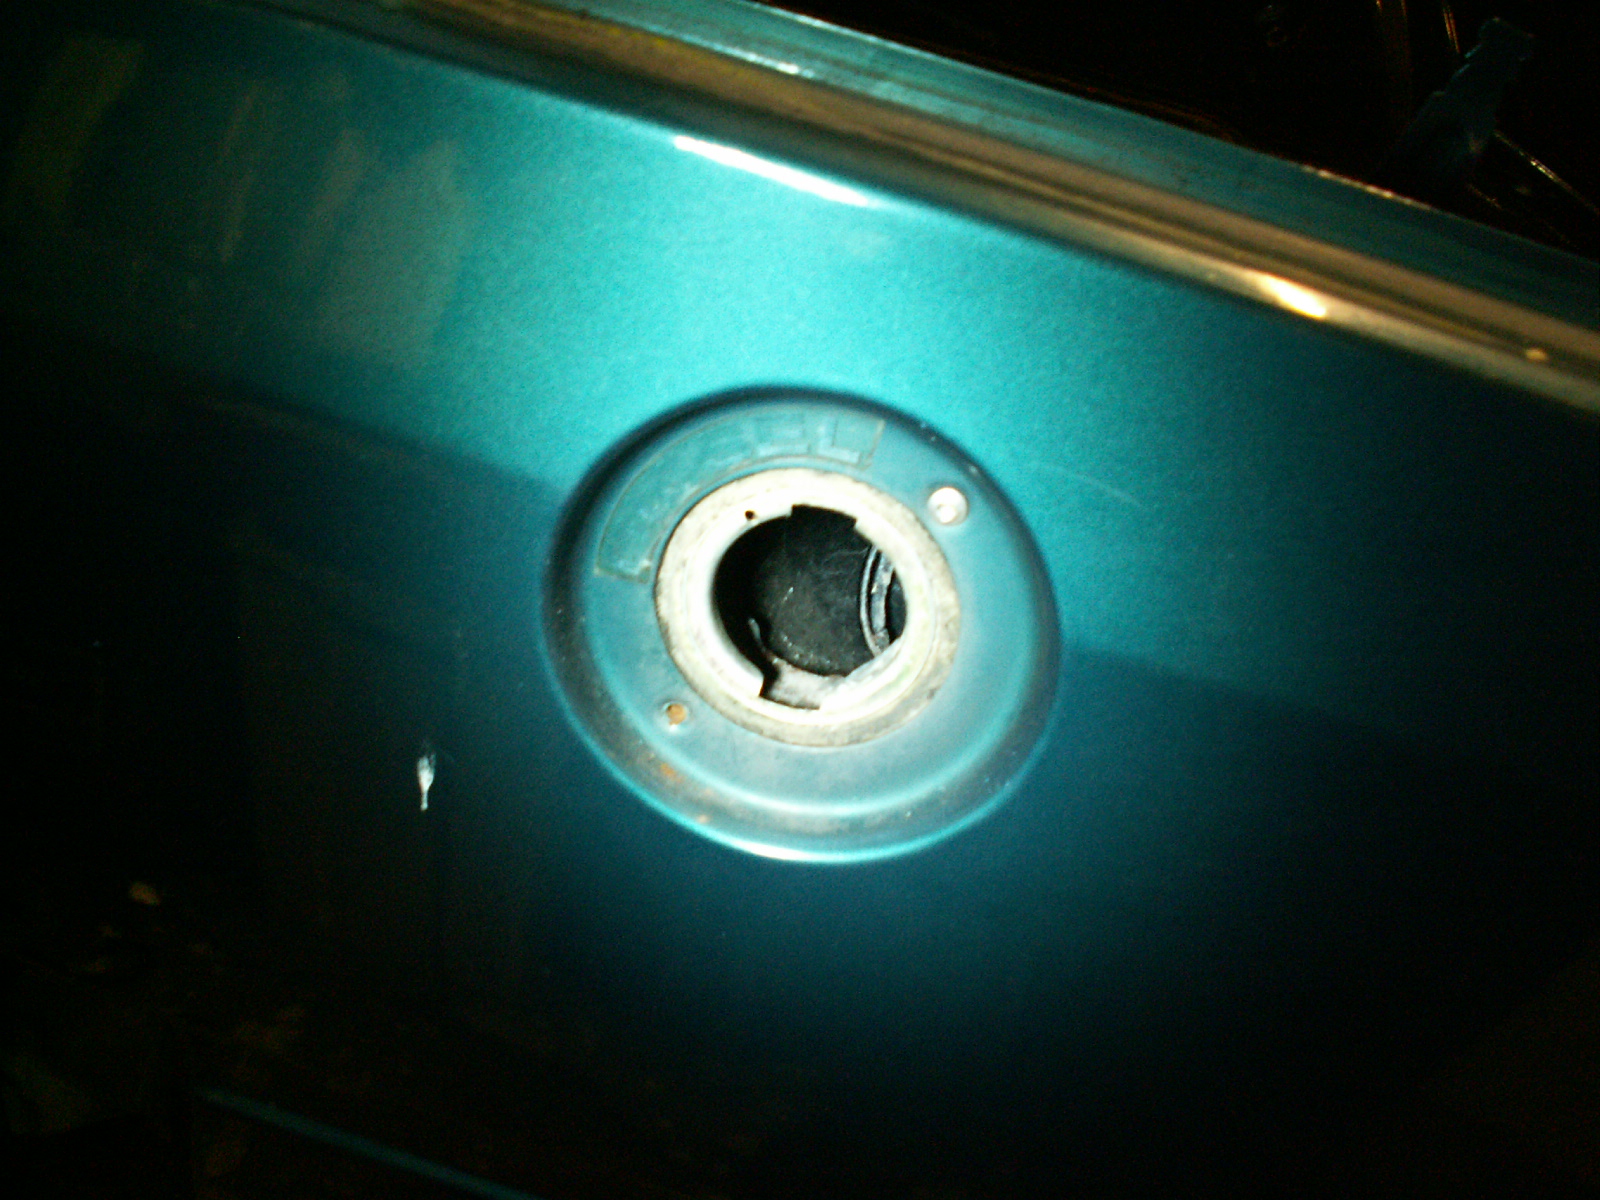
2. In the wheel arch there is a large plastic retainer which holds the bottom of the filler tube in place, this simply unscrews.
3. This shows the plastic retainer removed.
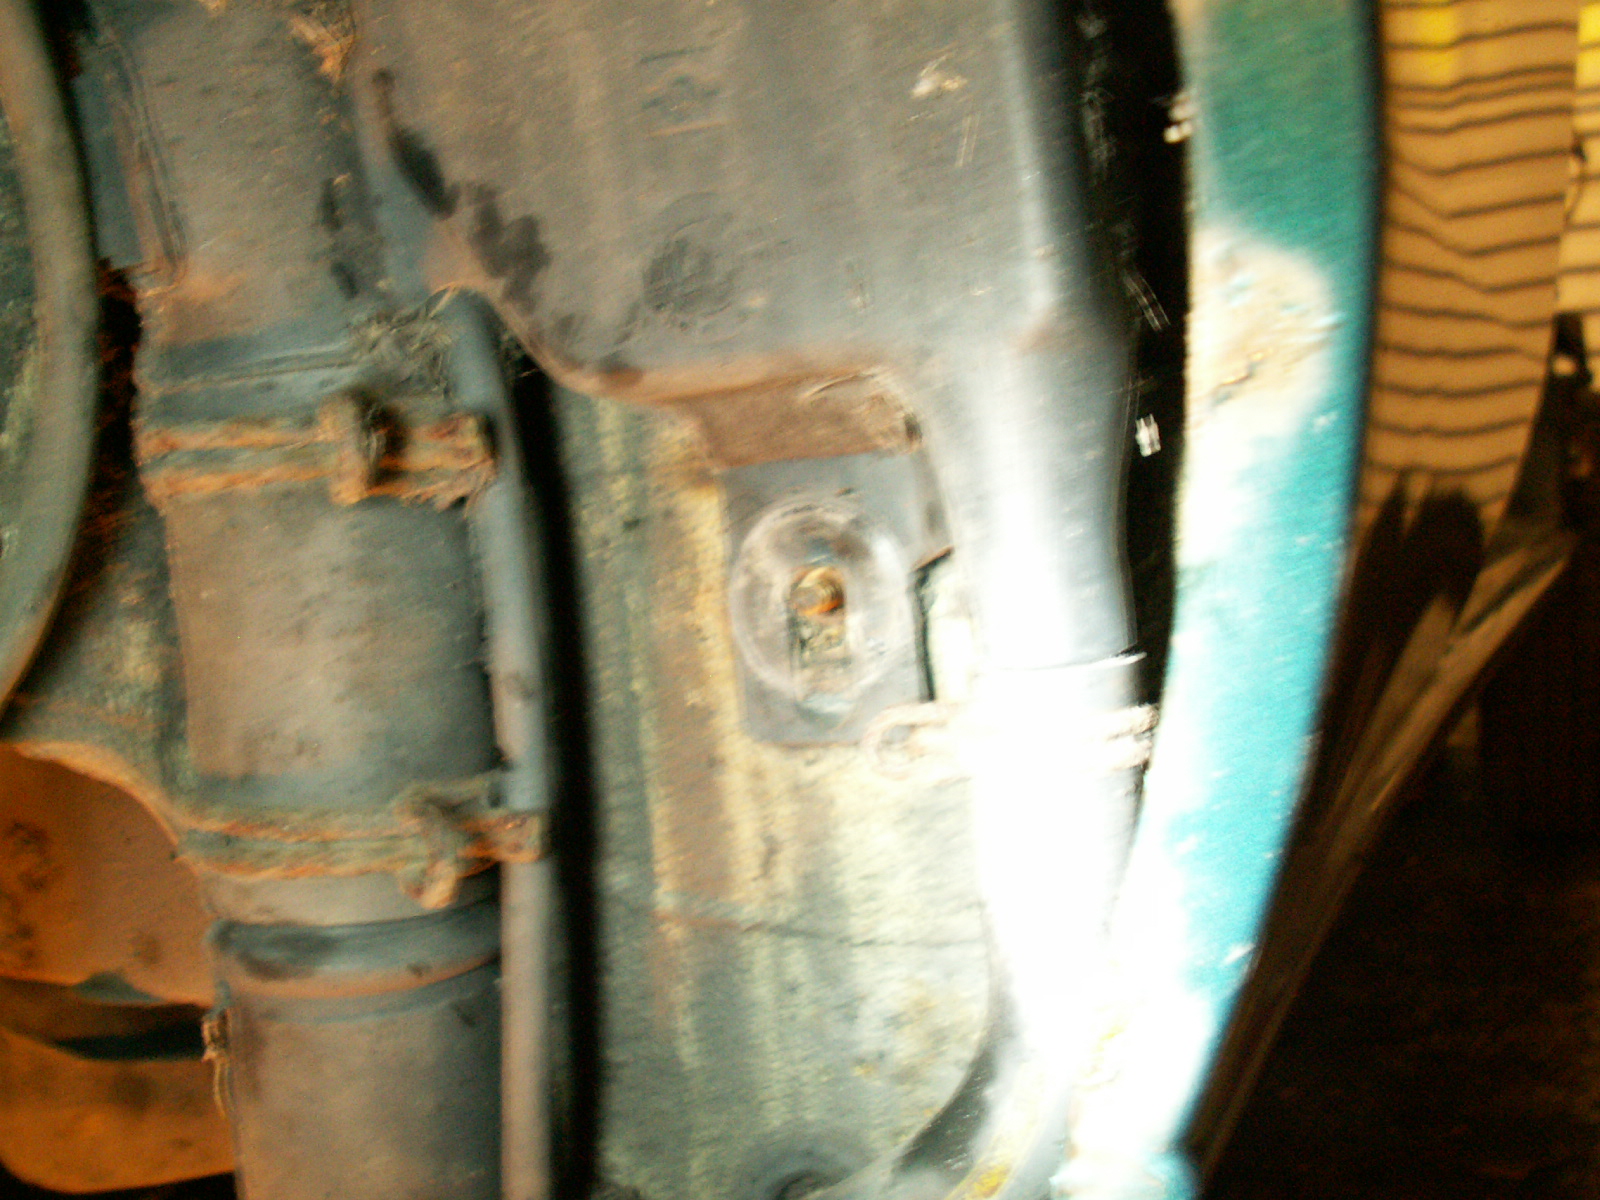
4. Now support the tank before going any further, If it still has fuel in it it could be heavy! Then undo the two retaining nuts and remove the rubber pads.
5. Nuts removed.
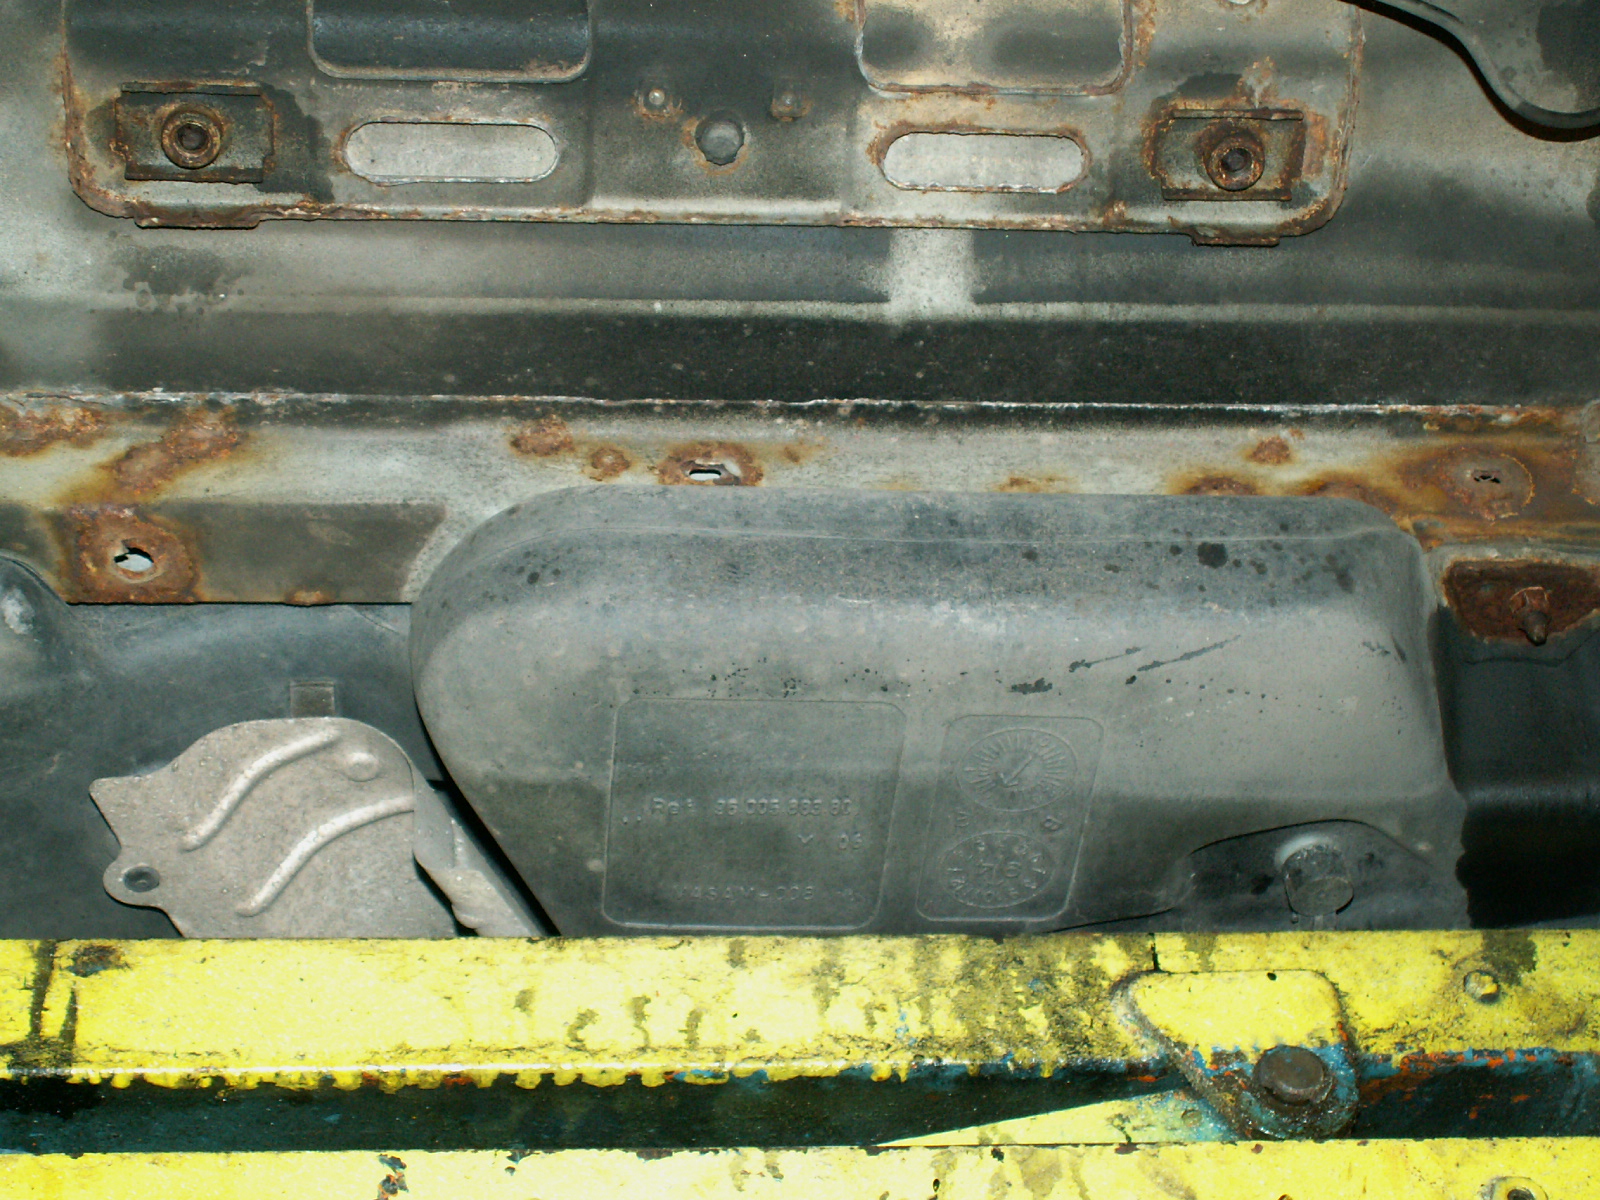
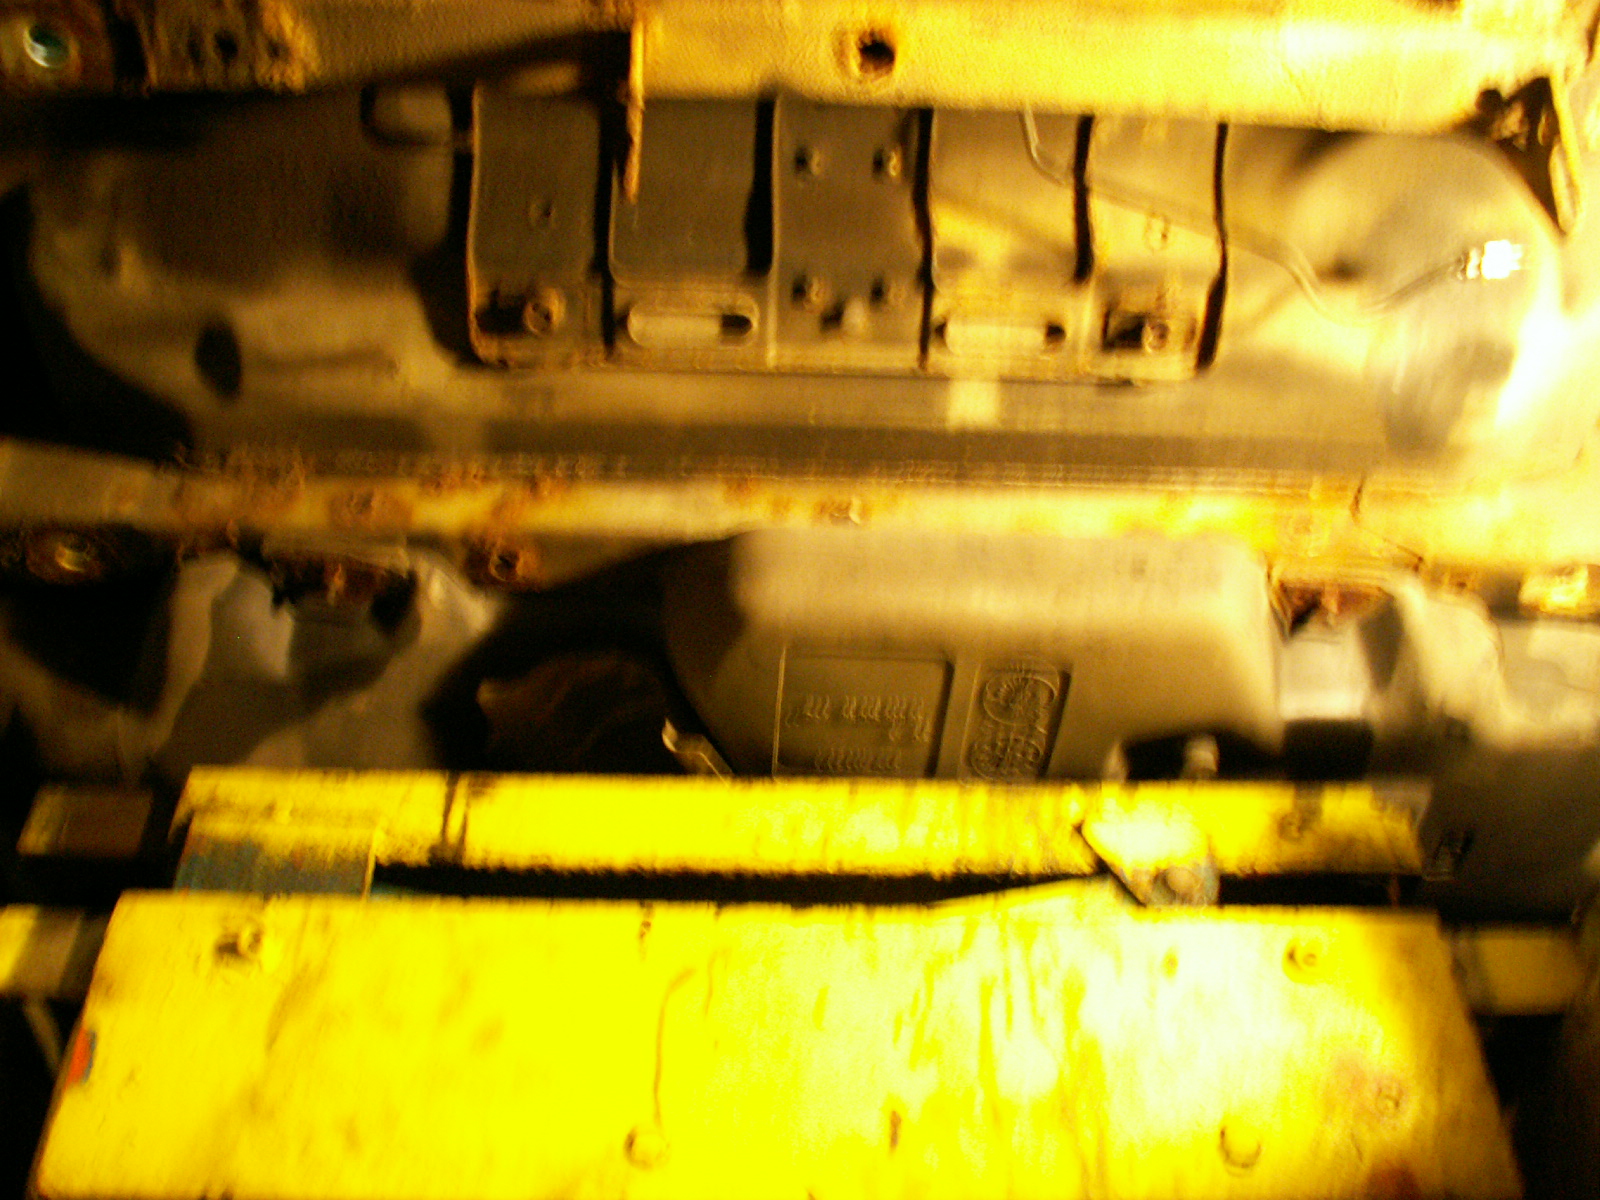
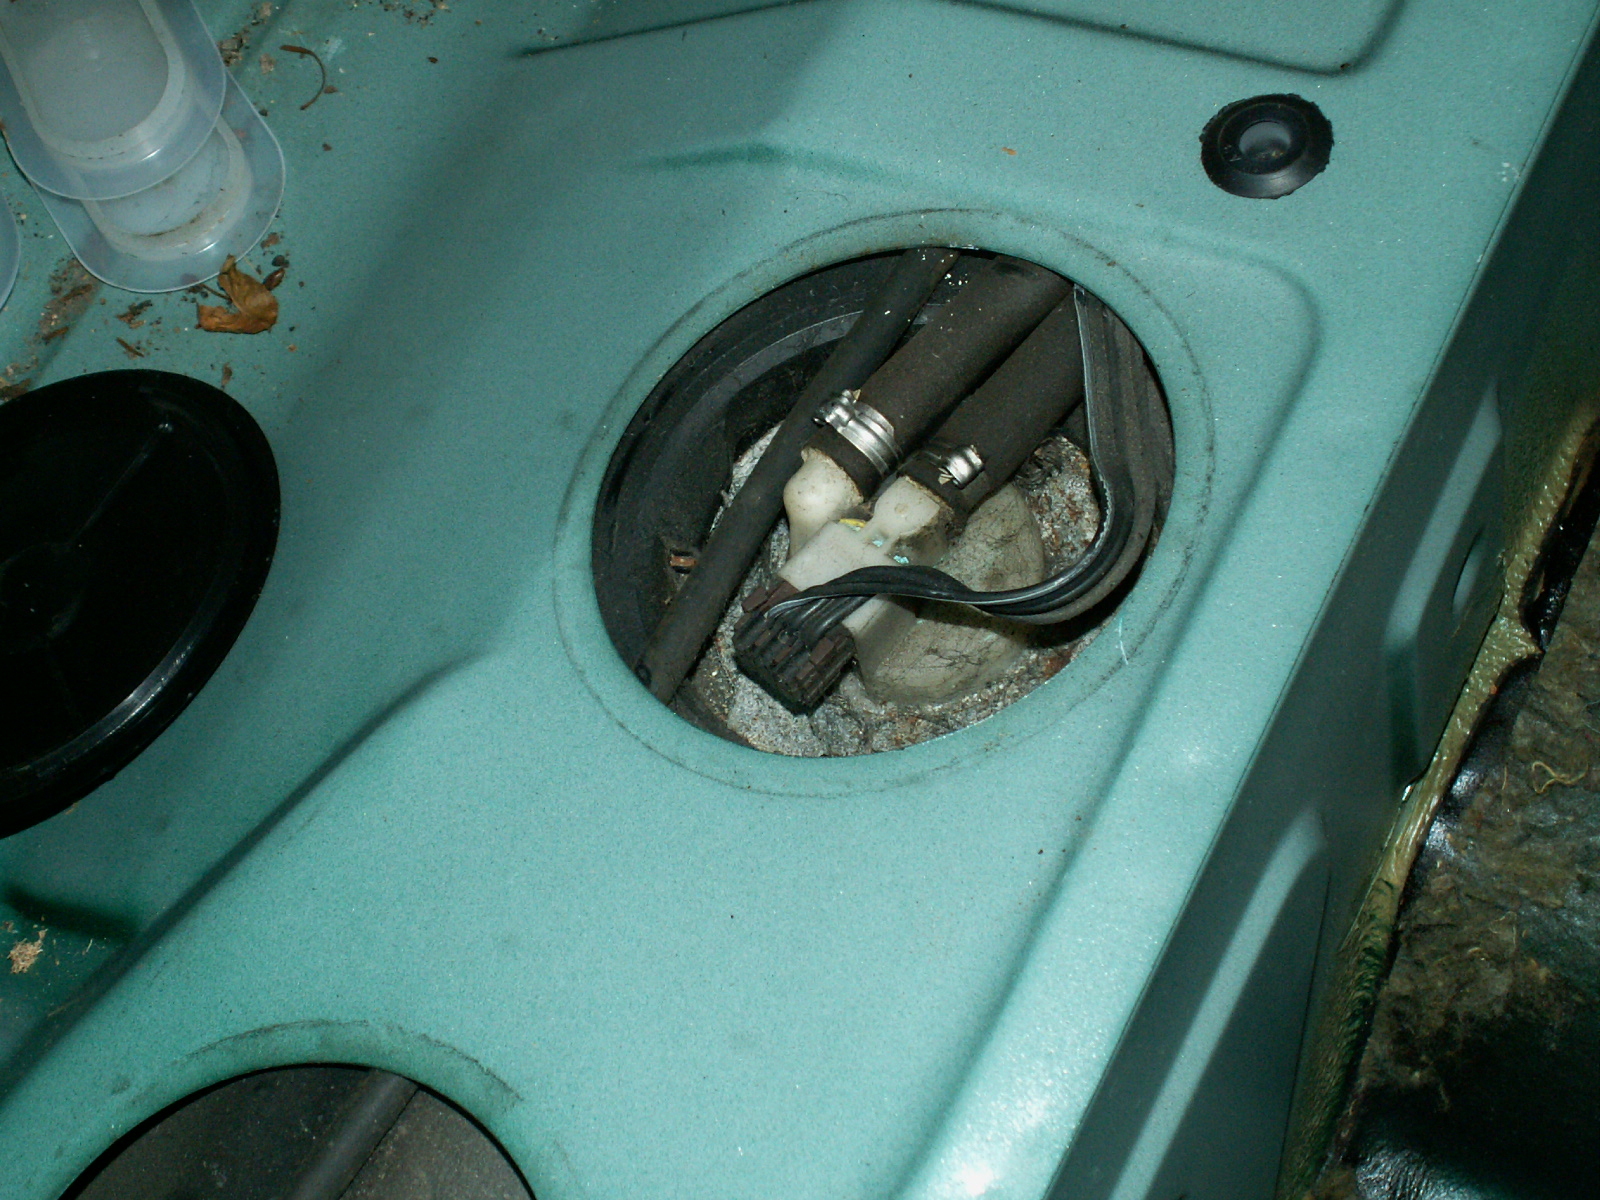
6. Up top remove the two fuel pipes and the wiring loom. The pipes may be difficult due to restricted access so just release the clips at this stage.
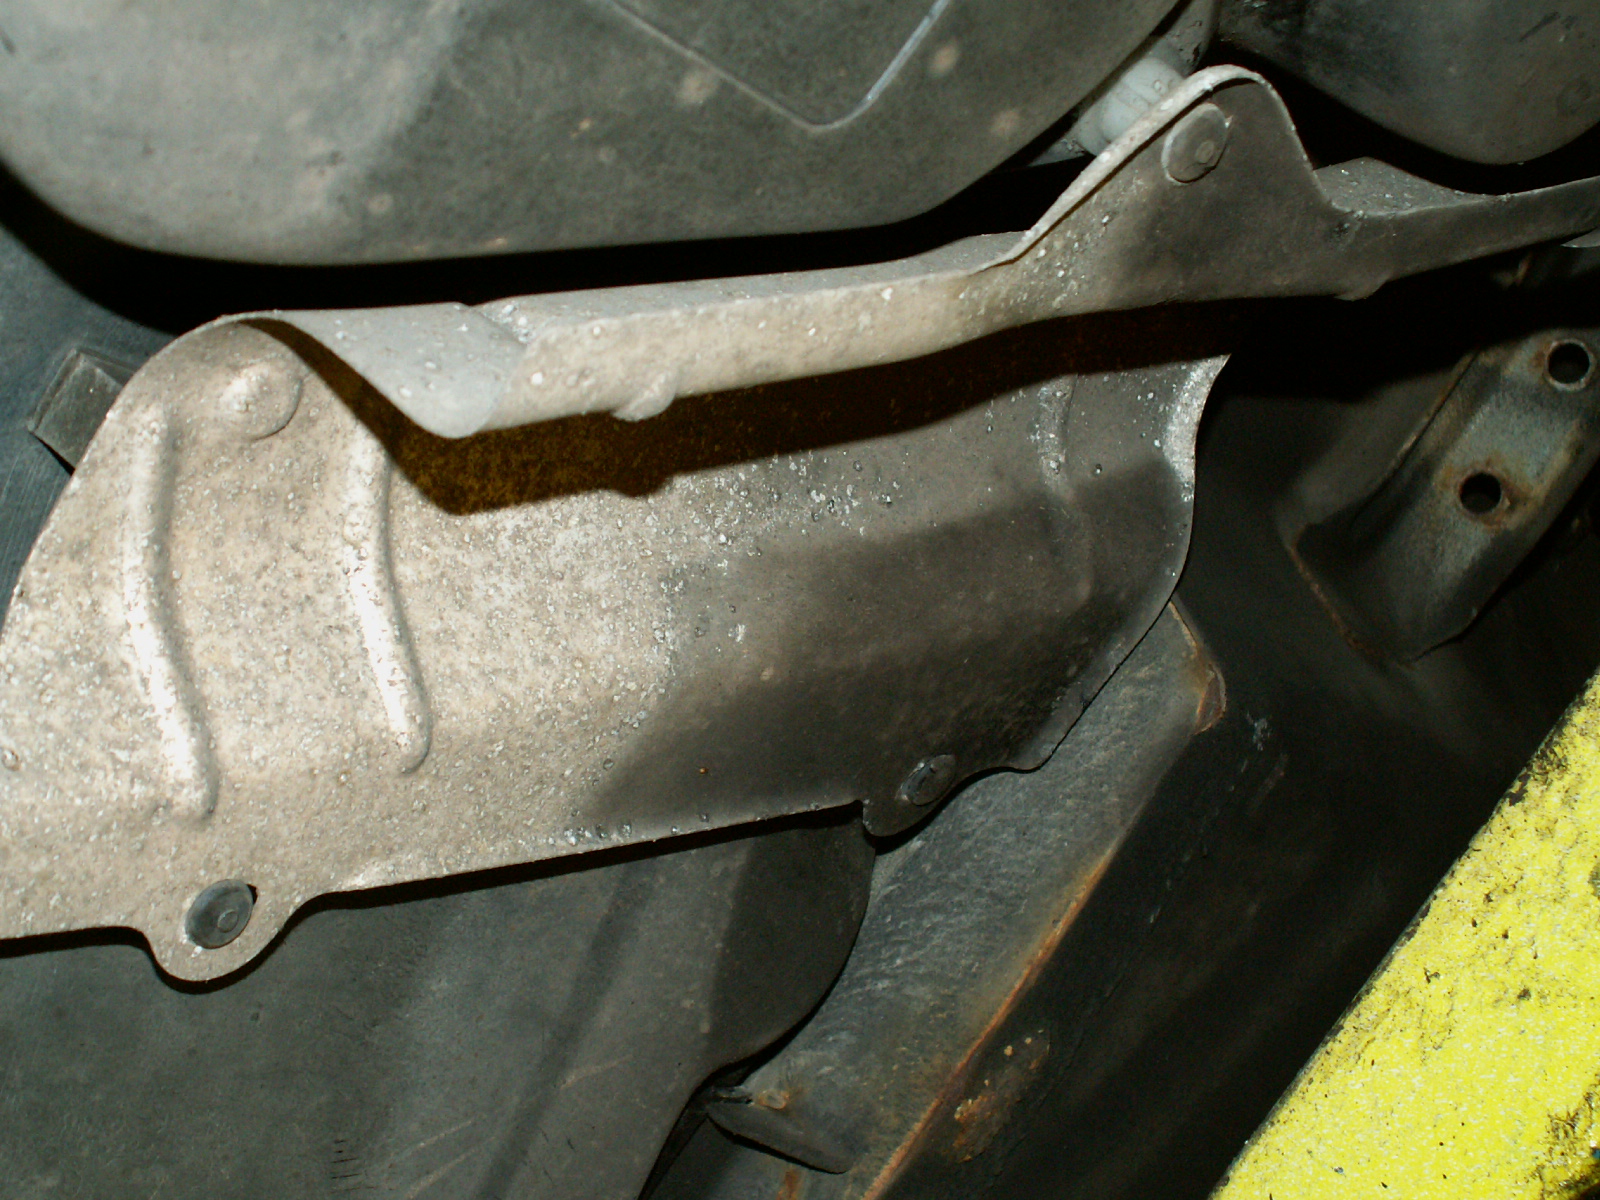
7. Not necessary but you can remove the heatsheild. It is held on by 3 plastic “rivets”
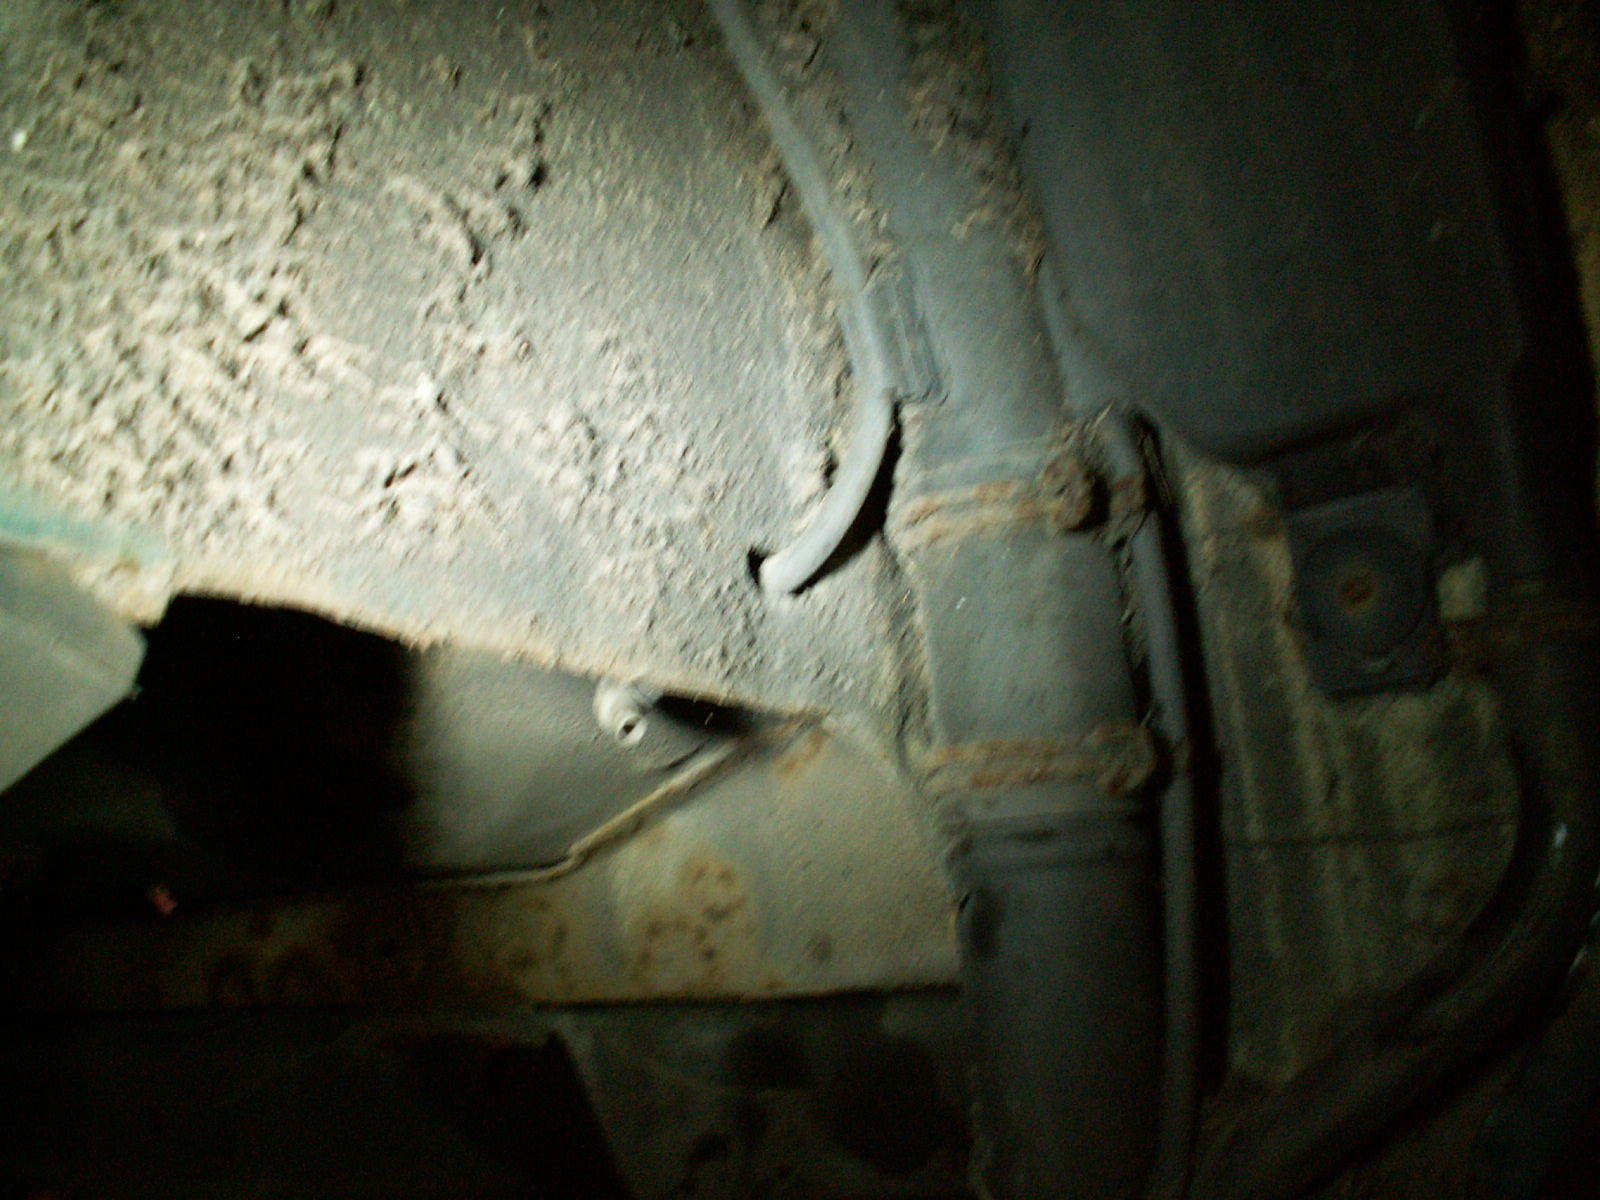
8. Now you can start to lower the tank (or lift the body up), Ensure you ease the filler pipes over the lip at the end of the sill.
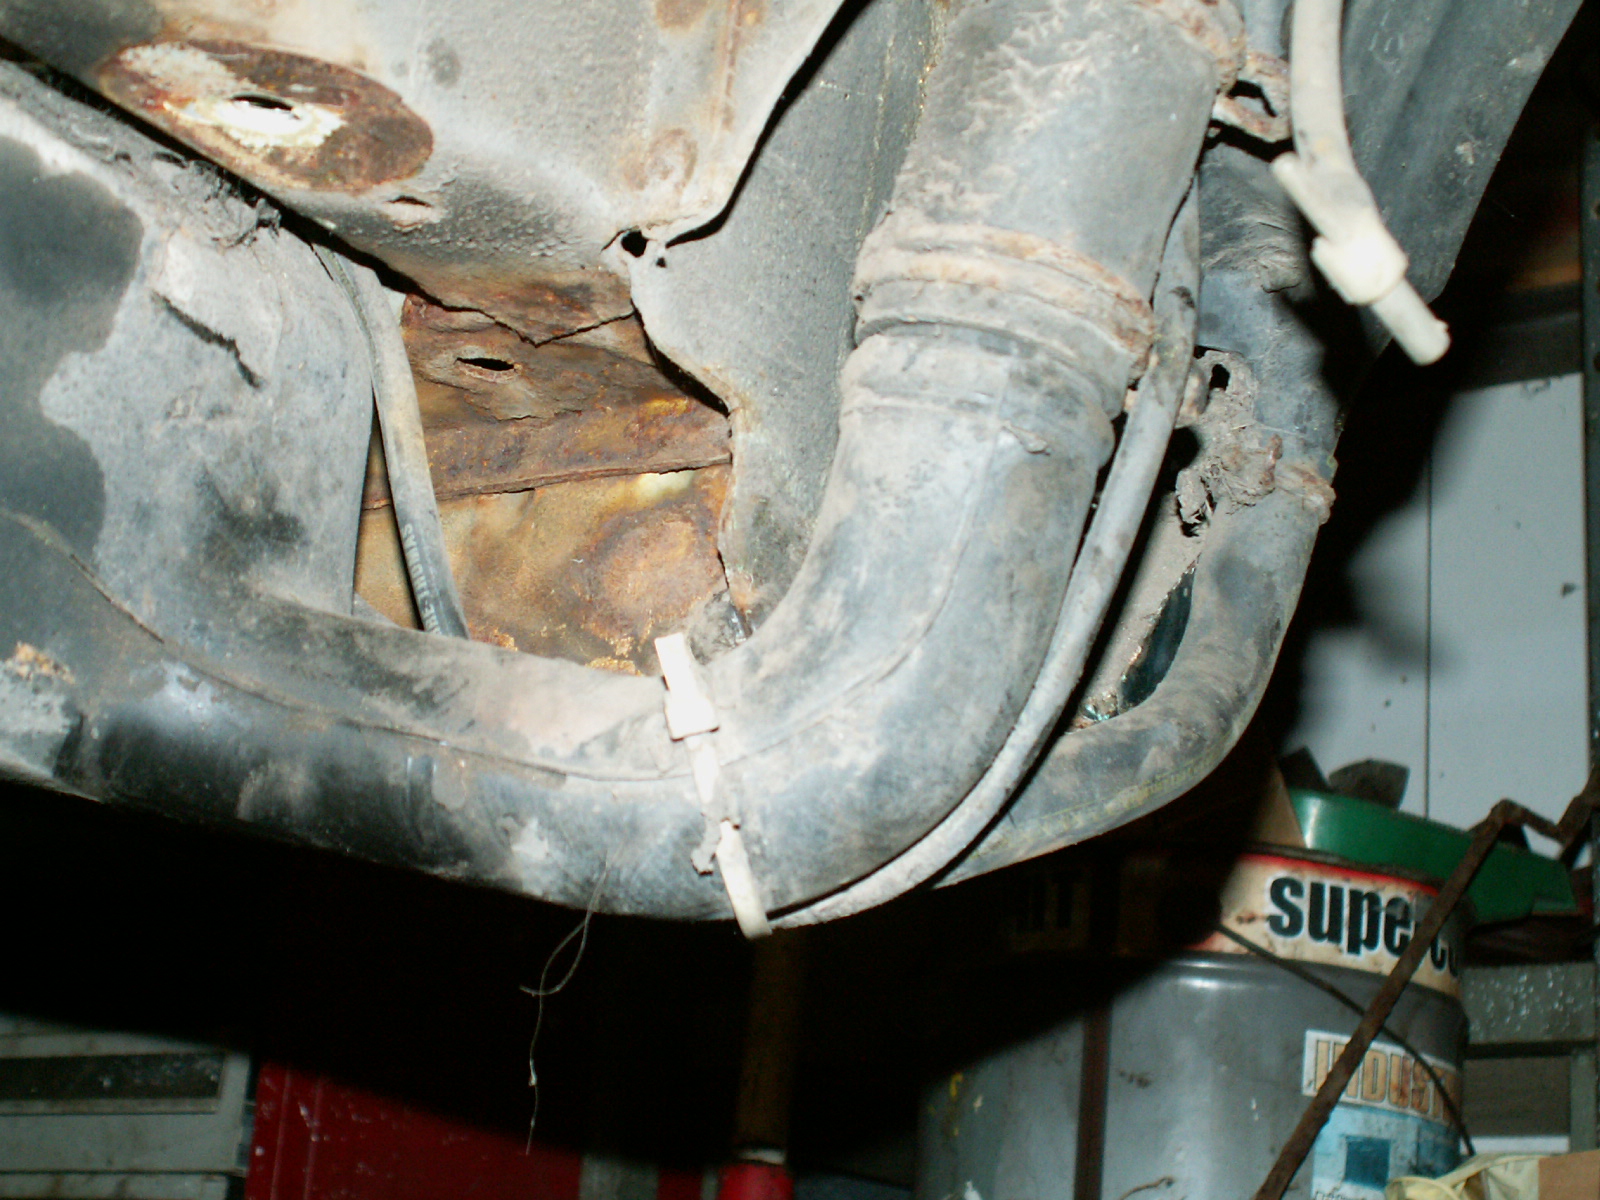
9. This pic shows the tank starting to come away. There rear edge comes down and when it is clear of the studs it can be pulled back to release the front edge.
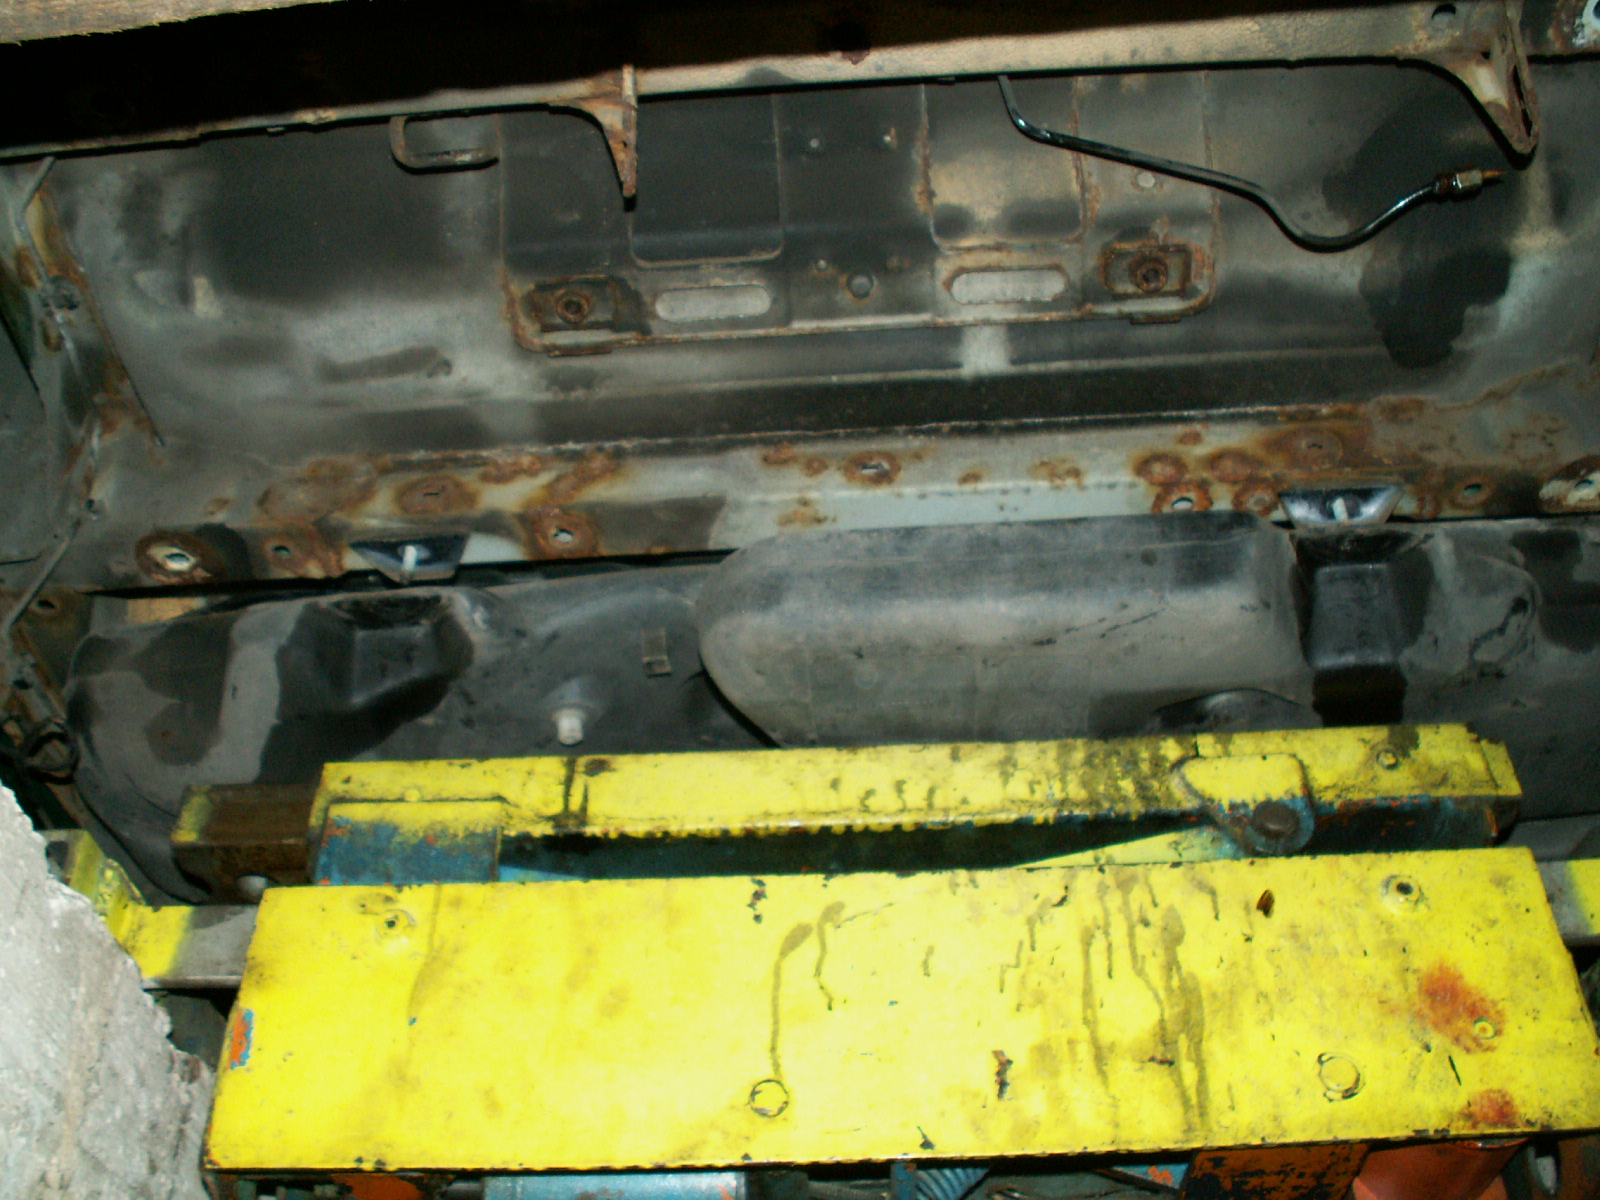
10. On the way down you need to put your hands over the front of the tank to reach up and release the two fuel pipes. There is a push in clip locating the pipes towards the passenger side. Follow the pipes along and you can feel it. Once removed, feed the pipes and wiring loom through the grommets and into the sill. Then inside the car pull the pipes and wire through the sill so that they are away from any danger of getting damaged during the welding of the sill.

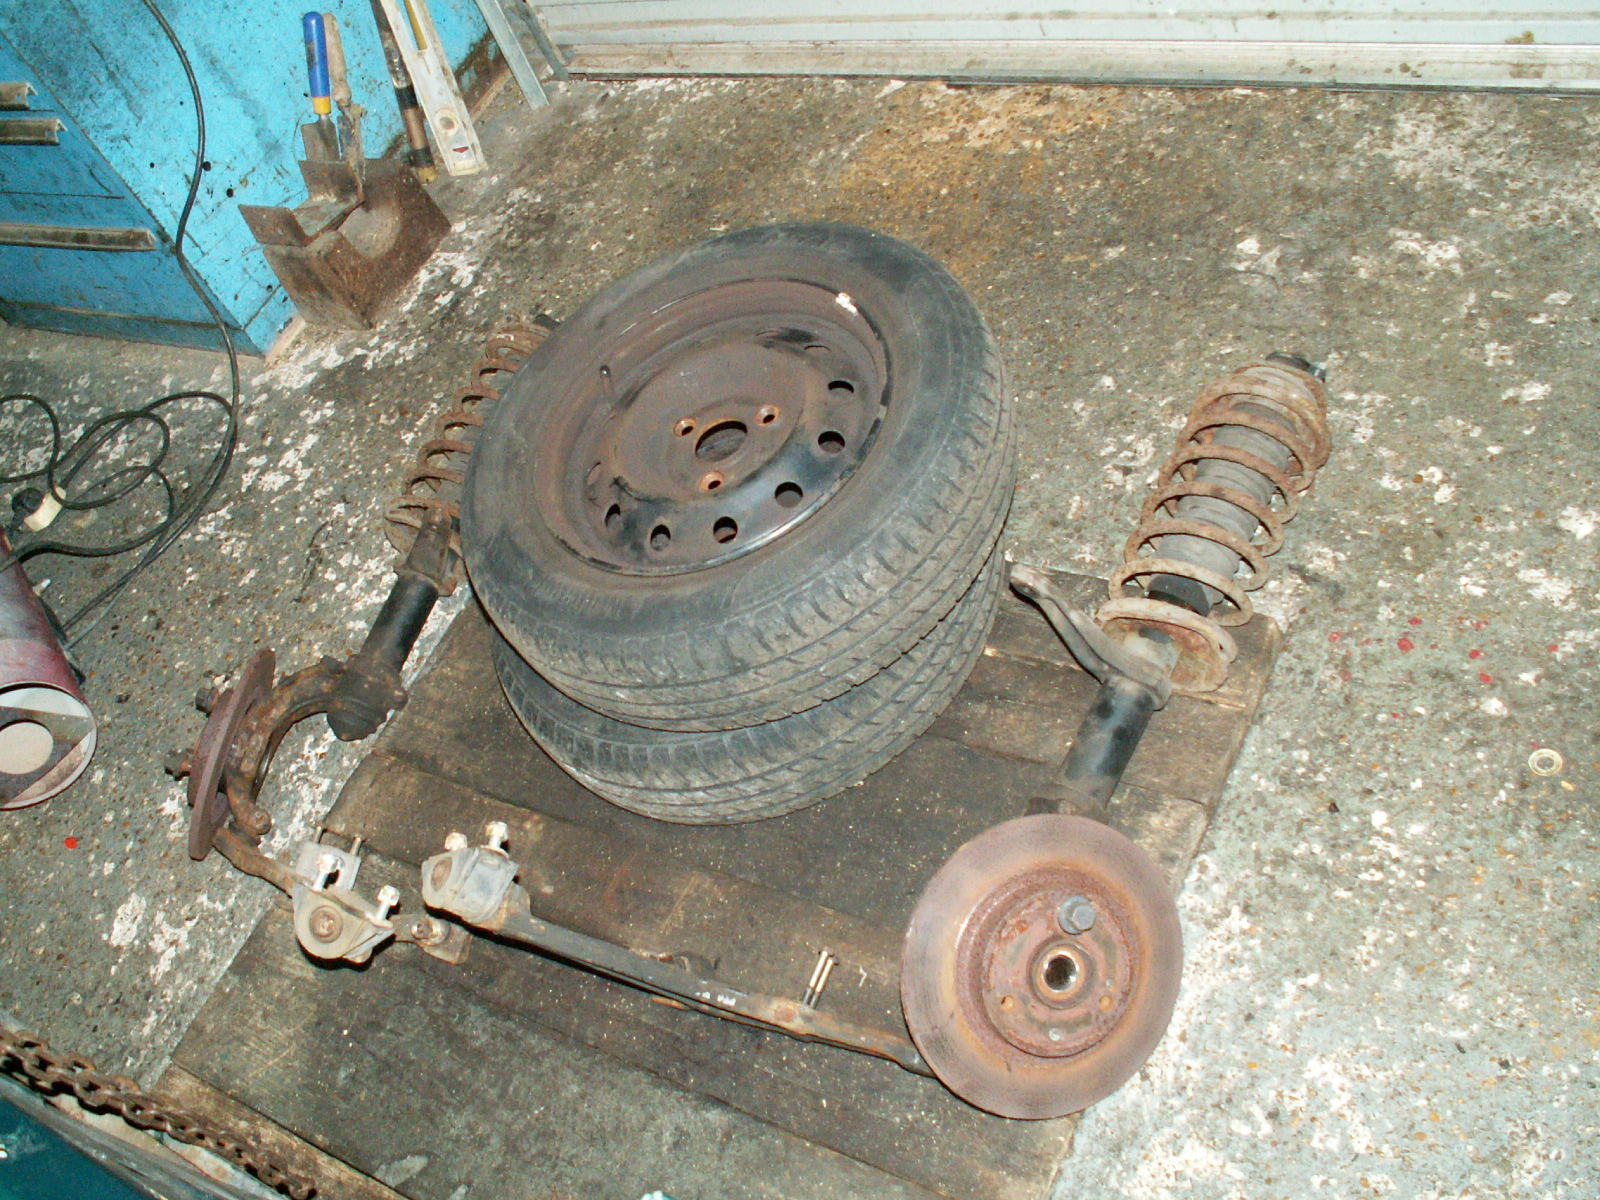
11. Finally remove the wishbones and struts. The wishbones are held on by the rear bracket which is attached to the floorpan via nuts accessed through a flap in the bulkhead sound deadening mat at the front of the foot well. Next undo and remove the front nut and bolt from the wishbone. Remove the two bolts securing the caliper tot he strut, release the trackrod end (1 nut), finally undo the two nuts at the top of the strut, hold the strut as you do this as it will drop down. The whole assembly can now be lifted off
12. And there we have it – one shell ready to weld – I didn’t remove the windscreen, dash or headlining, or the steering rack and master cylinder.
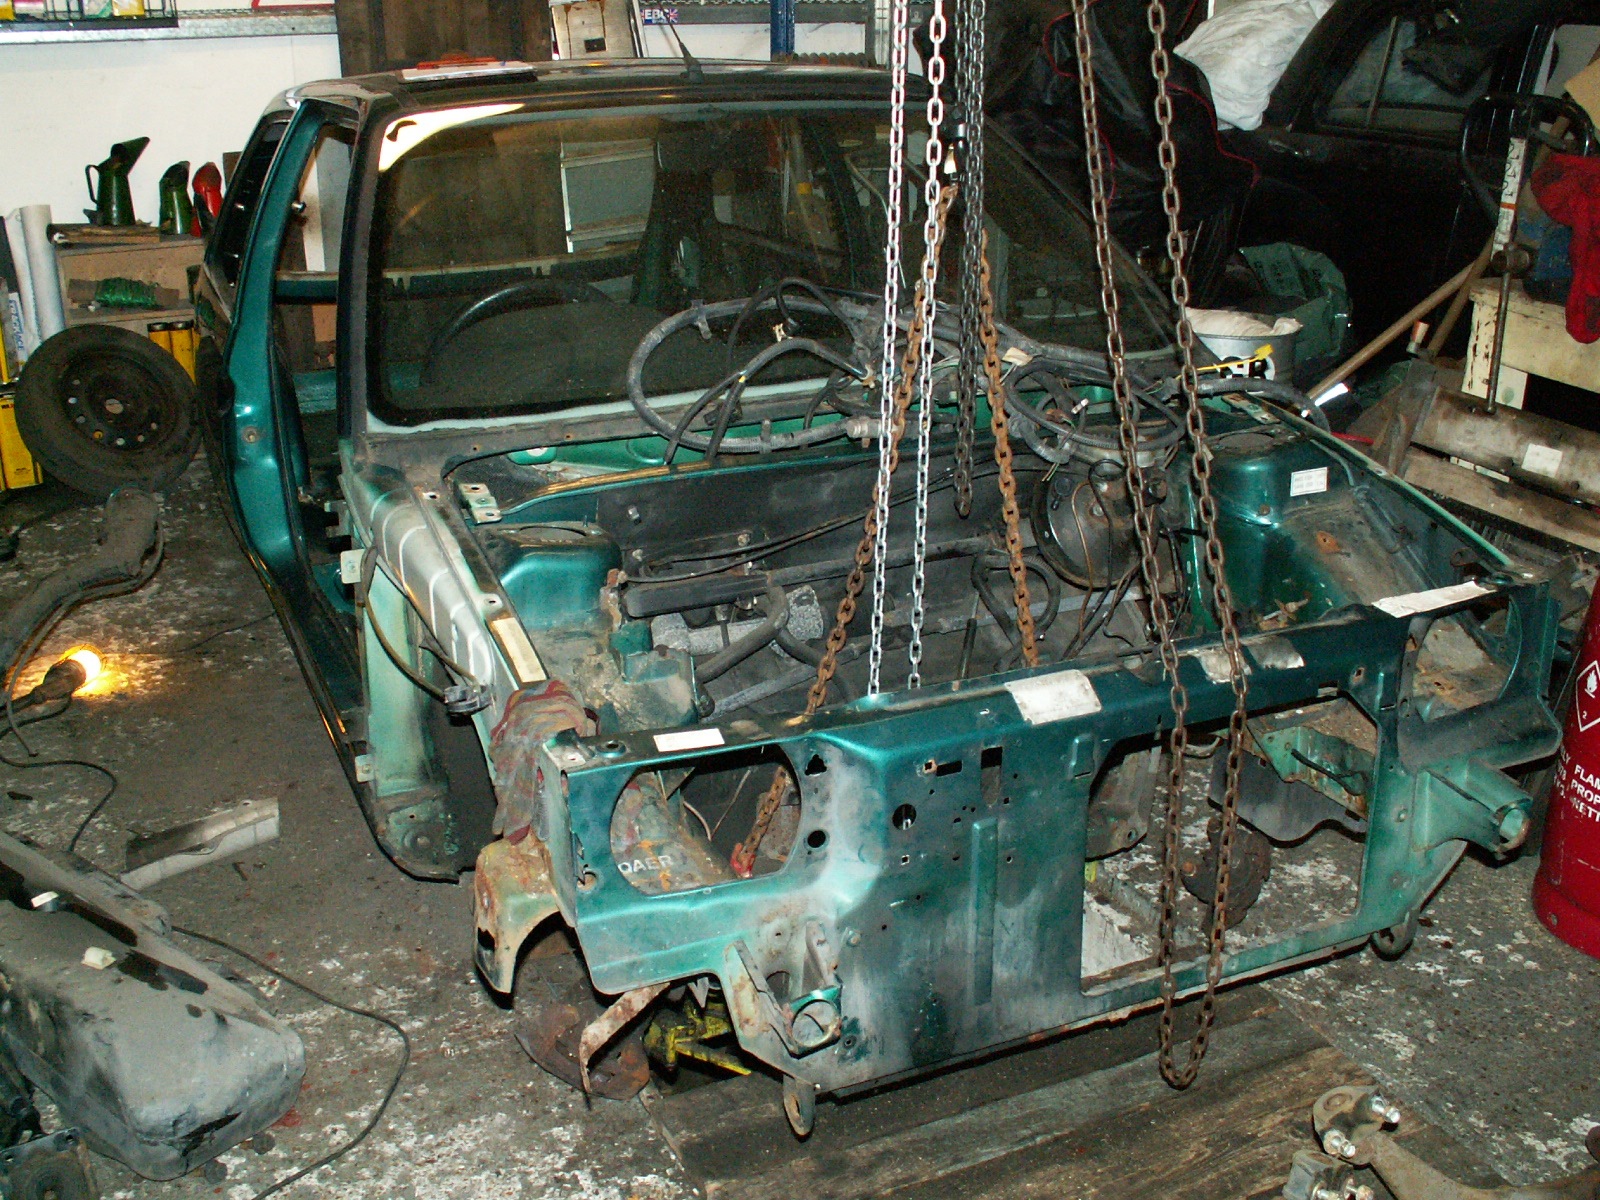
Next time mounting the shell on a “rotissery” so that I can “get at” the shell when welding.