
Having decided the resurrection of this AX was viable the next step is to remove the engine. I did consider leaving it in but access to some of the rust that needs sorting on the inner wings would be difficult with the engine in place. I also suspect the head gasket is leaking and it is easier to replace and also change the cambelt with the engine out, I can also split the gearbox off and check the clutch.
So, step1….
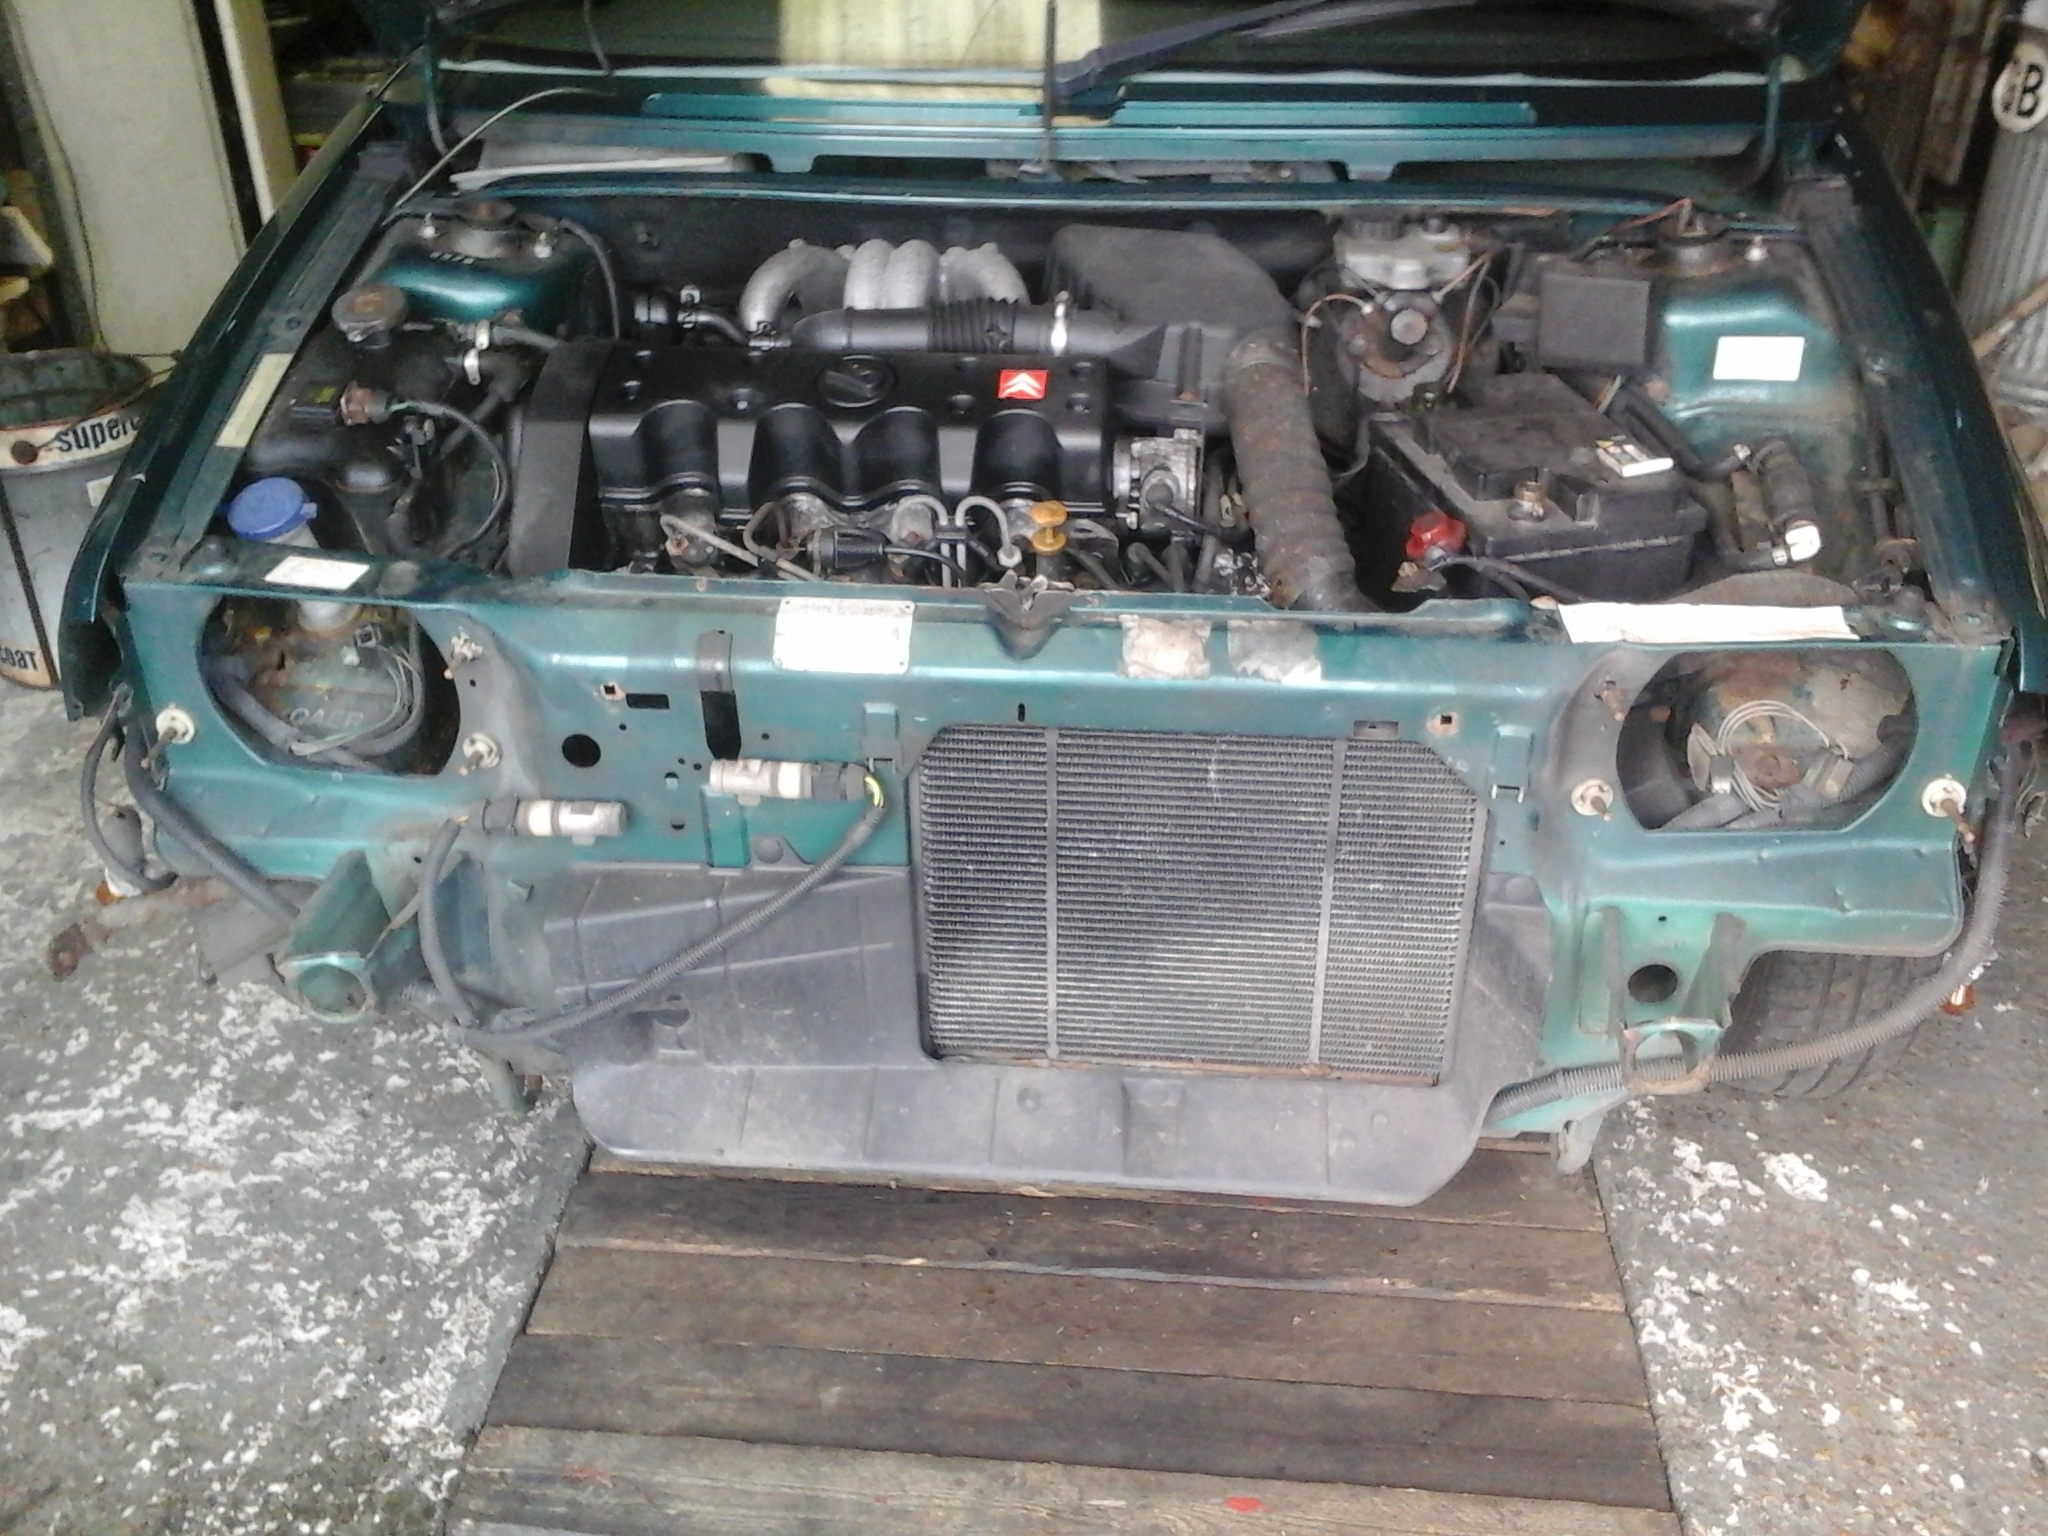
1. Start at the front and work back! As It is a complete strip down I am removing everything, so start with the plastic radiator shroud, held in by 4 plastic press fasteners. Whilst we are on easy bits undo the jubilee clip holding the air intake hose on to the air filter box. Unclip from the inner wing and remove.
2. Next unbolt the bonnet catch from the slam panel, (2 x 13mm bolts).
3. The remove throttle cable, simply remove spring clip, free the nipple and withdraw, remember to replace the spring clip on the cable so it doesn’t get lost.

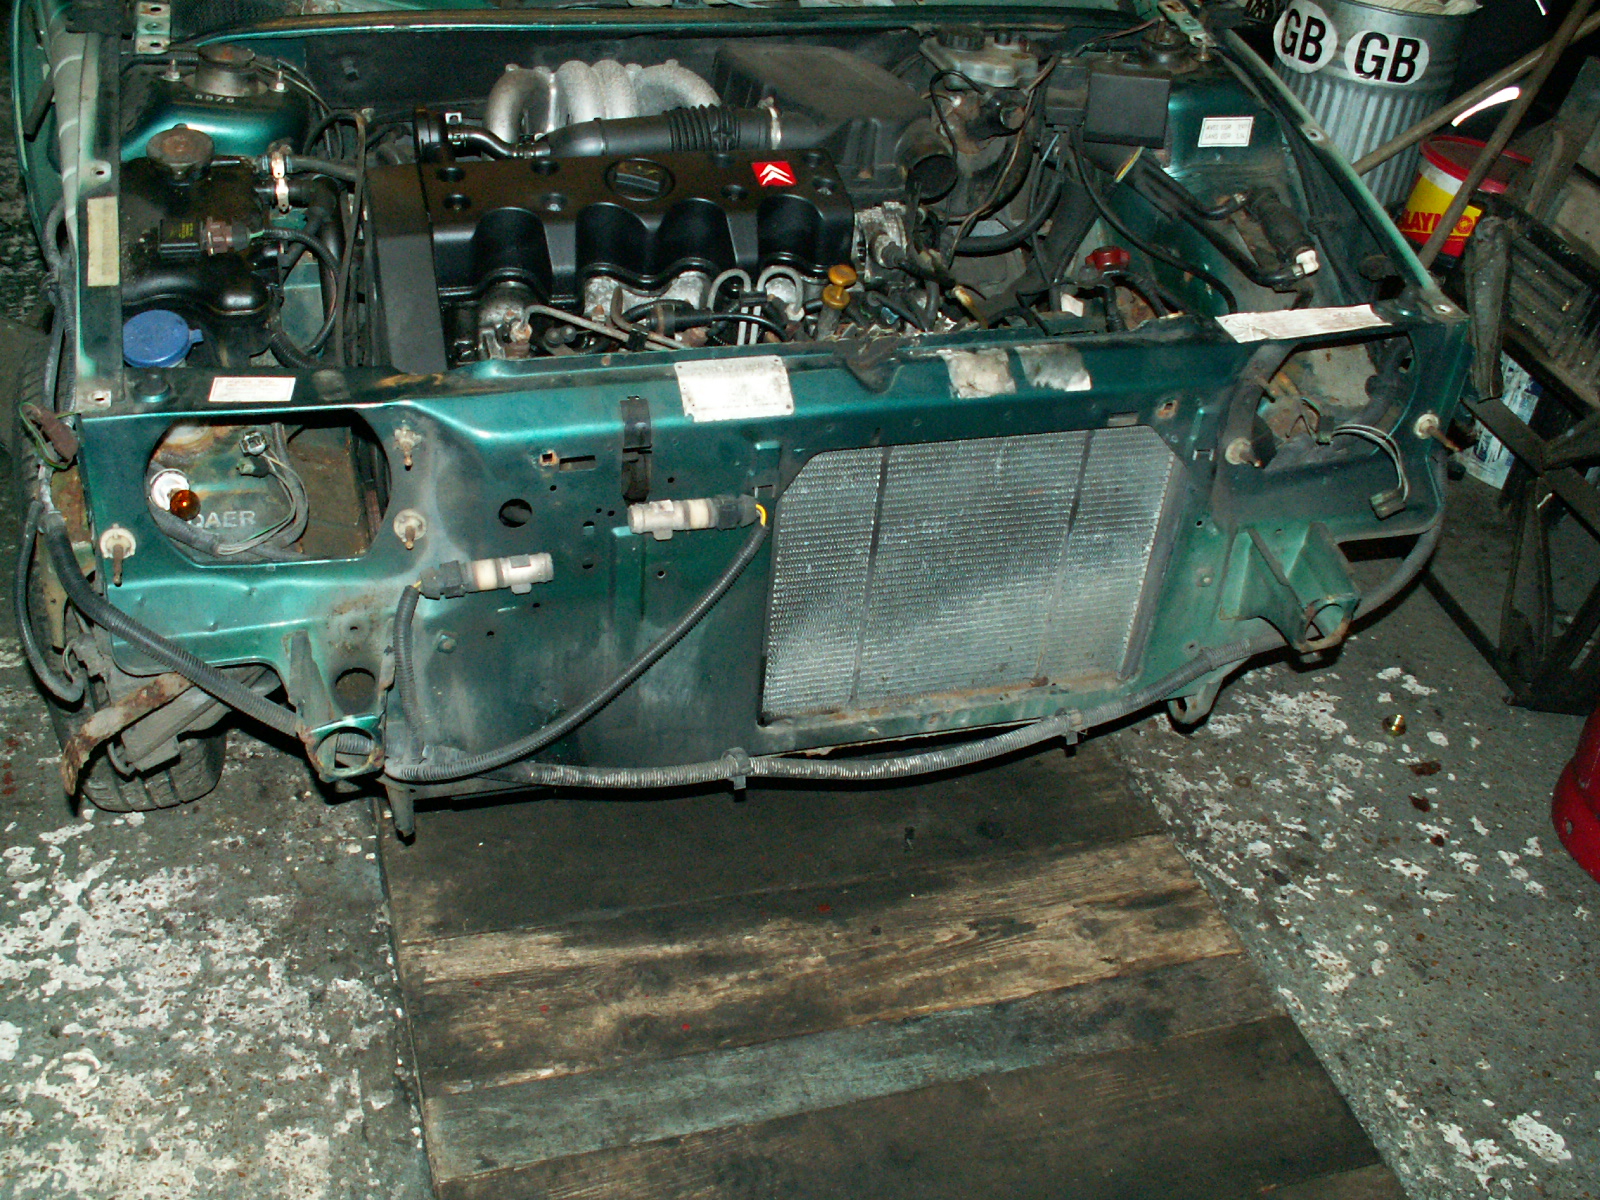
4. Now onto the radiator. First undo the single 10mm bolt at one end of the fan unit, Slide the fan unit to the right and remove. I found it easiest to drop the fan unit down and remove underneath. You also need to unplug the cable from the fan motor. Next undo the jubilee clips both ends of the top hose and remove the hose. Unplug the blue connector which is the temperature sensor for the fan.
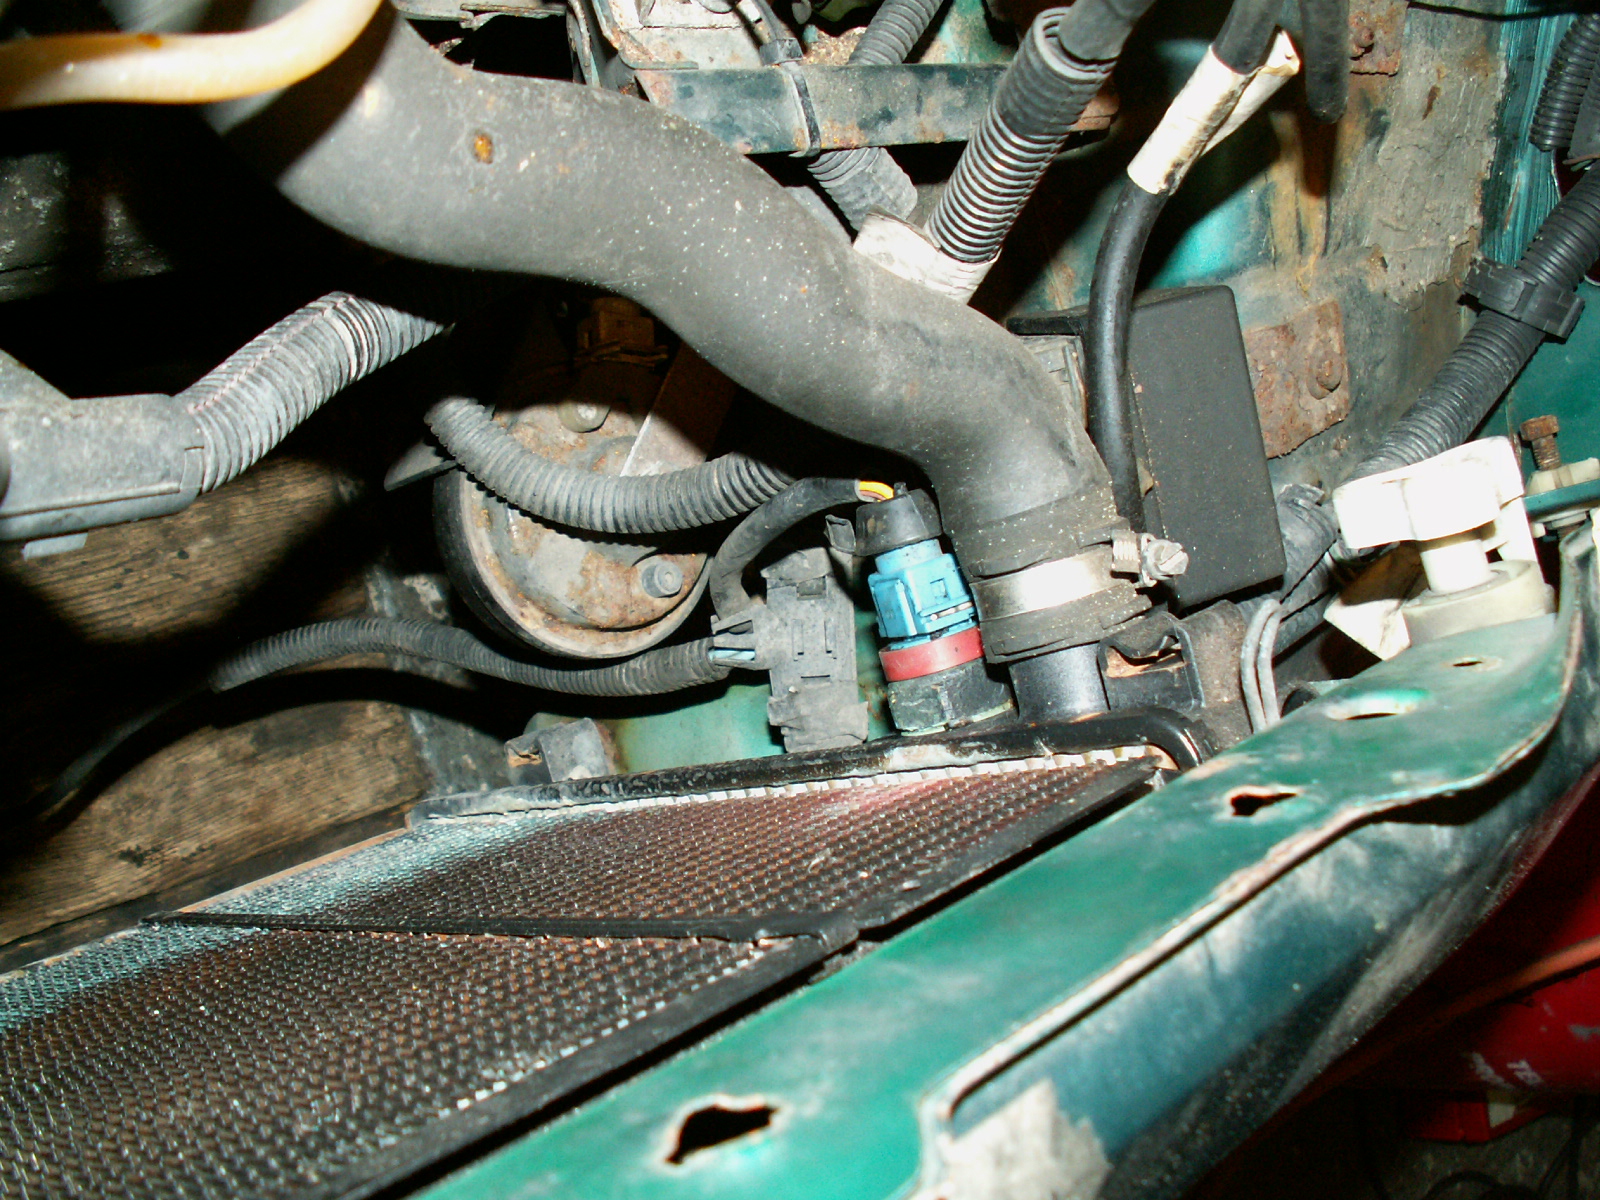
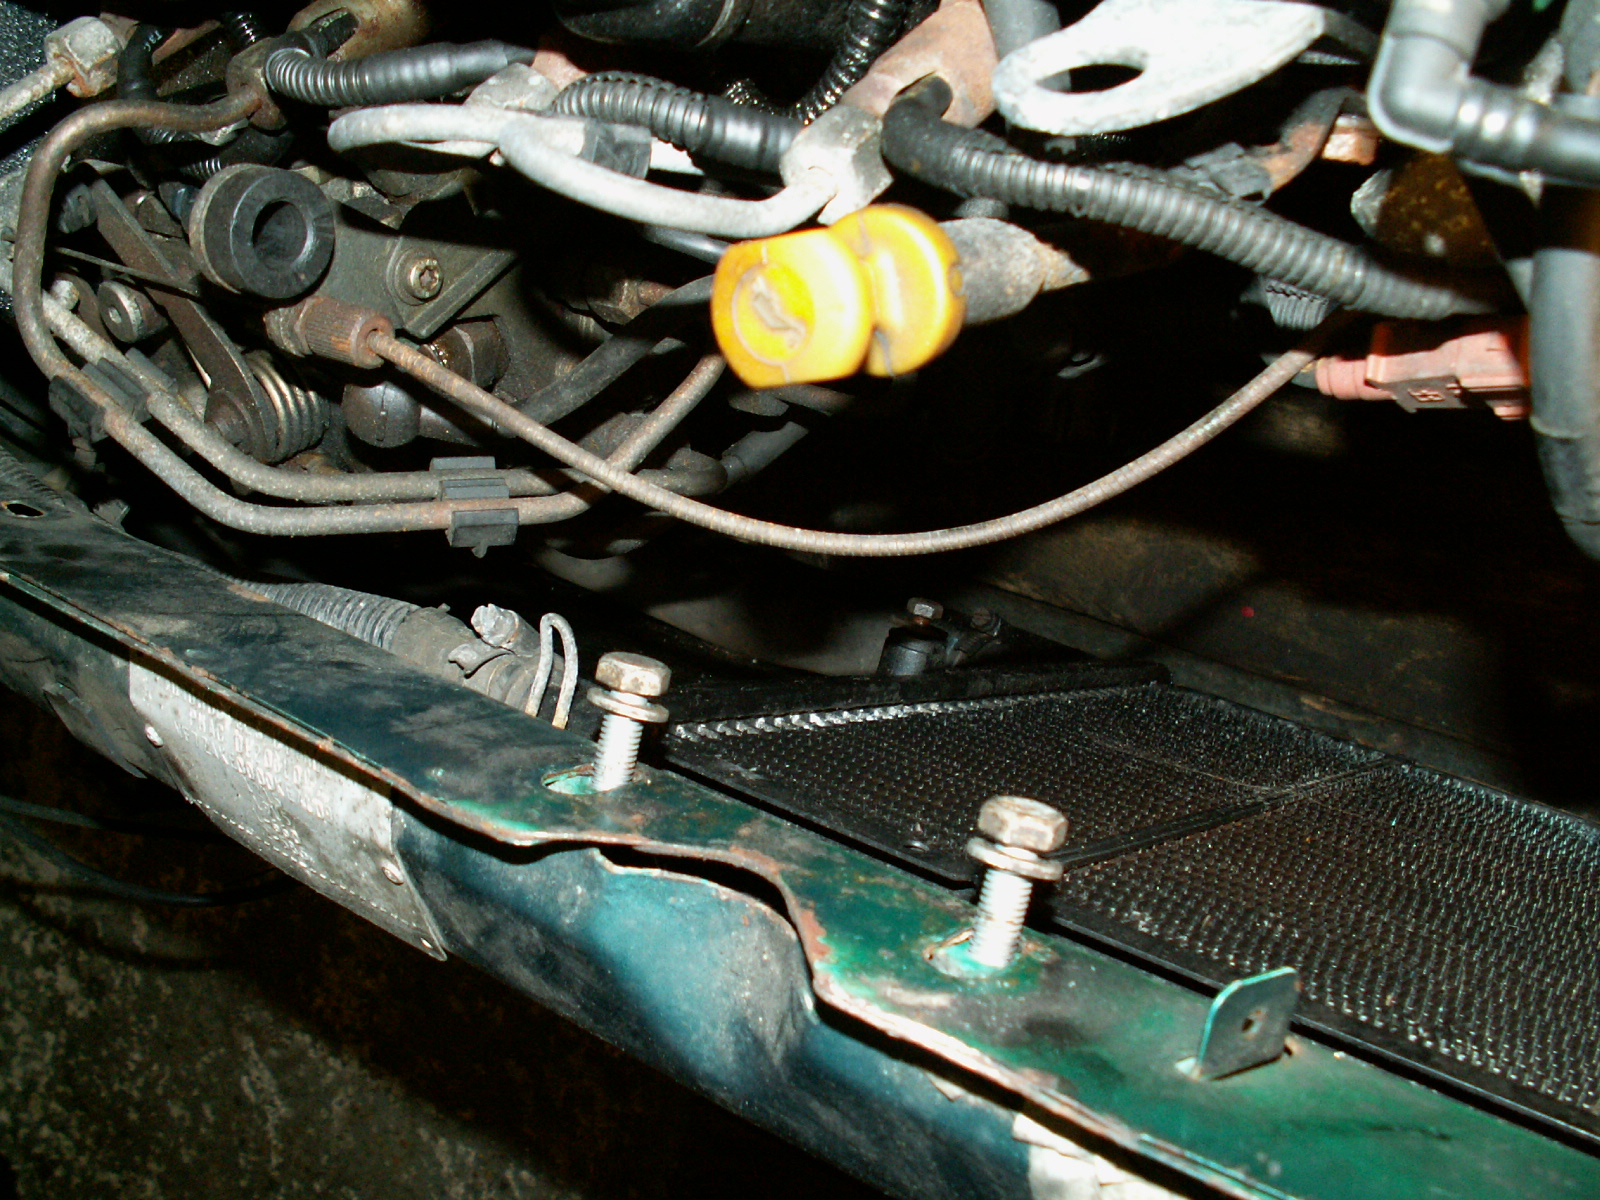
5. Then the bottom hose, just visible in the picture below.
6. Next it is onto the air intake, undo the 4 (might be 5 I can’t remember) screws and the jubilee clip and lift the top of the airfilter housing. The element was filthy so this was thrown away.
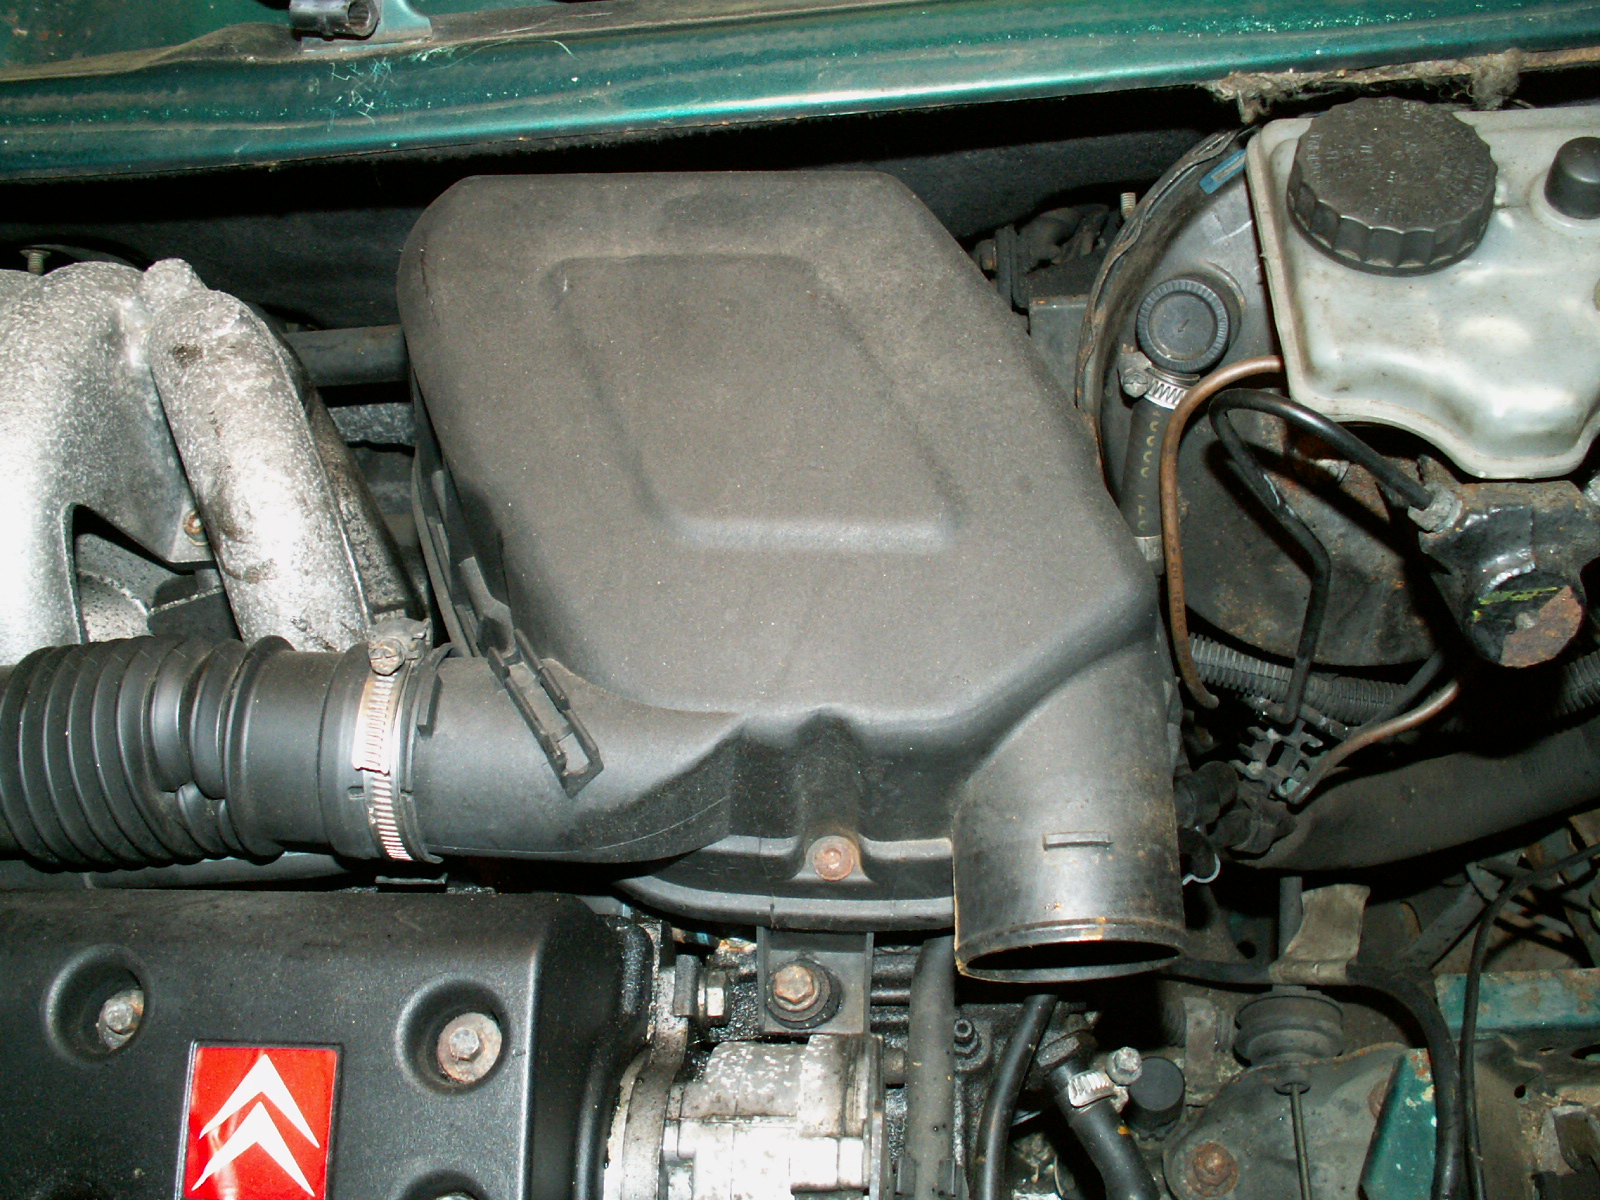
7. Undo the single bolt holding the lower part of the filter housing and simply lift up to remove.

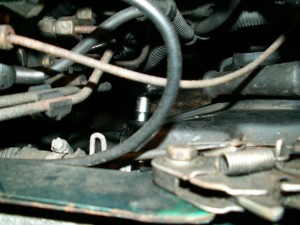
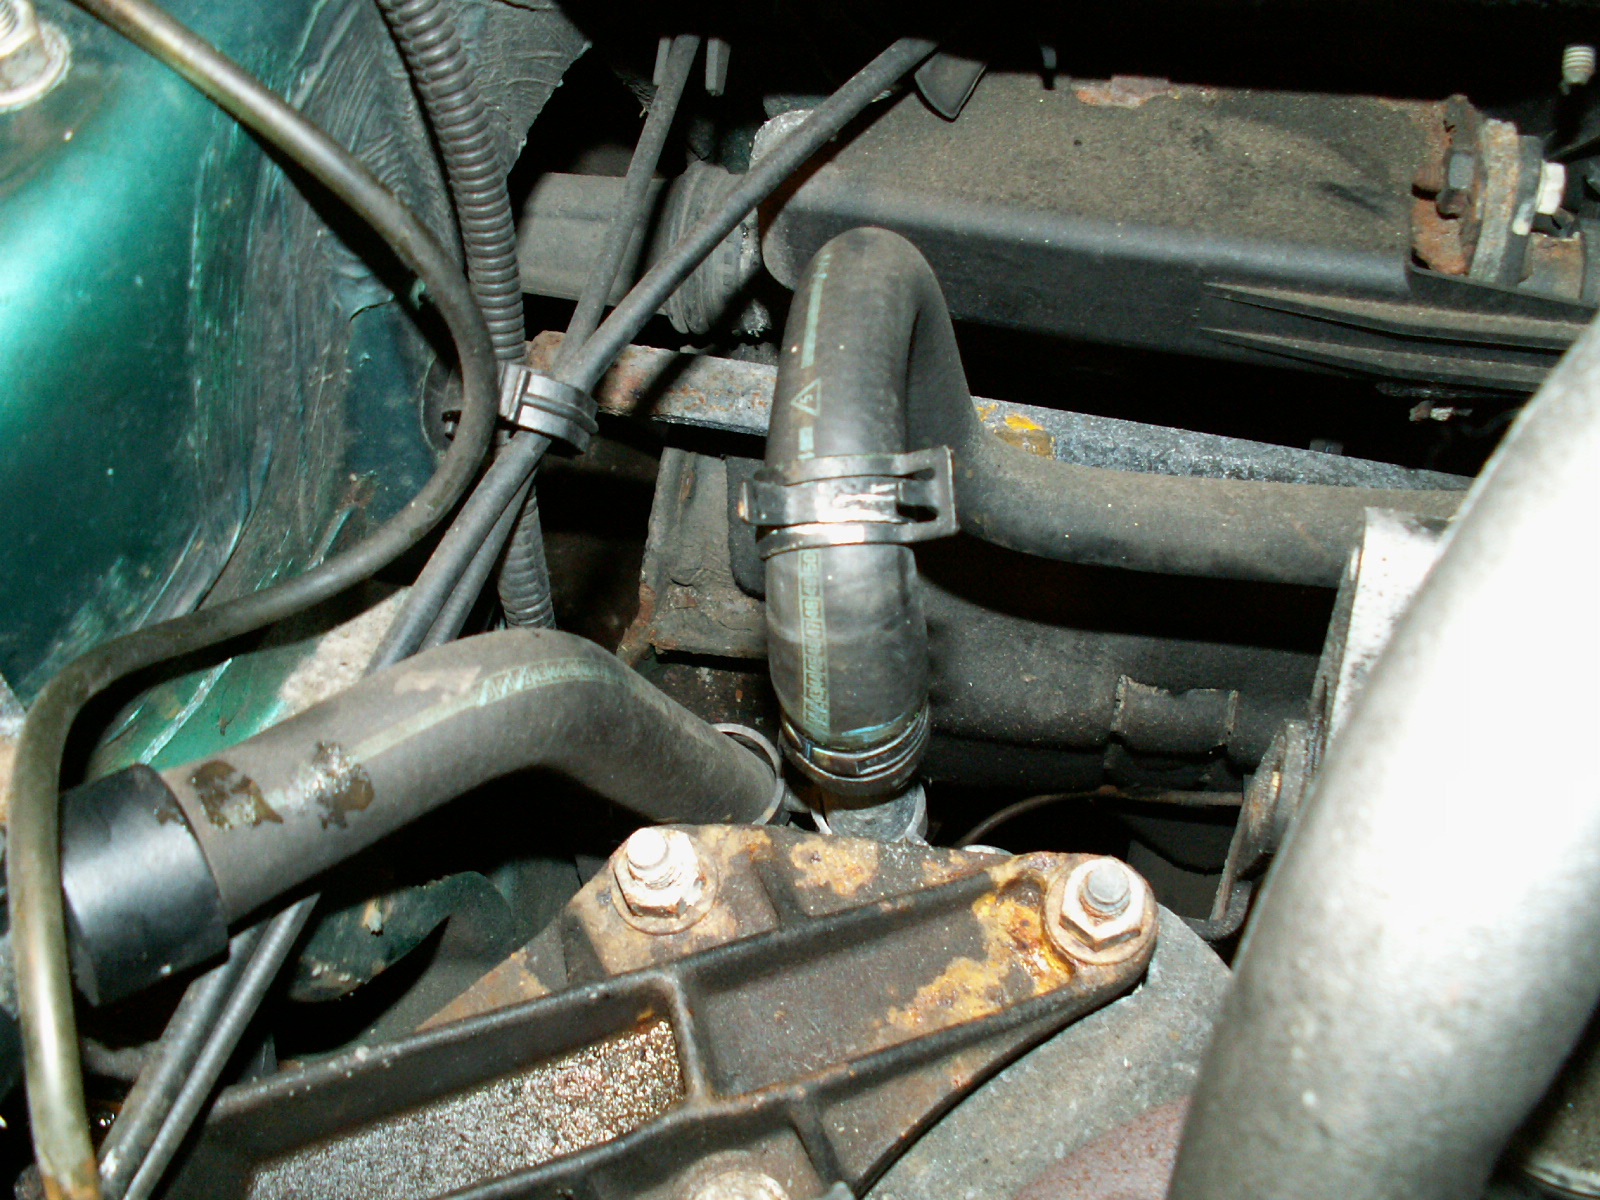
8. Air filter housing out of the way, now disconnect the heater hose seen here in the centre of the picture.

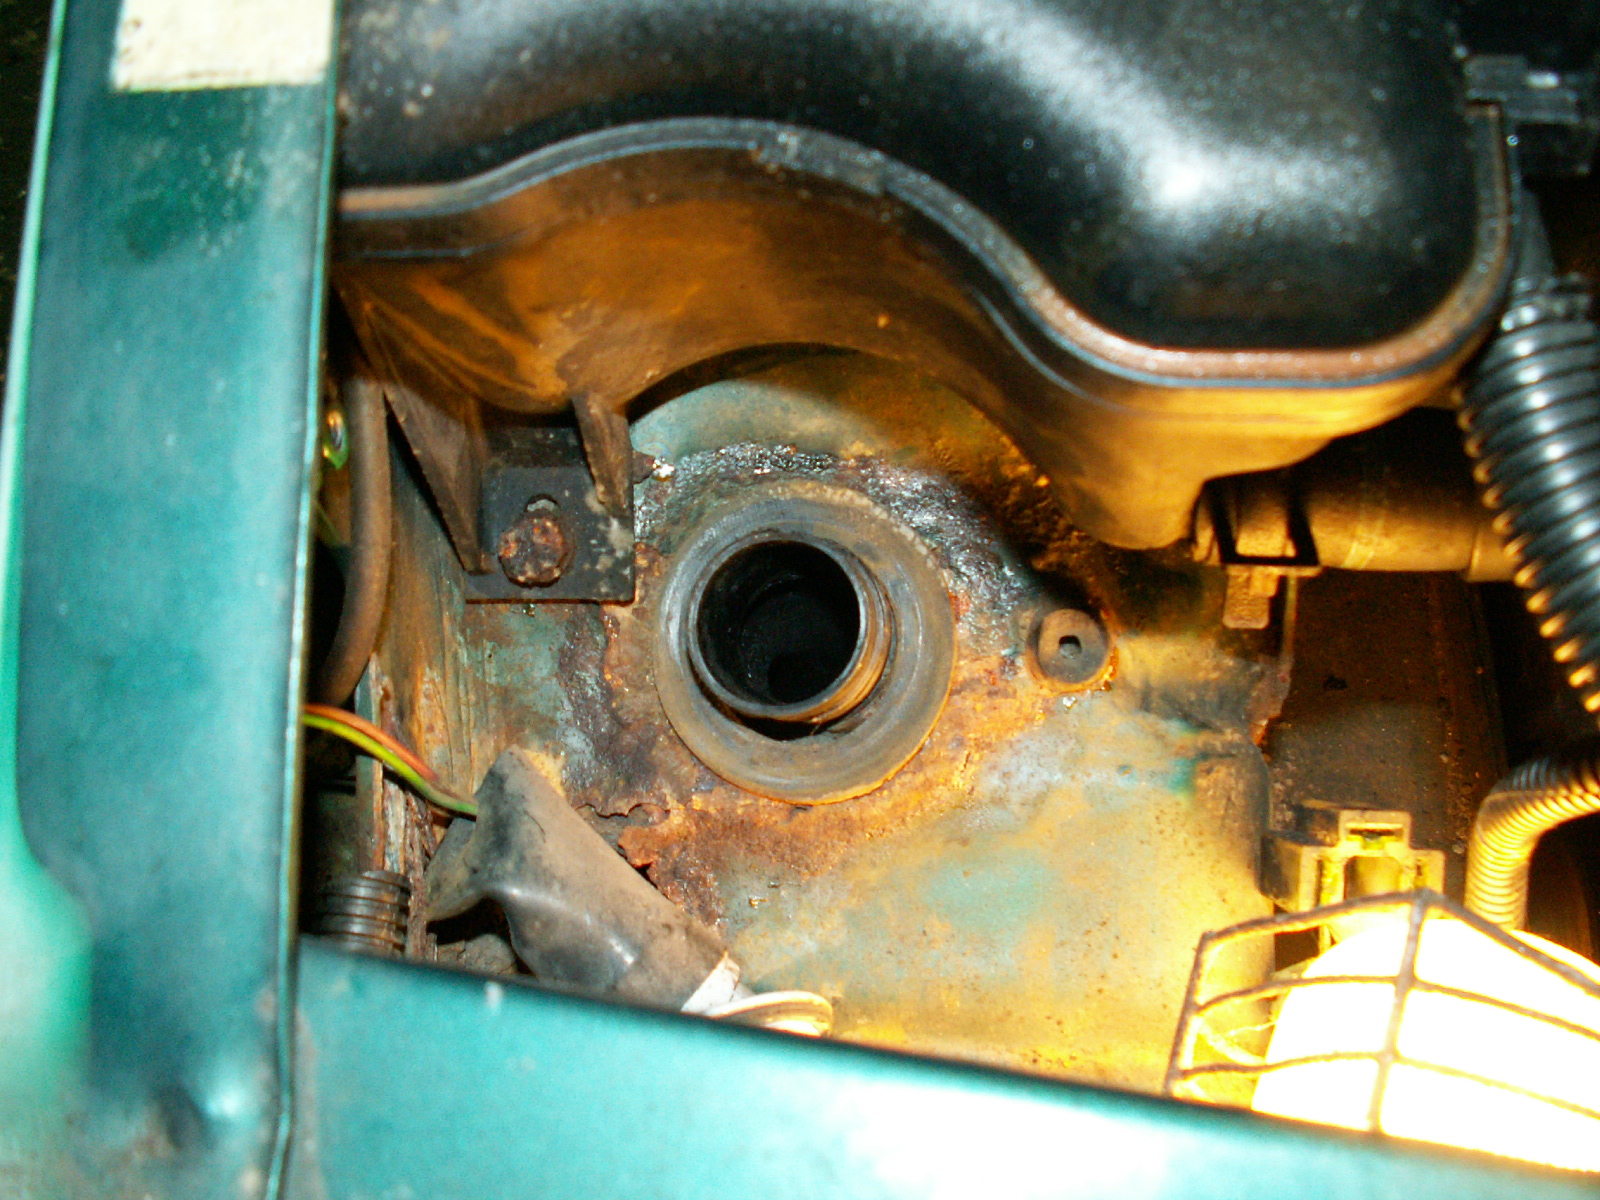
9. At the other end we disconnect some more hoses and remove the header/expansion tank.
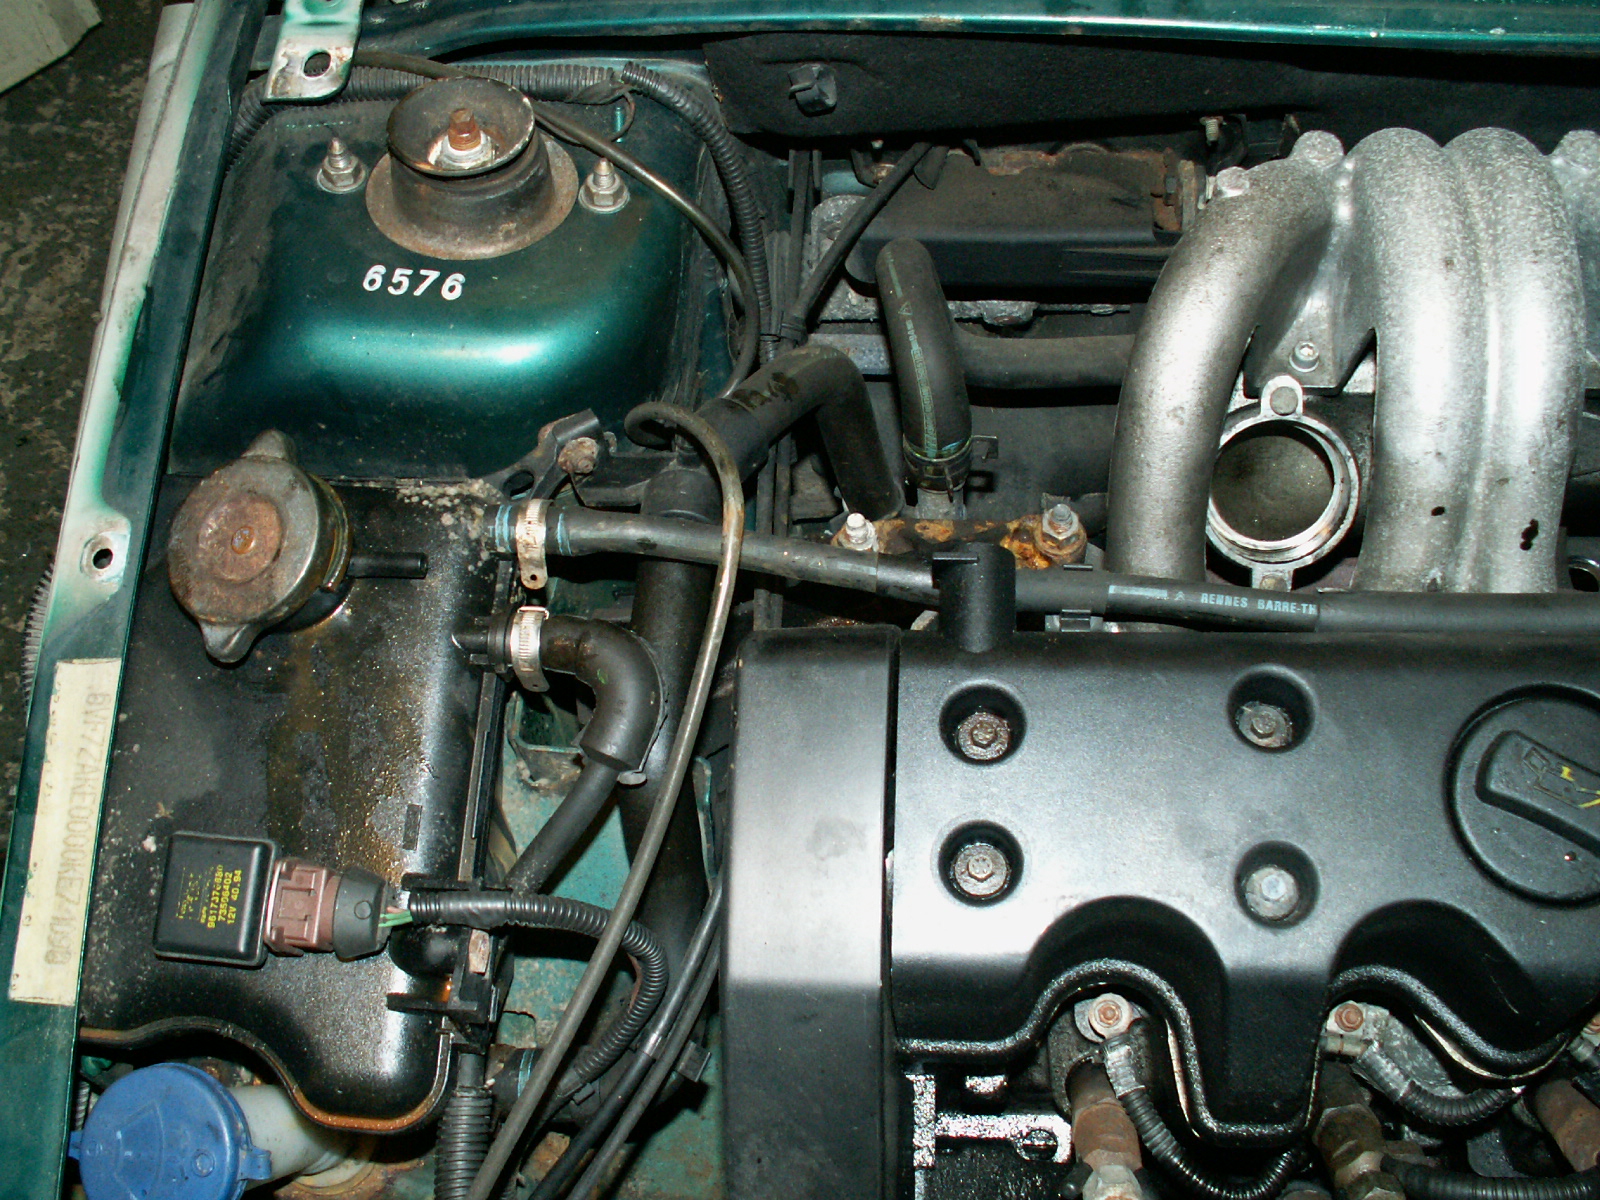
10. To gain access to the second bolt holding the header tank you need to unscrew the filler neck of the windscreen washer bottle.
11. Unclip and free the end of the other heater hose at the back of the engine.
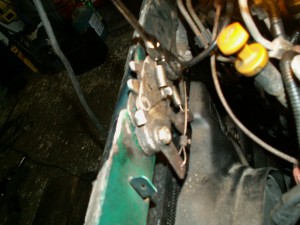
12. Hoses and tank removed its on to the clutch cable. Use a crow bar to move the clutch operating lever in and the free up the end of the clutch cable.
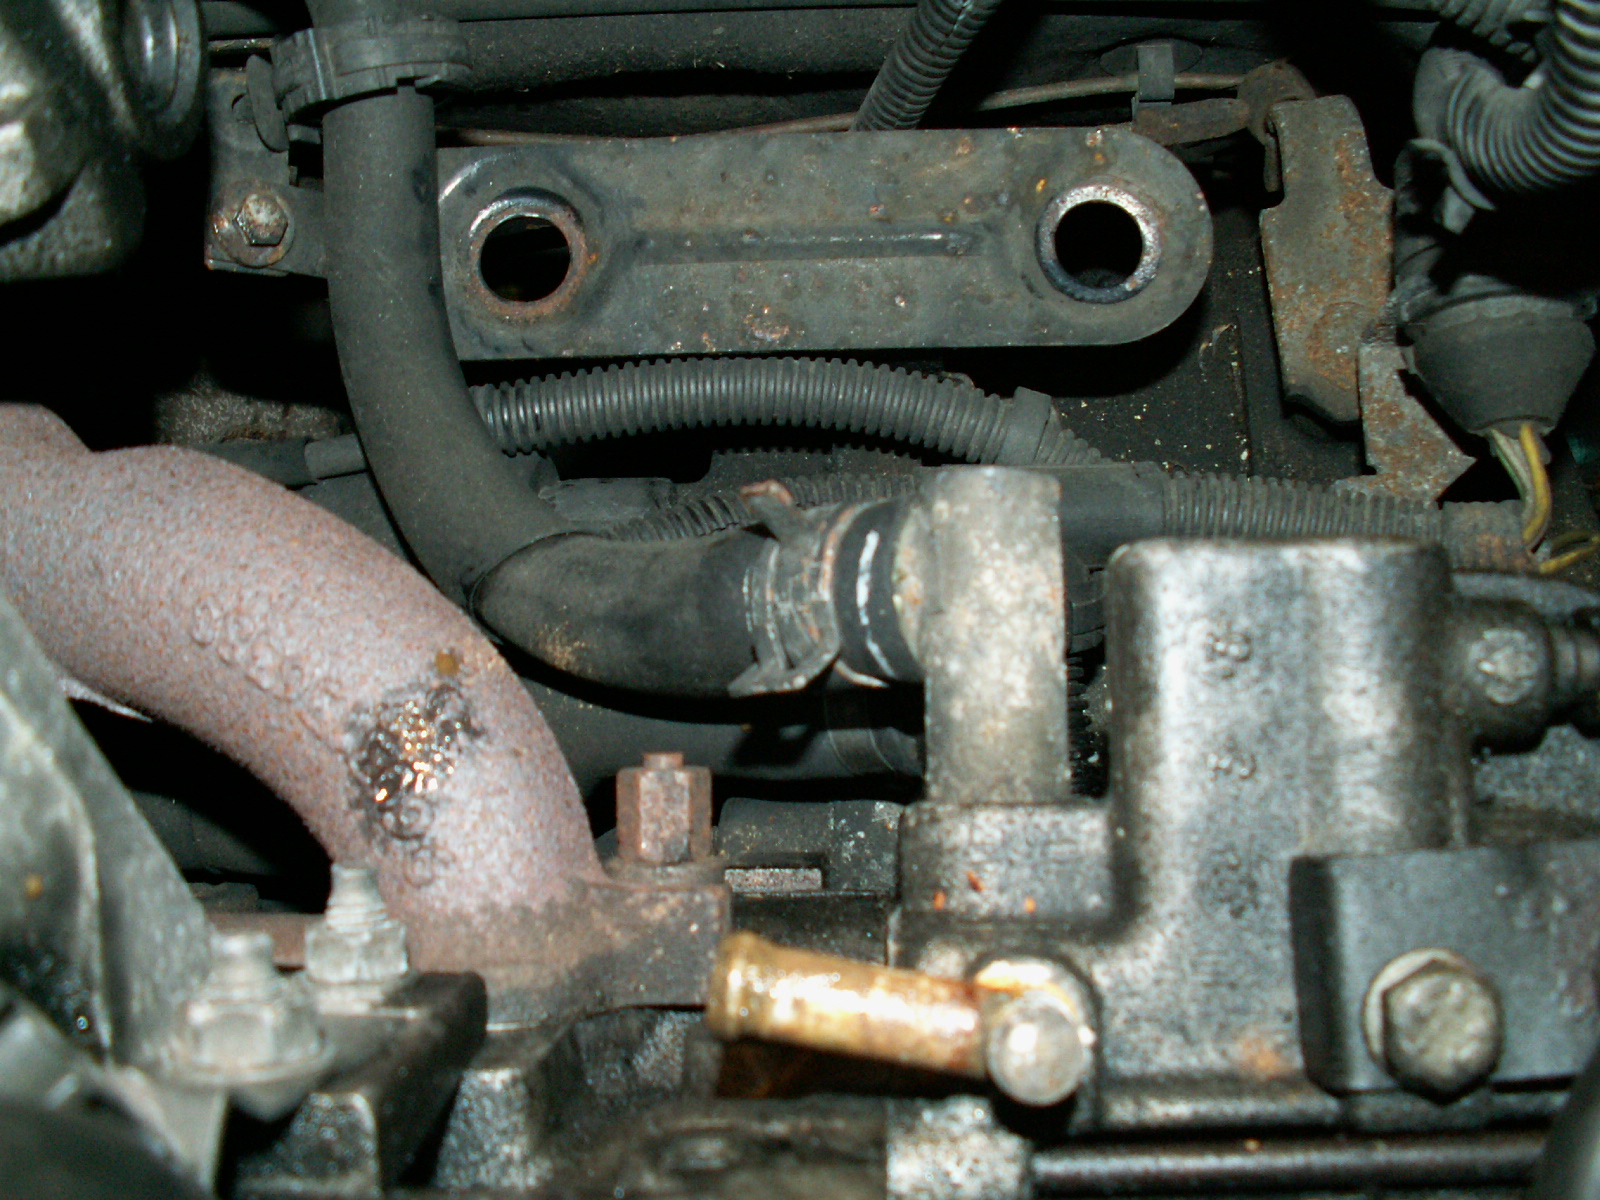
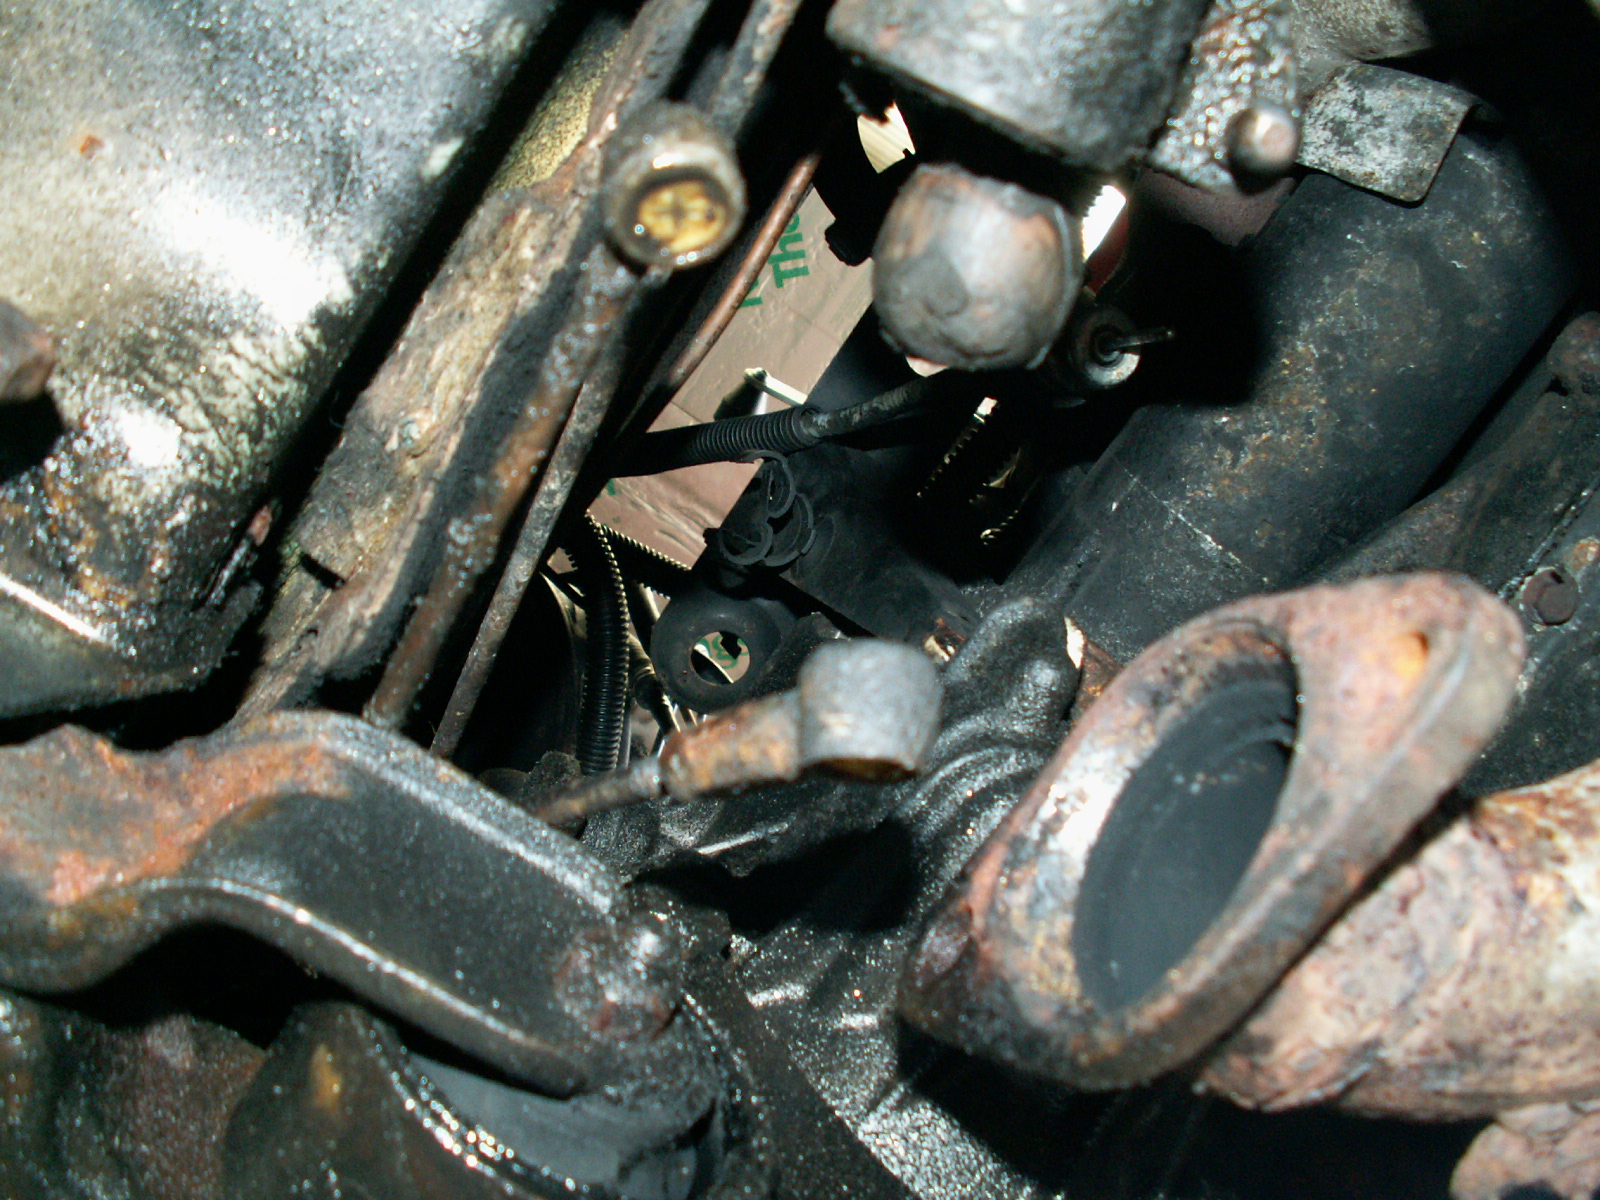
13. Remove the last coolant hose from the back of the engine, under the right hand end of the exhaust manifold.
14. Now disconnect the multiplug which connects the engine loom to the main wiring loom (just under the servo).
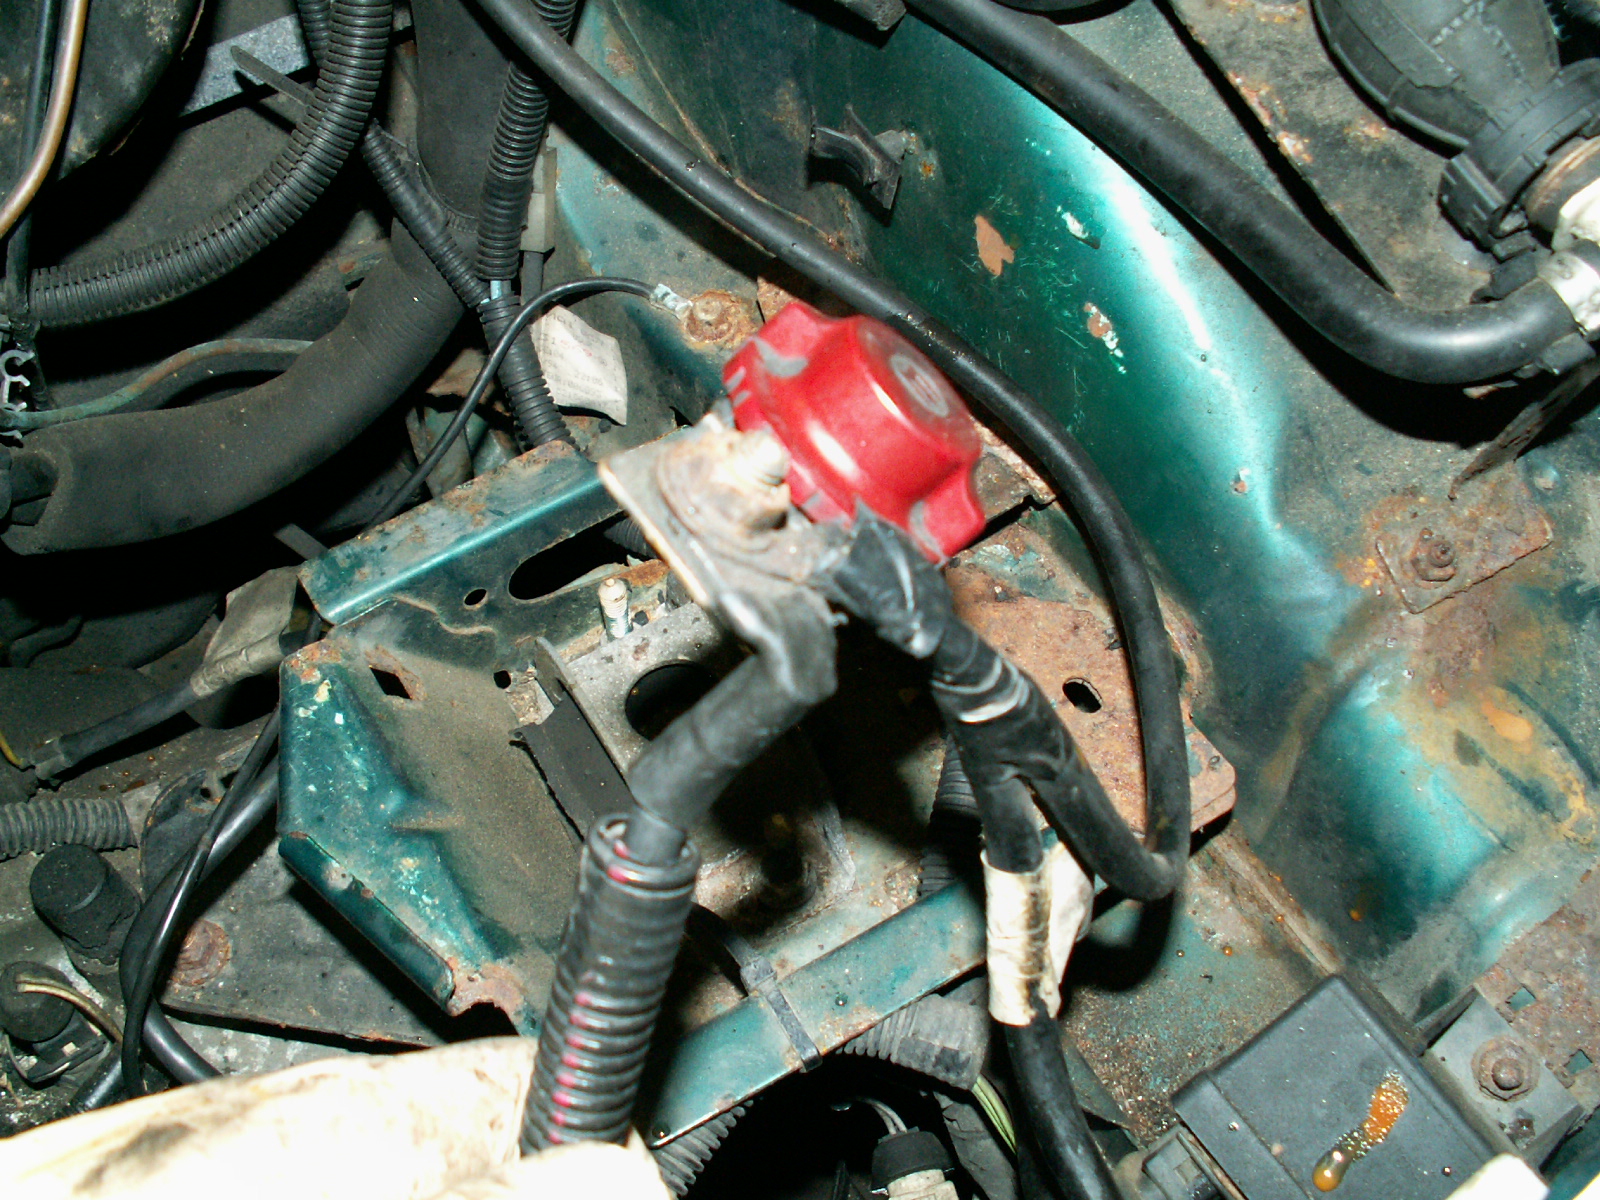
15. Now disconnect the positive lead that goes off to the starter motor. Access at the starter motor end is restricted so disconnect it at the end which connects to the positive of the battery.
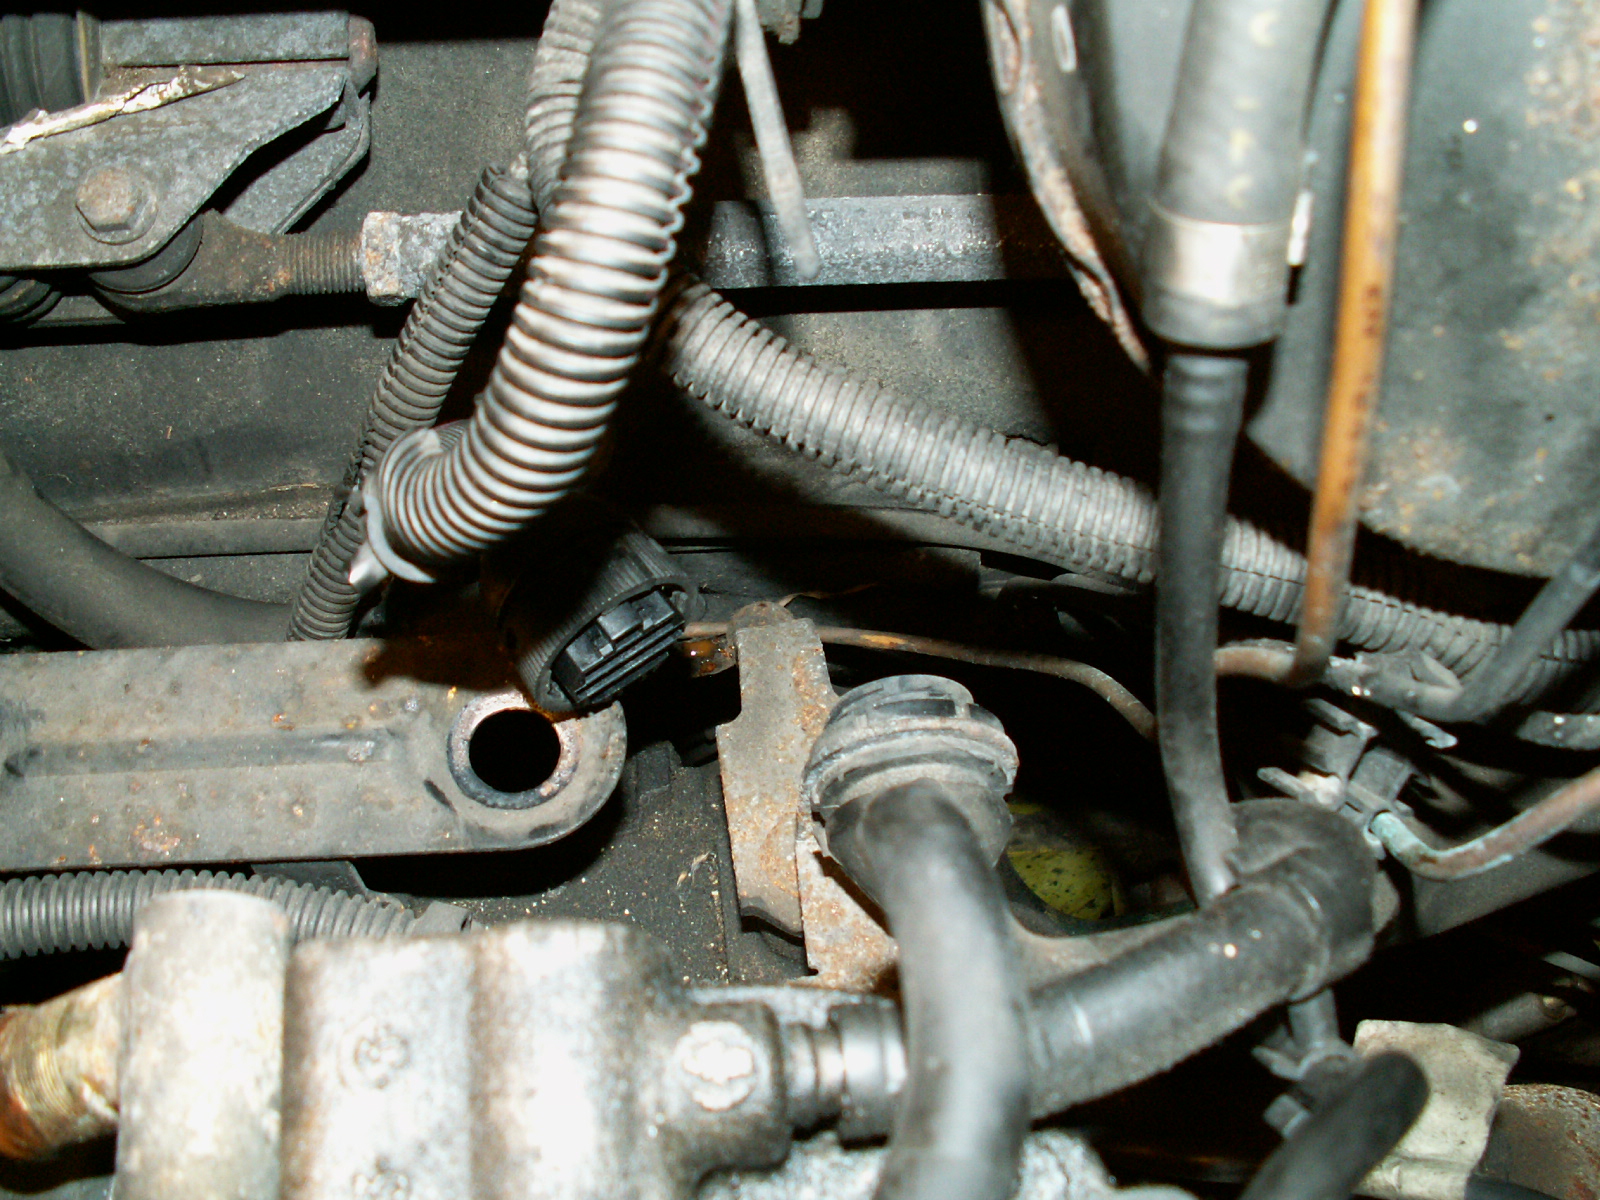
16. Now disconnect the diesel flow and return pipes.

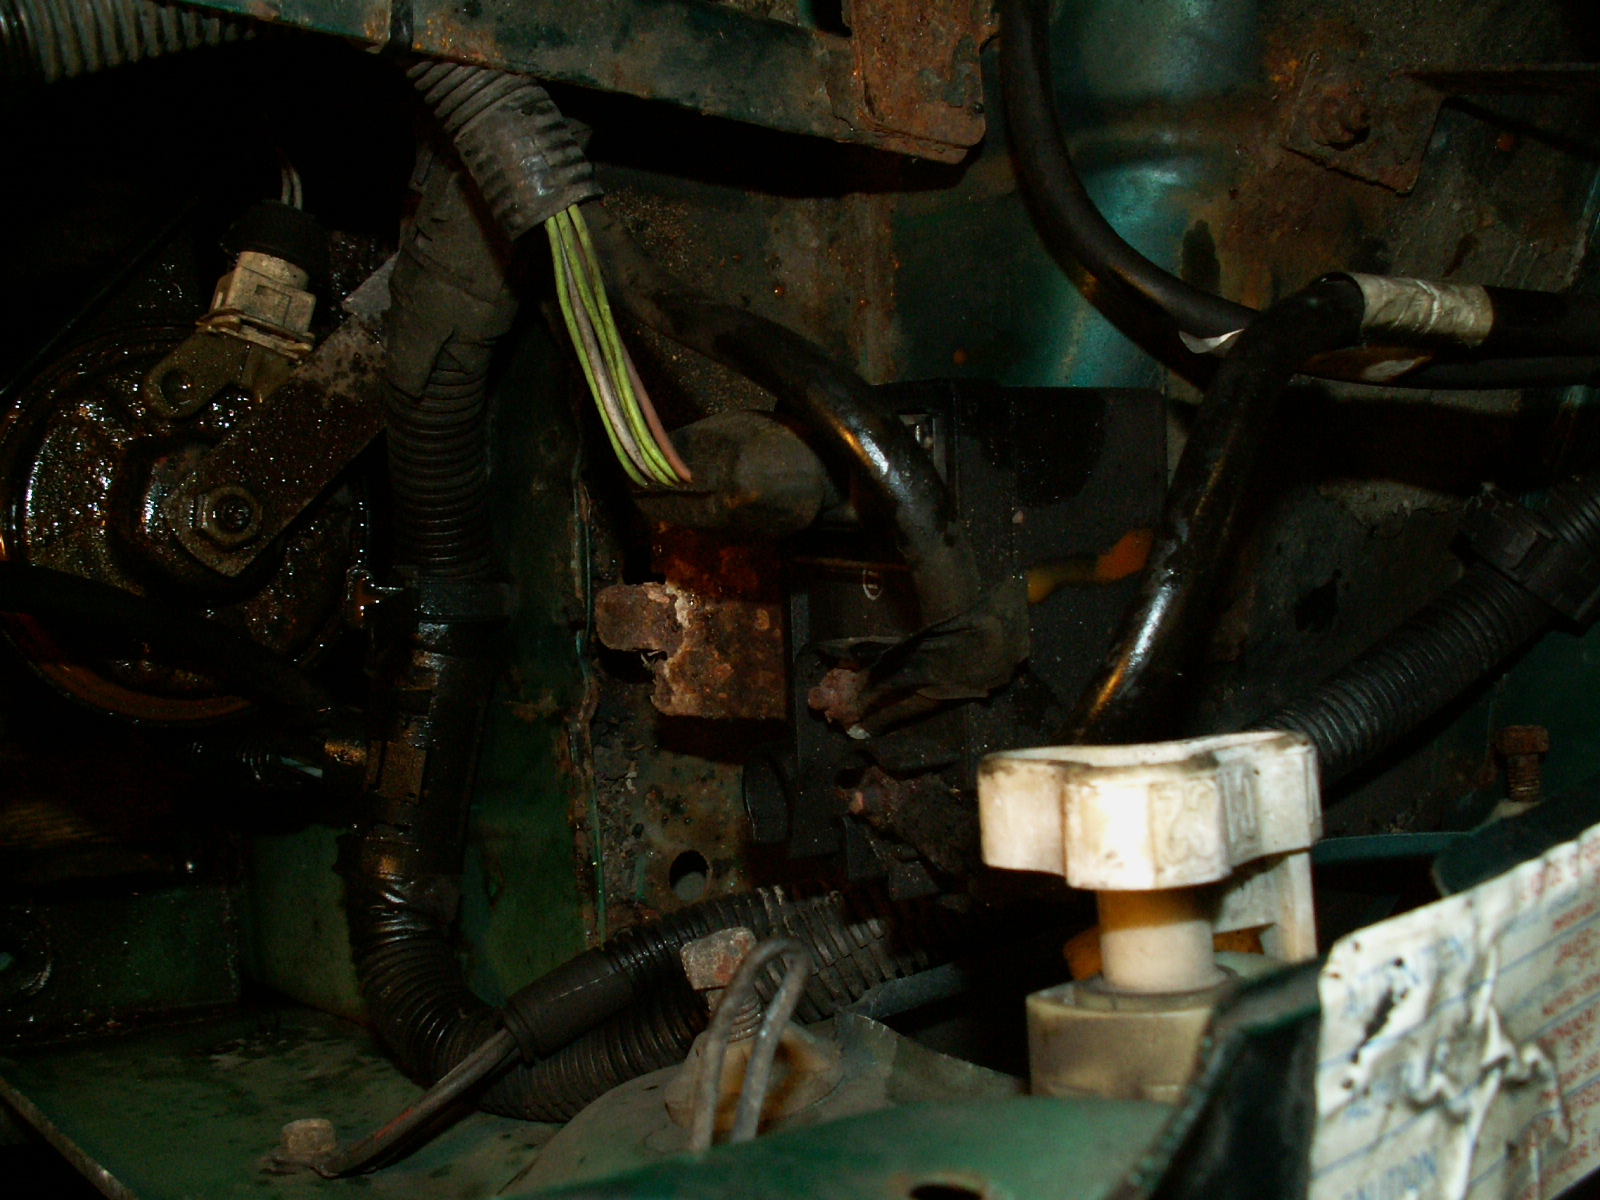
17. Disconnect the wiring on the passenger side inner wing.
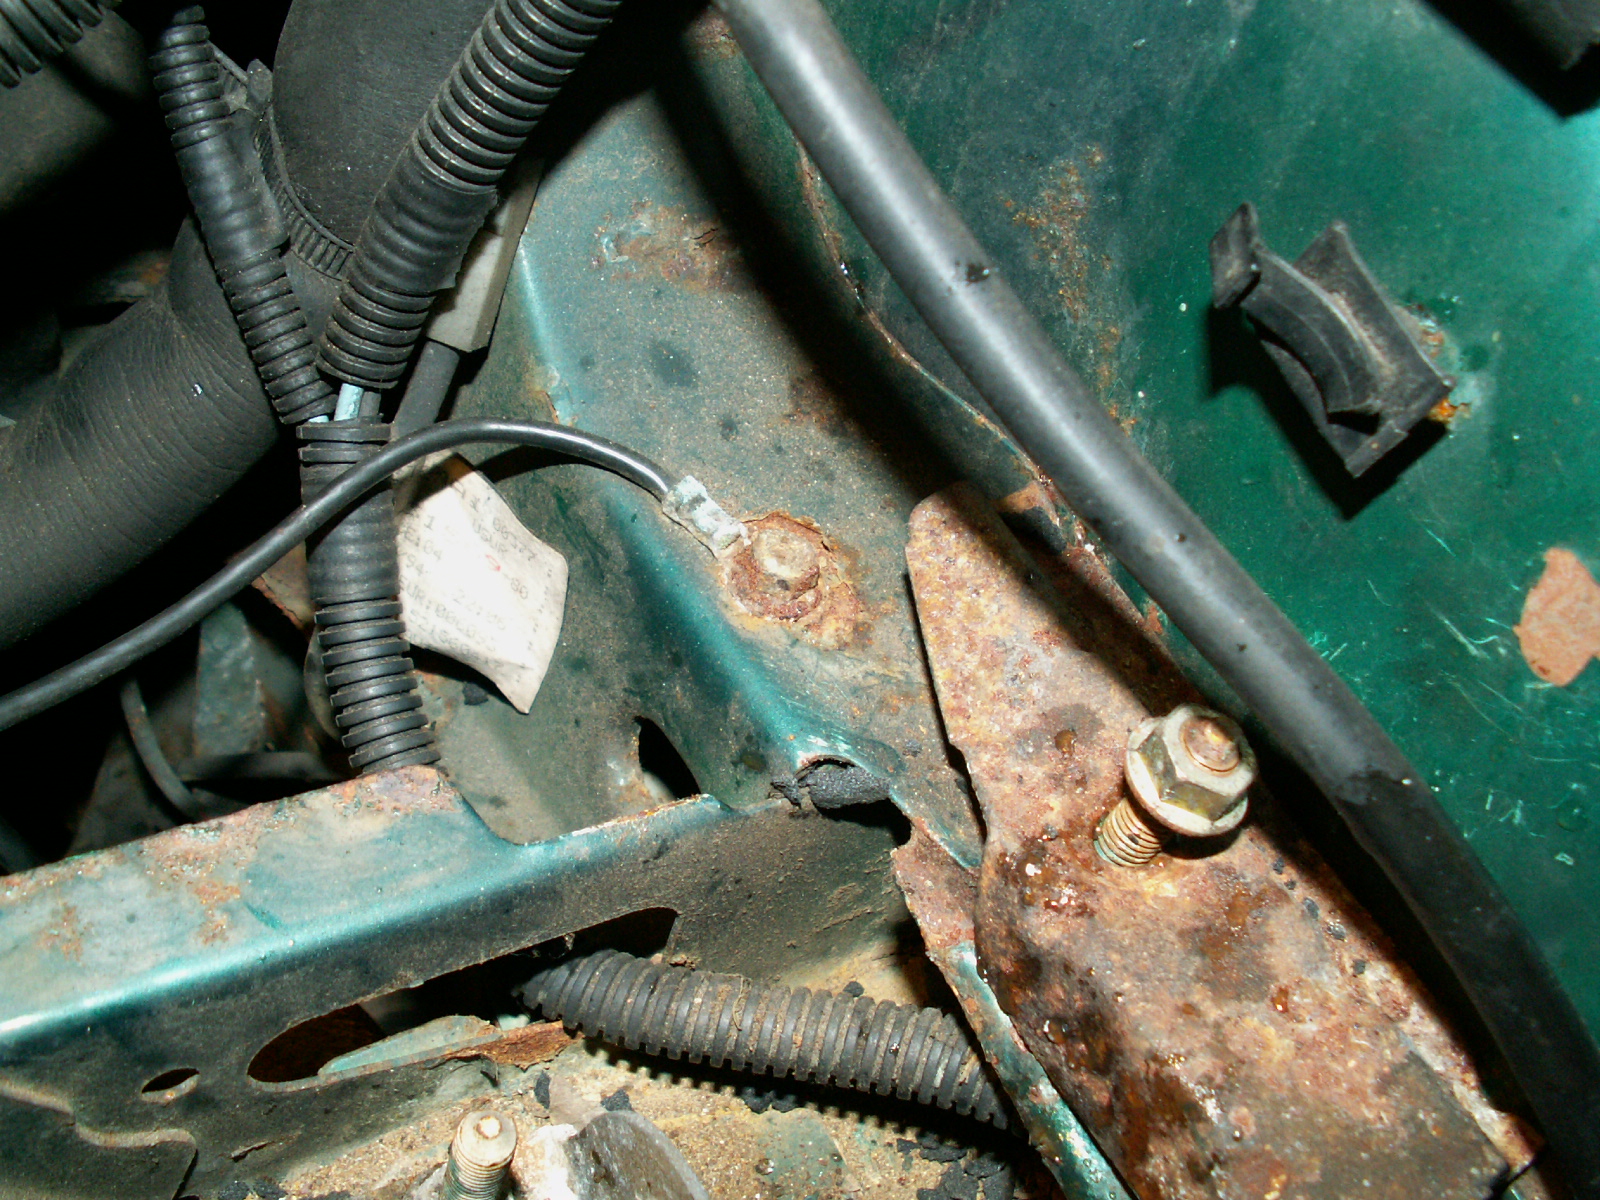
18. Finally remove the earth bonding wire.
19. Underneath the car remove the rear section of the exhaust by undoing the two spring bolts and removing the rubber hangers. It will easily come off as one piece. There is no need to remove the front pipe from the manifold.
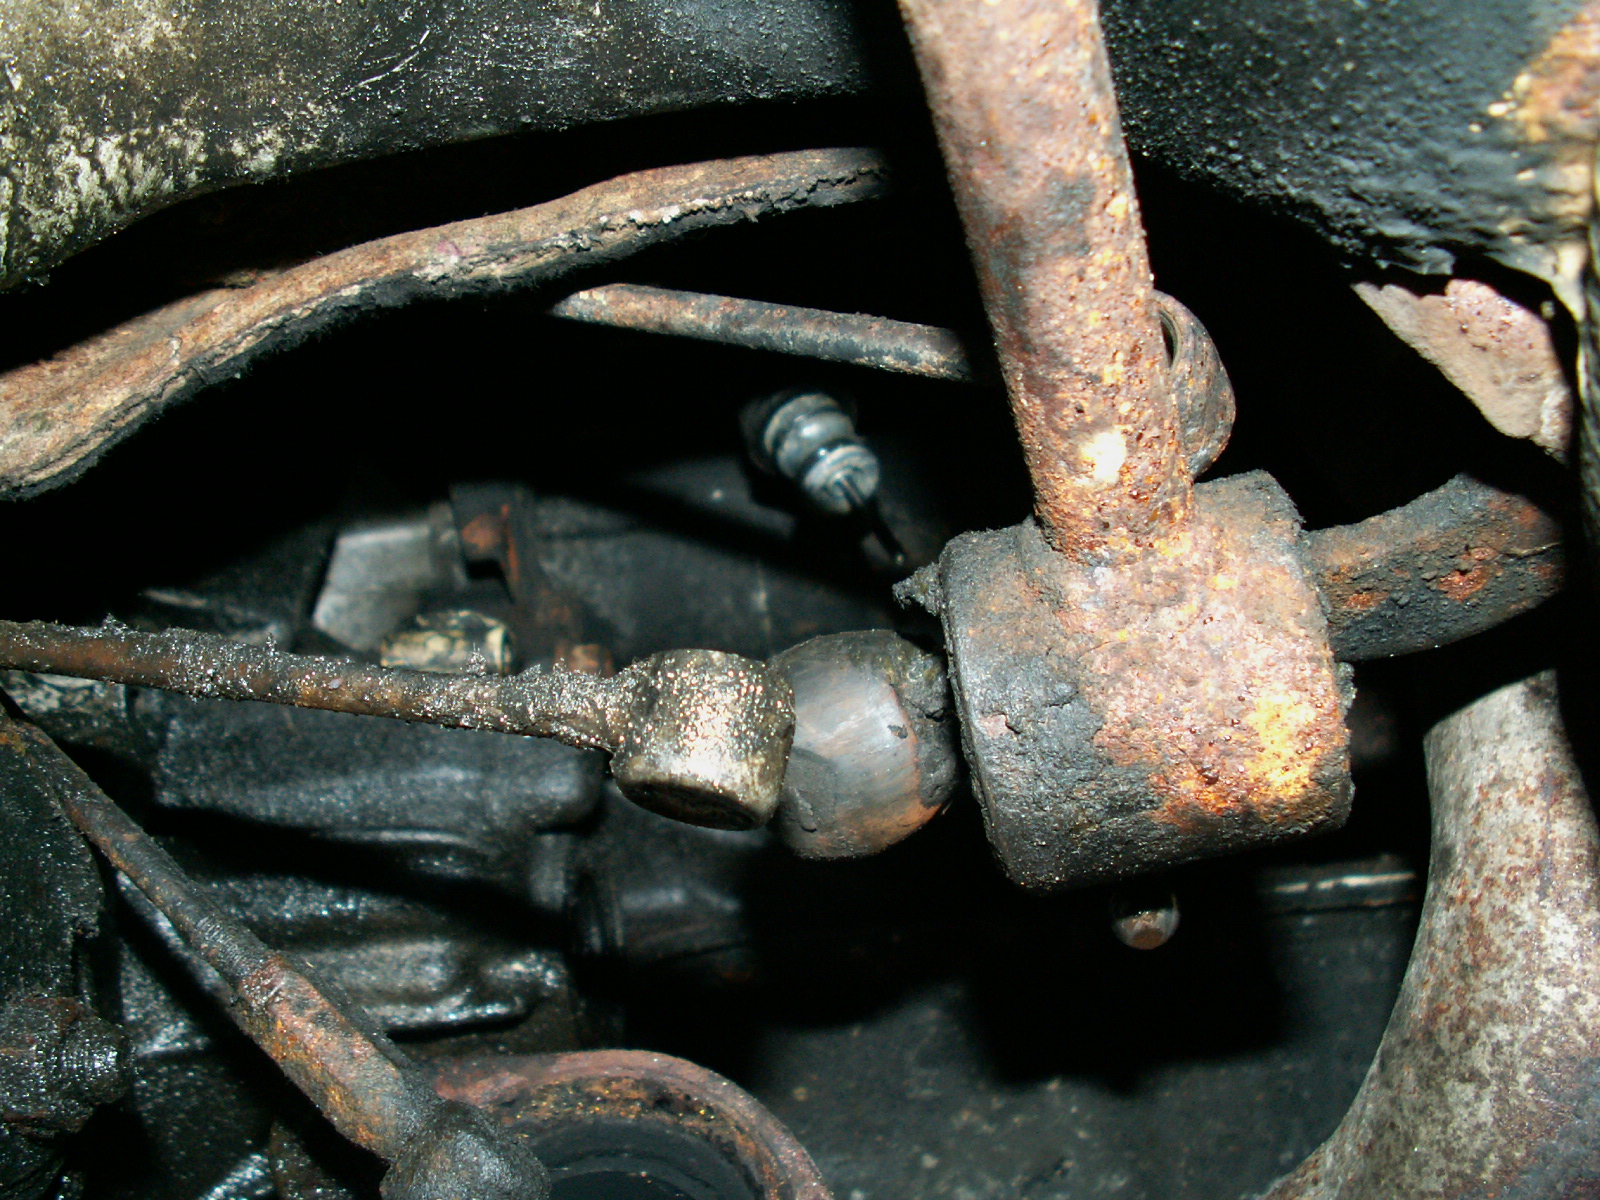
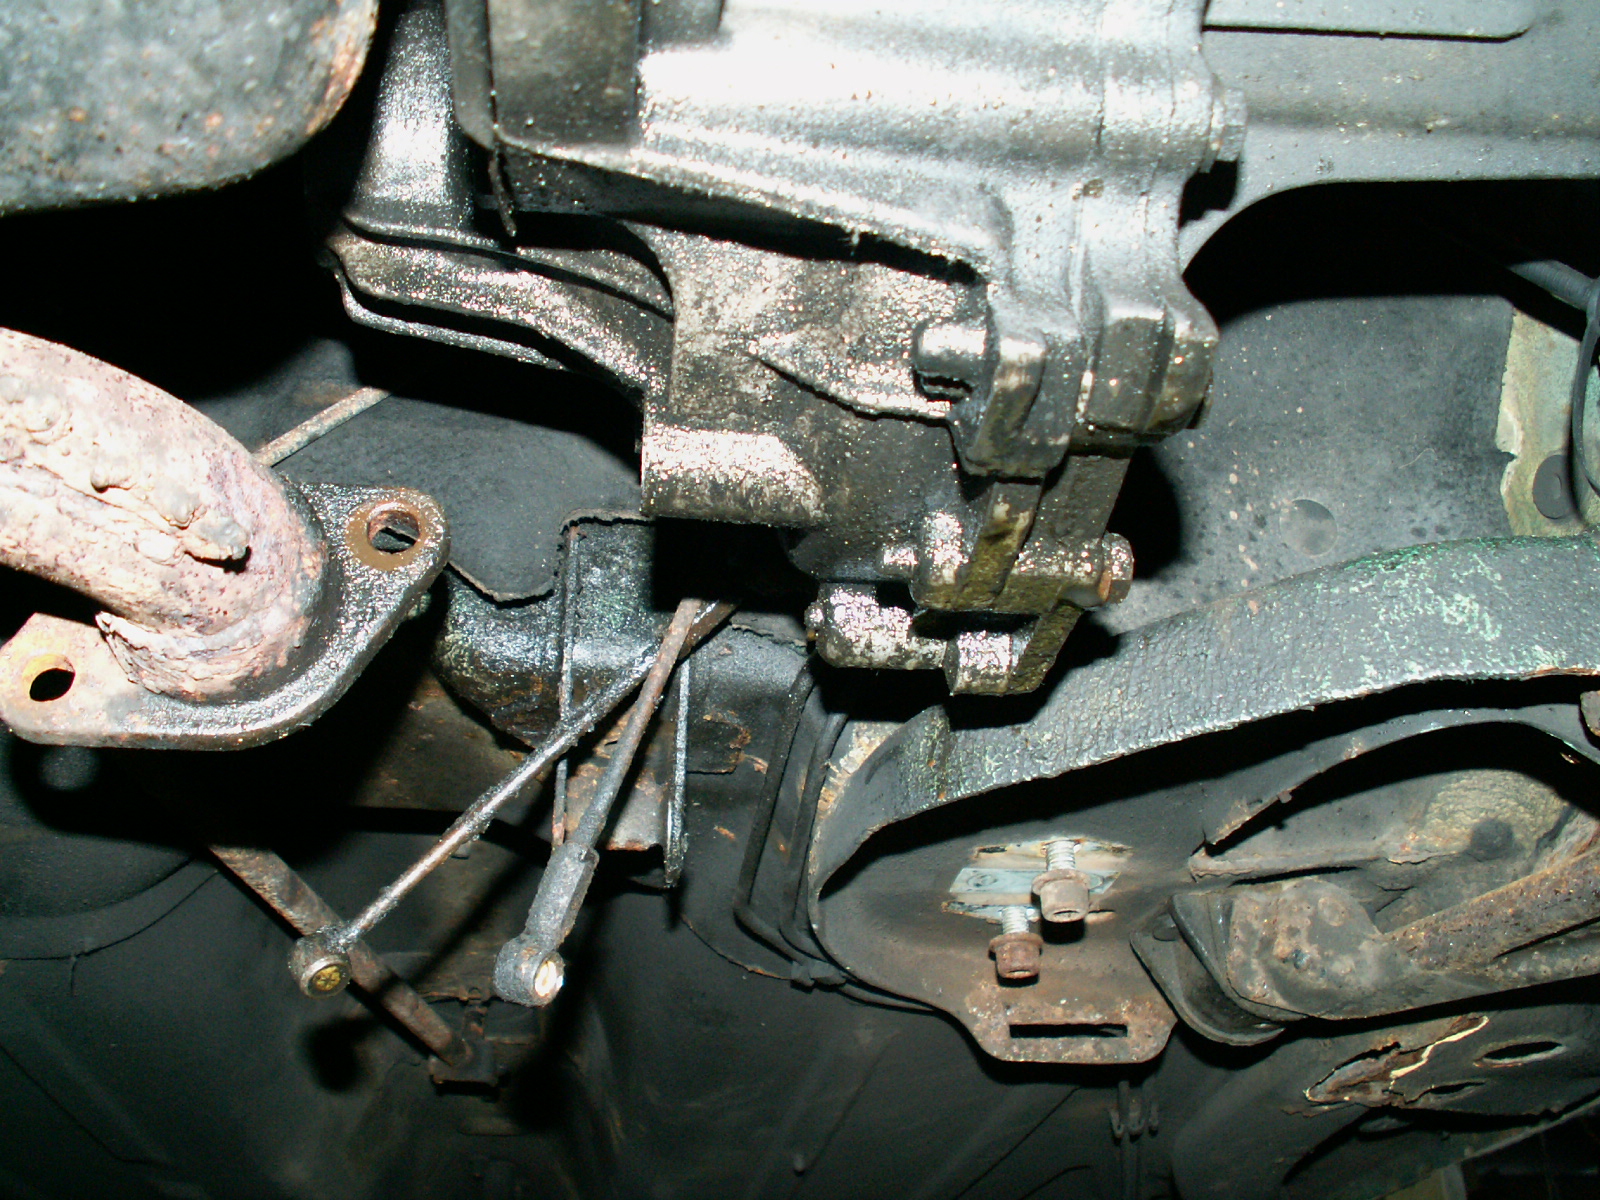
20. Whilst under the car, “pop” off the three gear linkages. Do this with a 13mm open ended spanner and lever them apart.
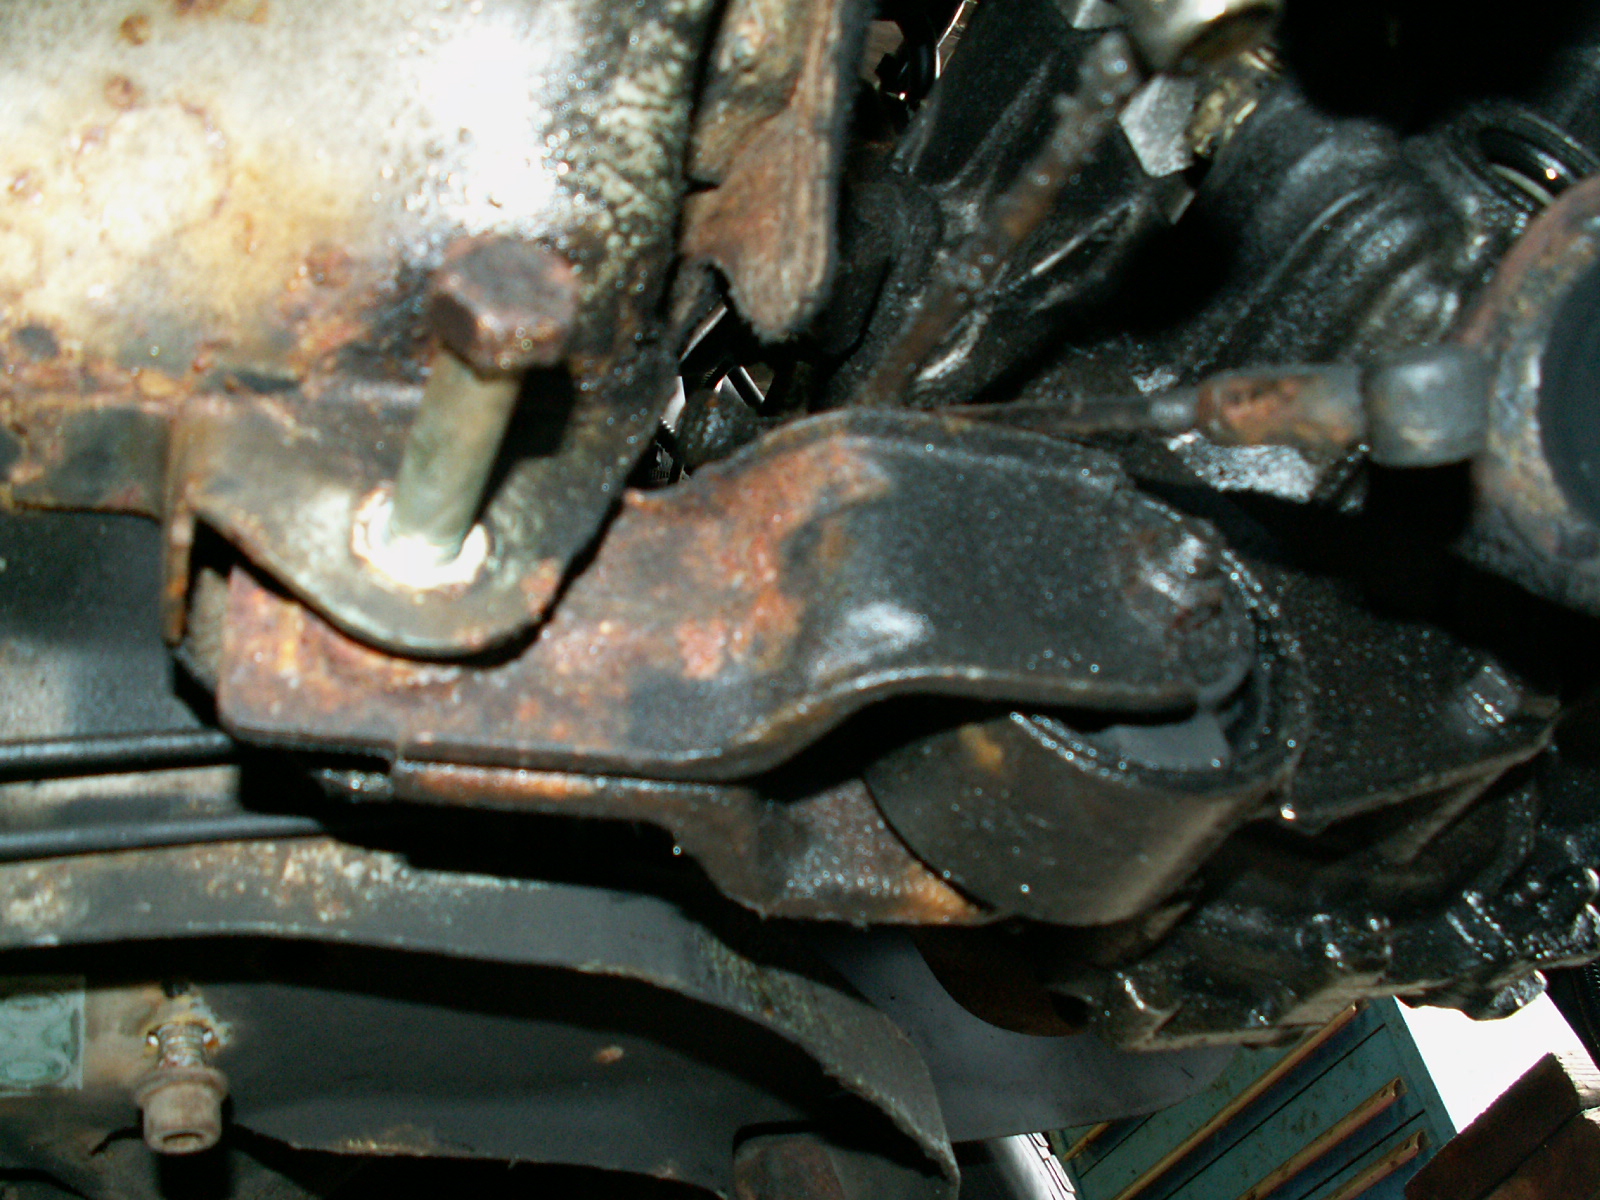
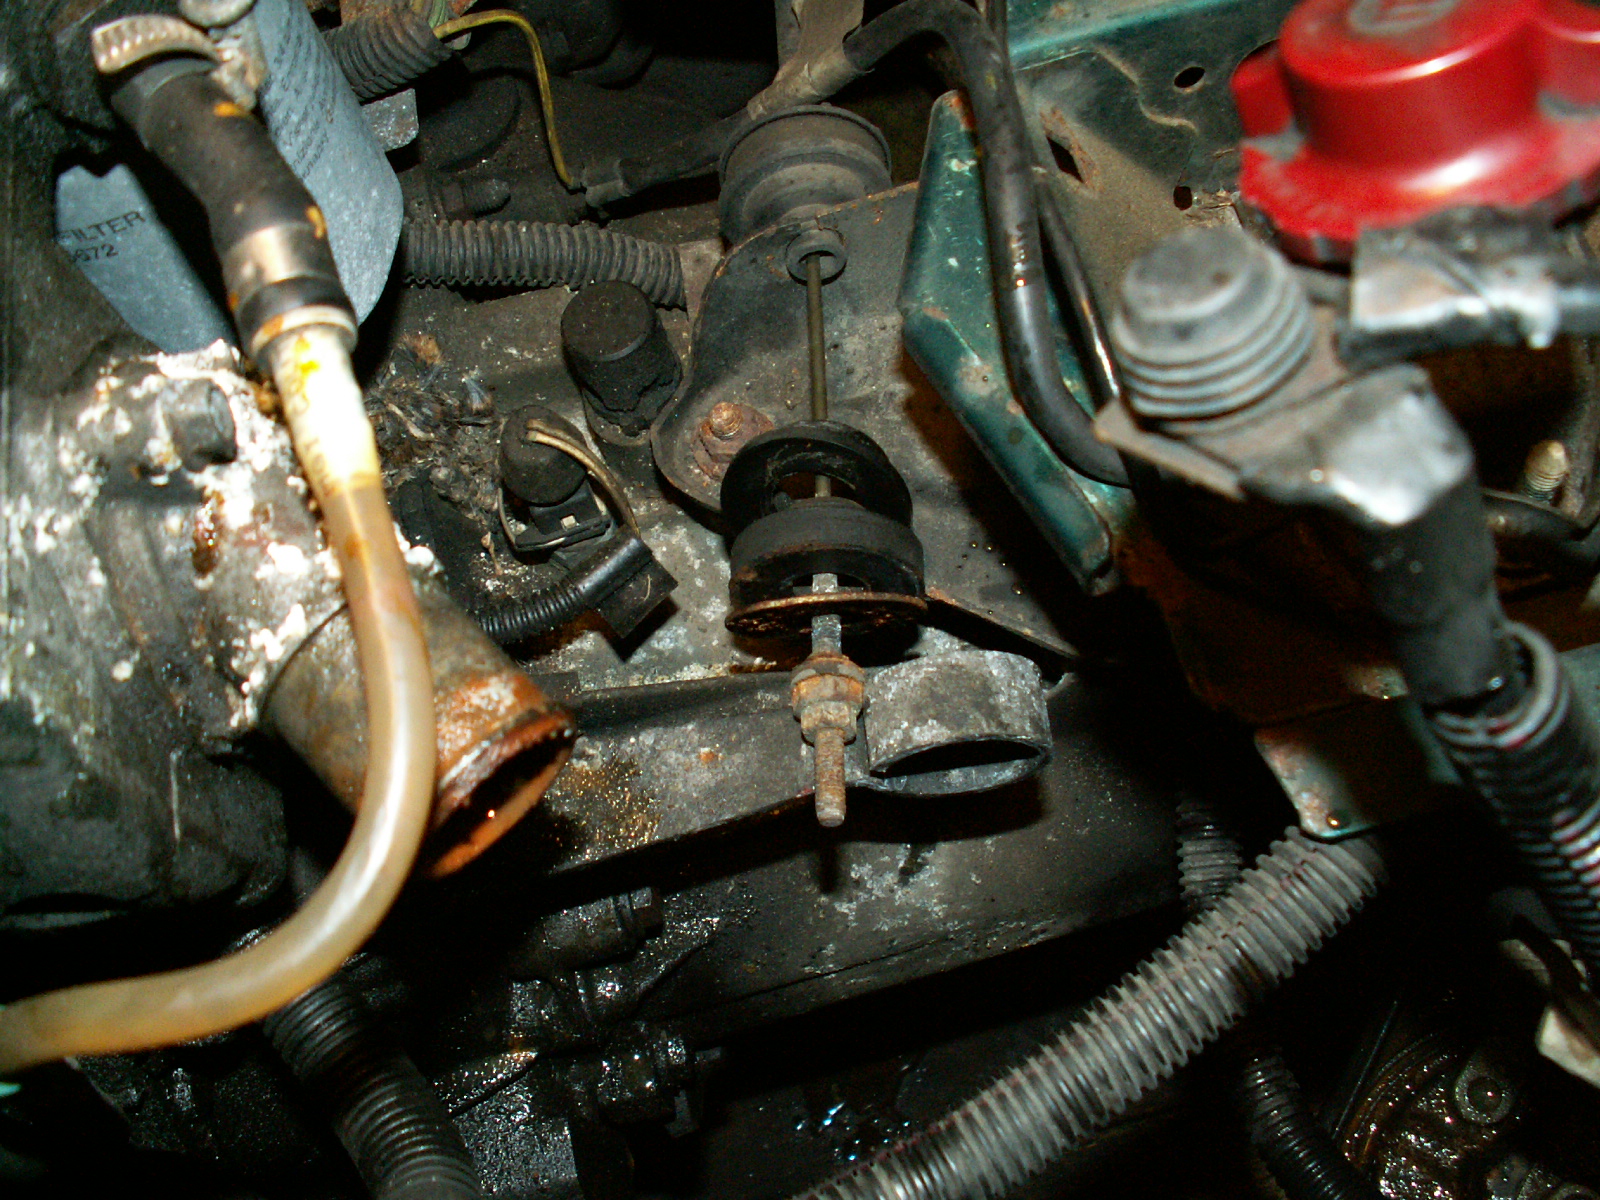
21. Loosen the bolt on the lower mount. Do not fully remove at this stage, wait until the engine is tied to the hoist. Next remove the rubber “pin” securing the speedo cable to the gear box. This pulls out and the cable can the be lifted up.
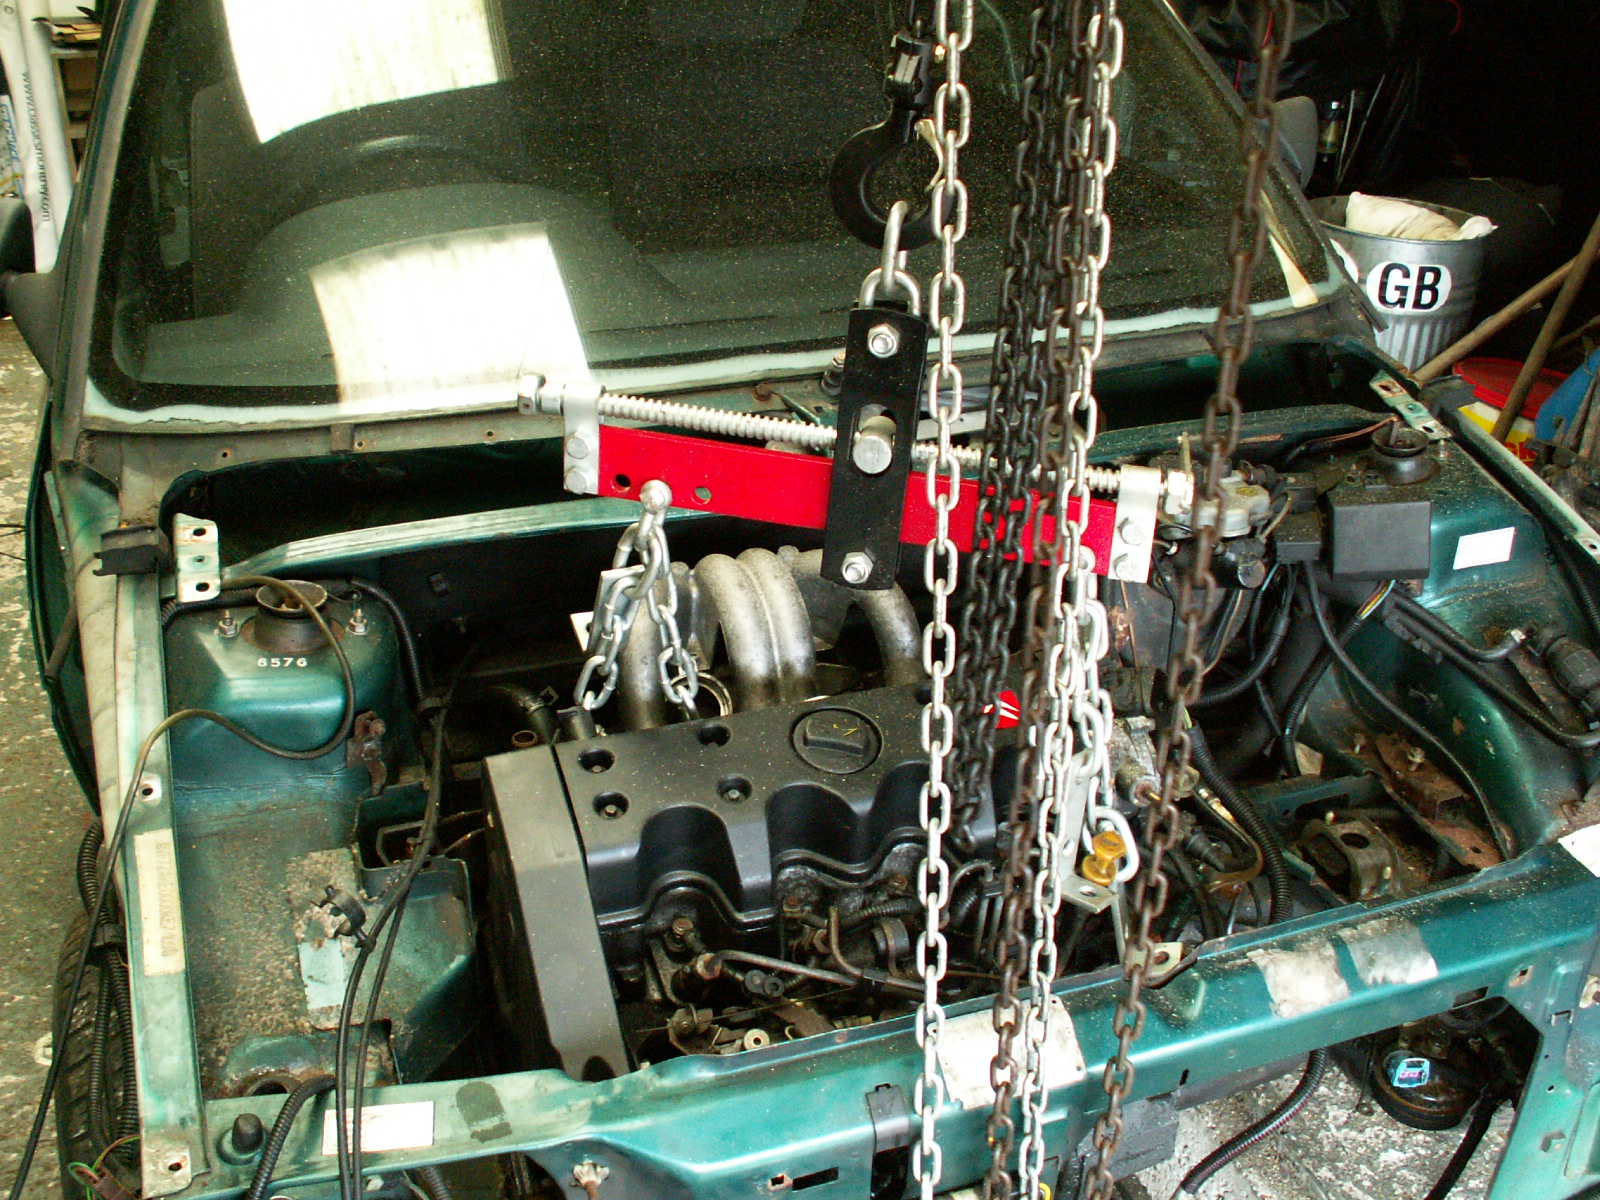
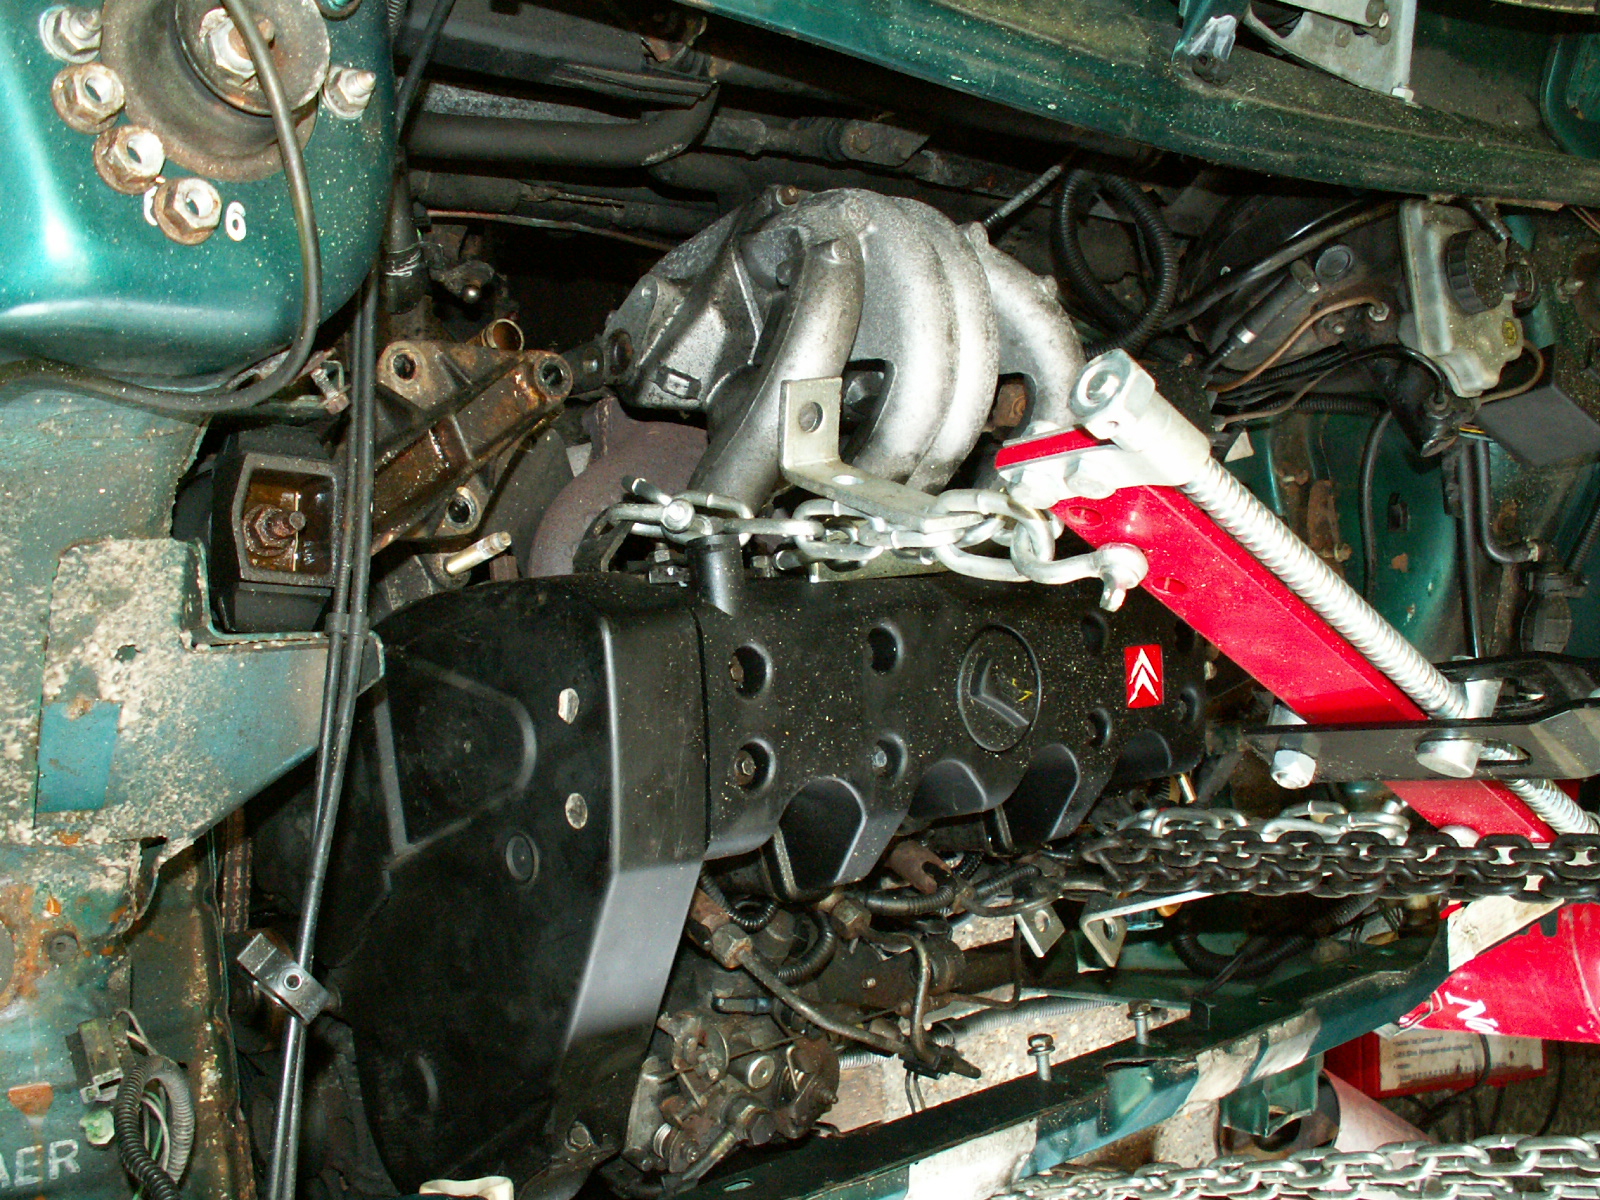
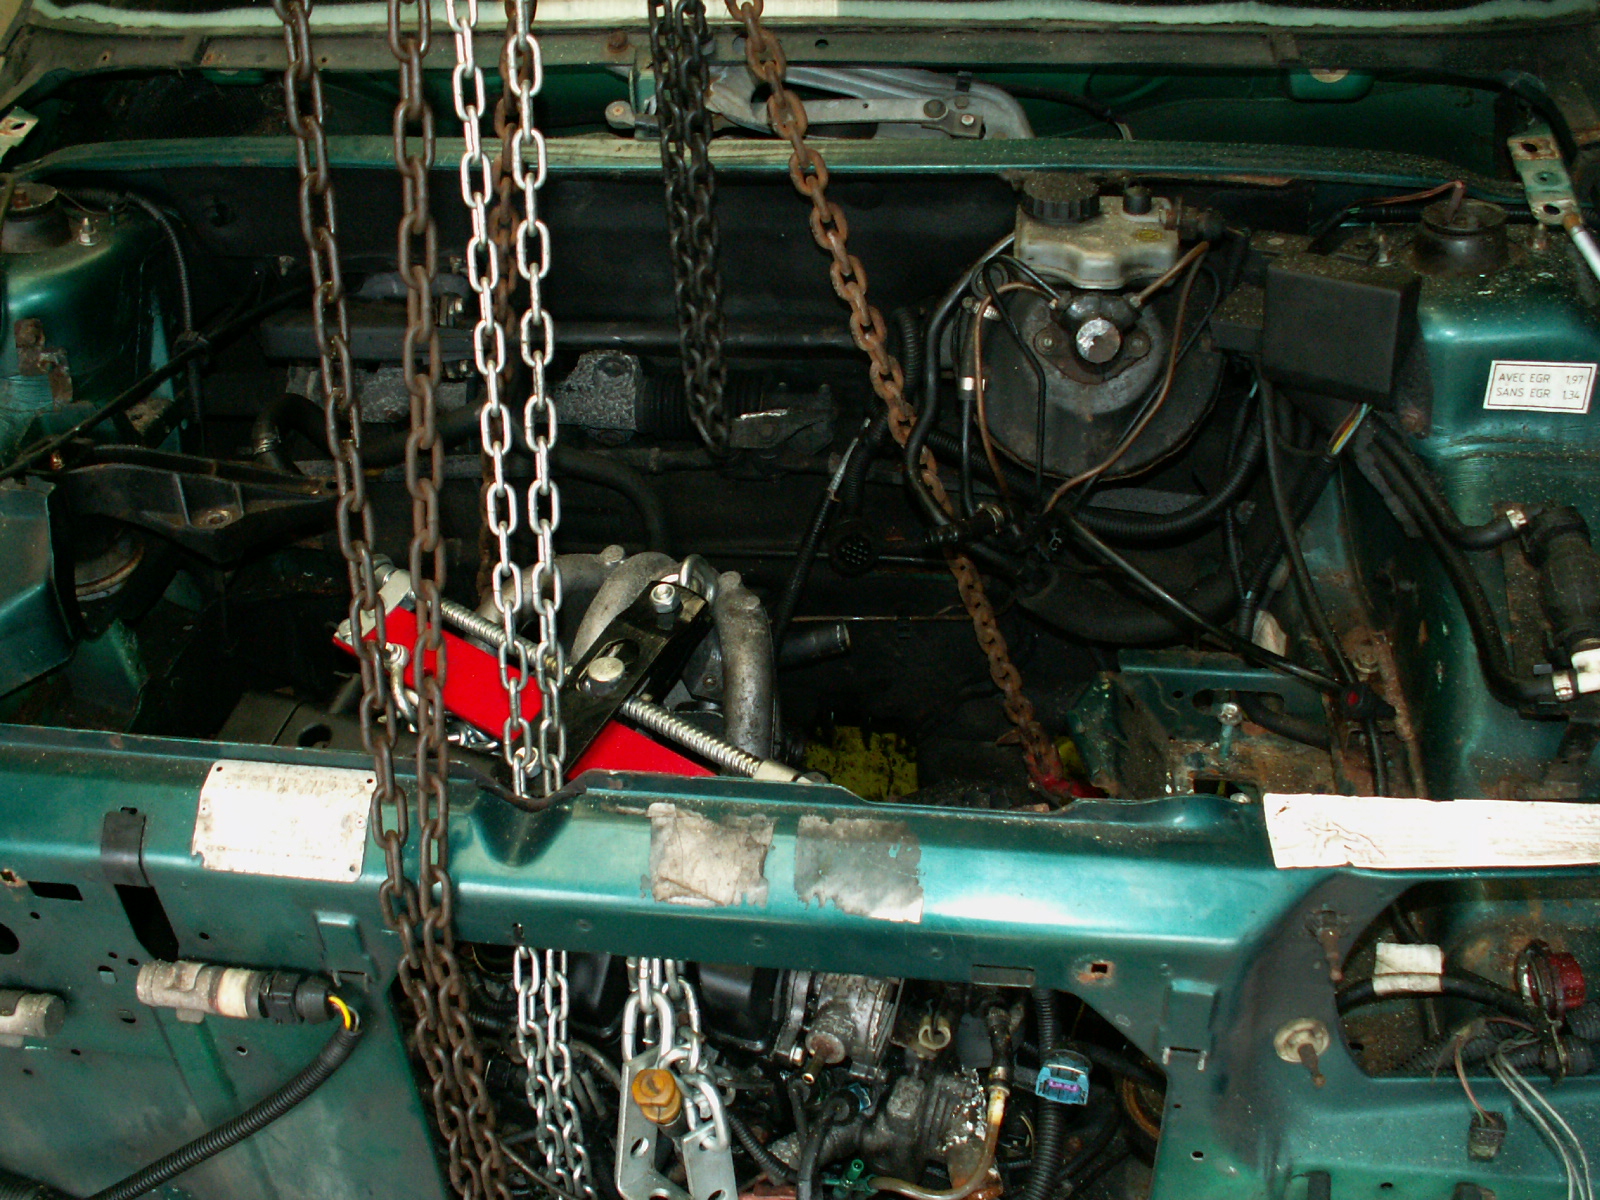
22. Back up top attach you hoist to the two lifting eys at either end of the cylinder head.
23. Once the hoist has the main weight of the engine remove the two bolts securing the lower middle mount to the gearbox, and also completely remove the other bolt and remove the mount. Take care as the engine may swing backwards a little.

24. The underneath of the engine is now free!
25. Onto the gearbox mount. Undo the two smaller 13mm nuts first.
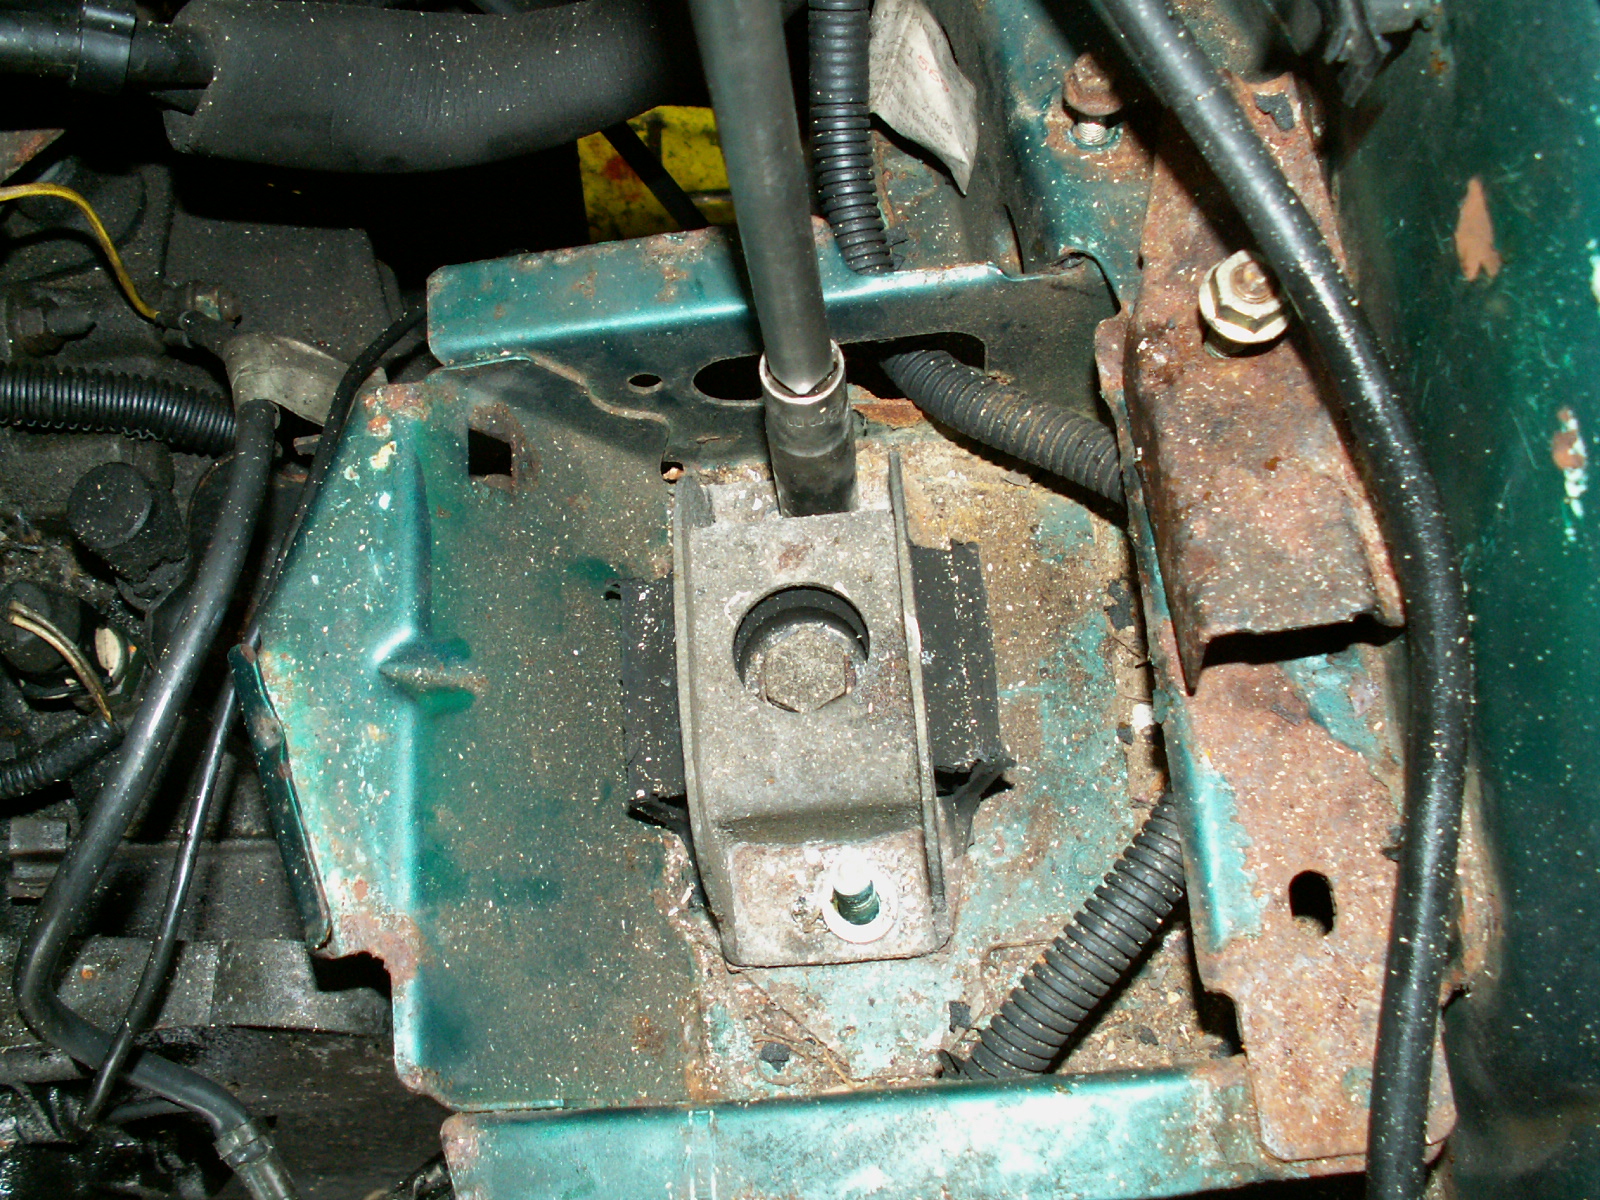
26. Then the larger central bolt.
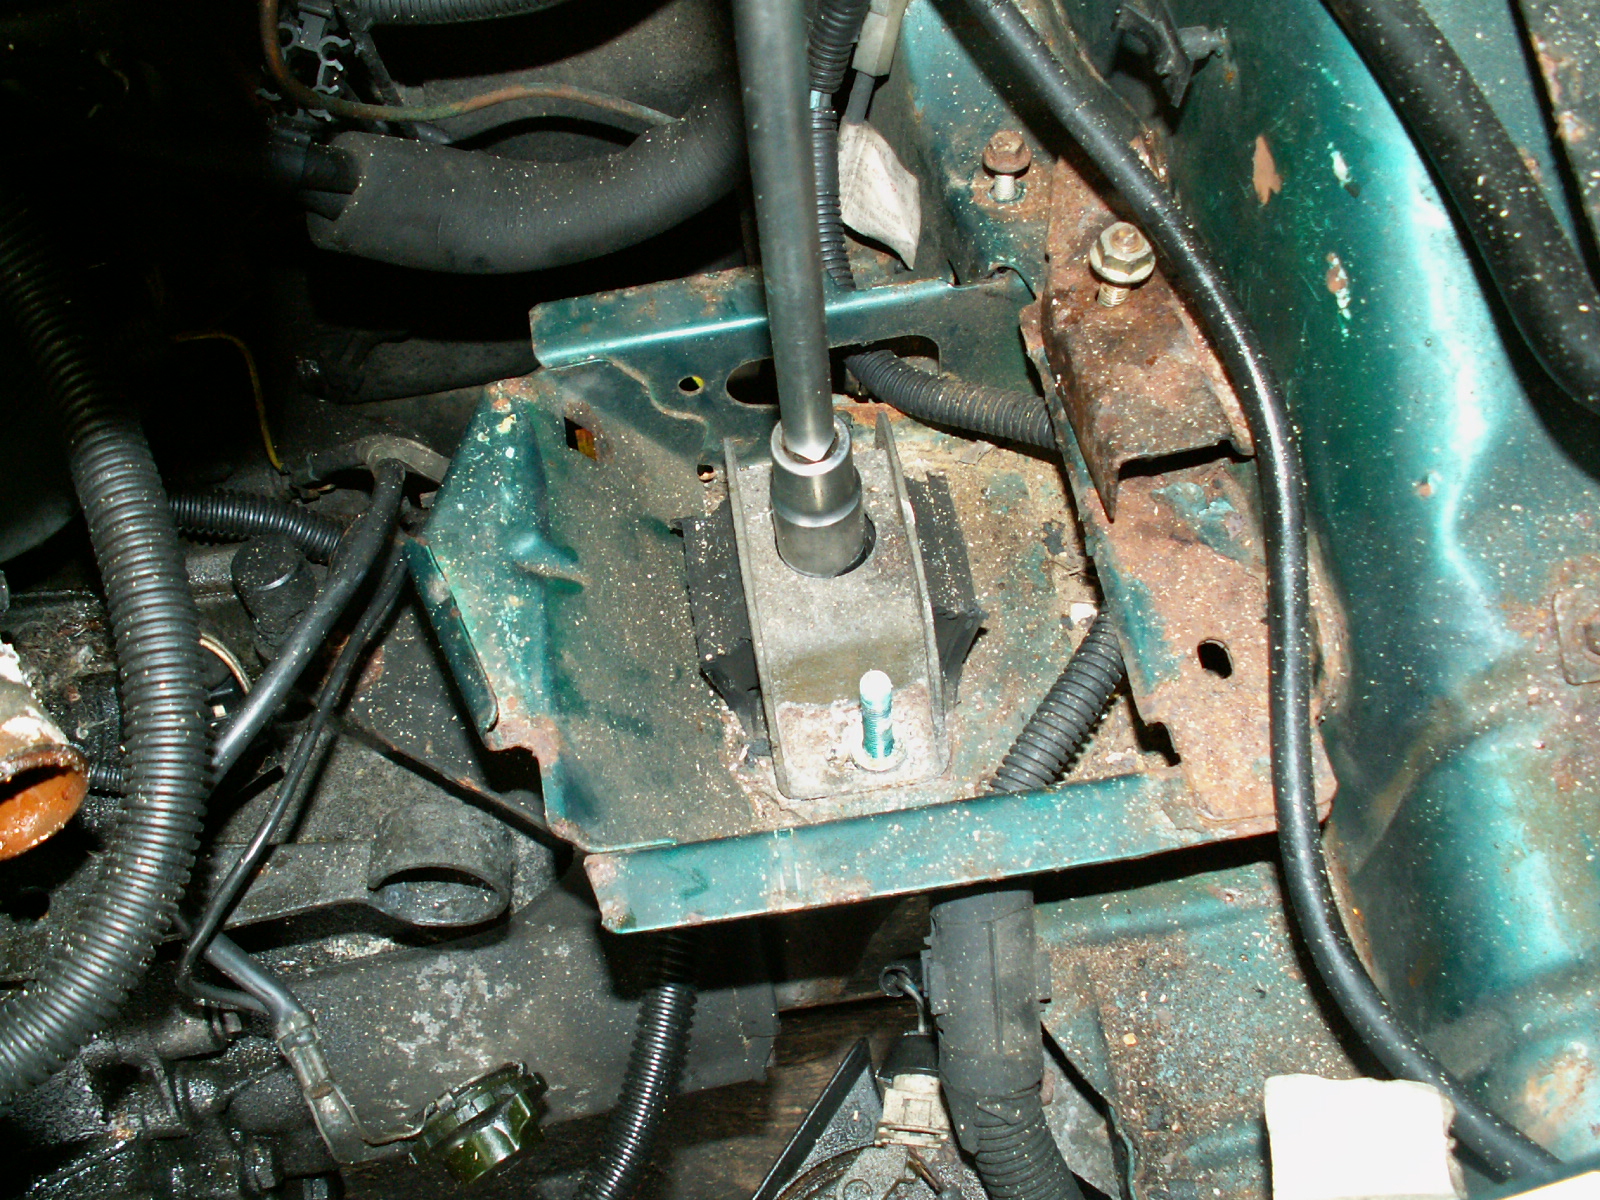
27. Remove the mount. Again take care as the whole assembly may move as the mount is released. Adjust the hoist if necessary.

28. Last remove the three nuts holding the drivers side mount.

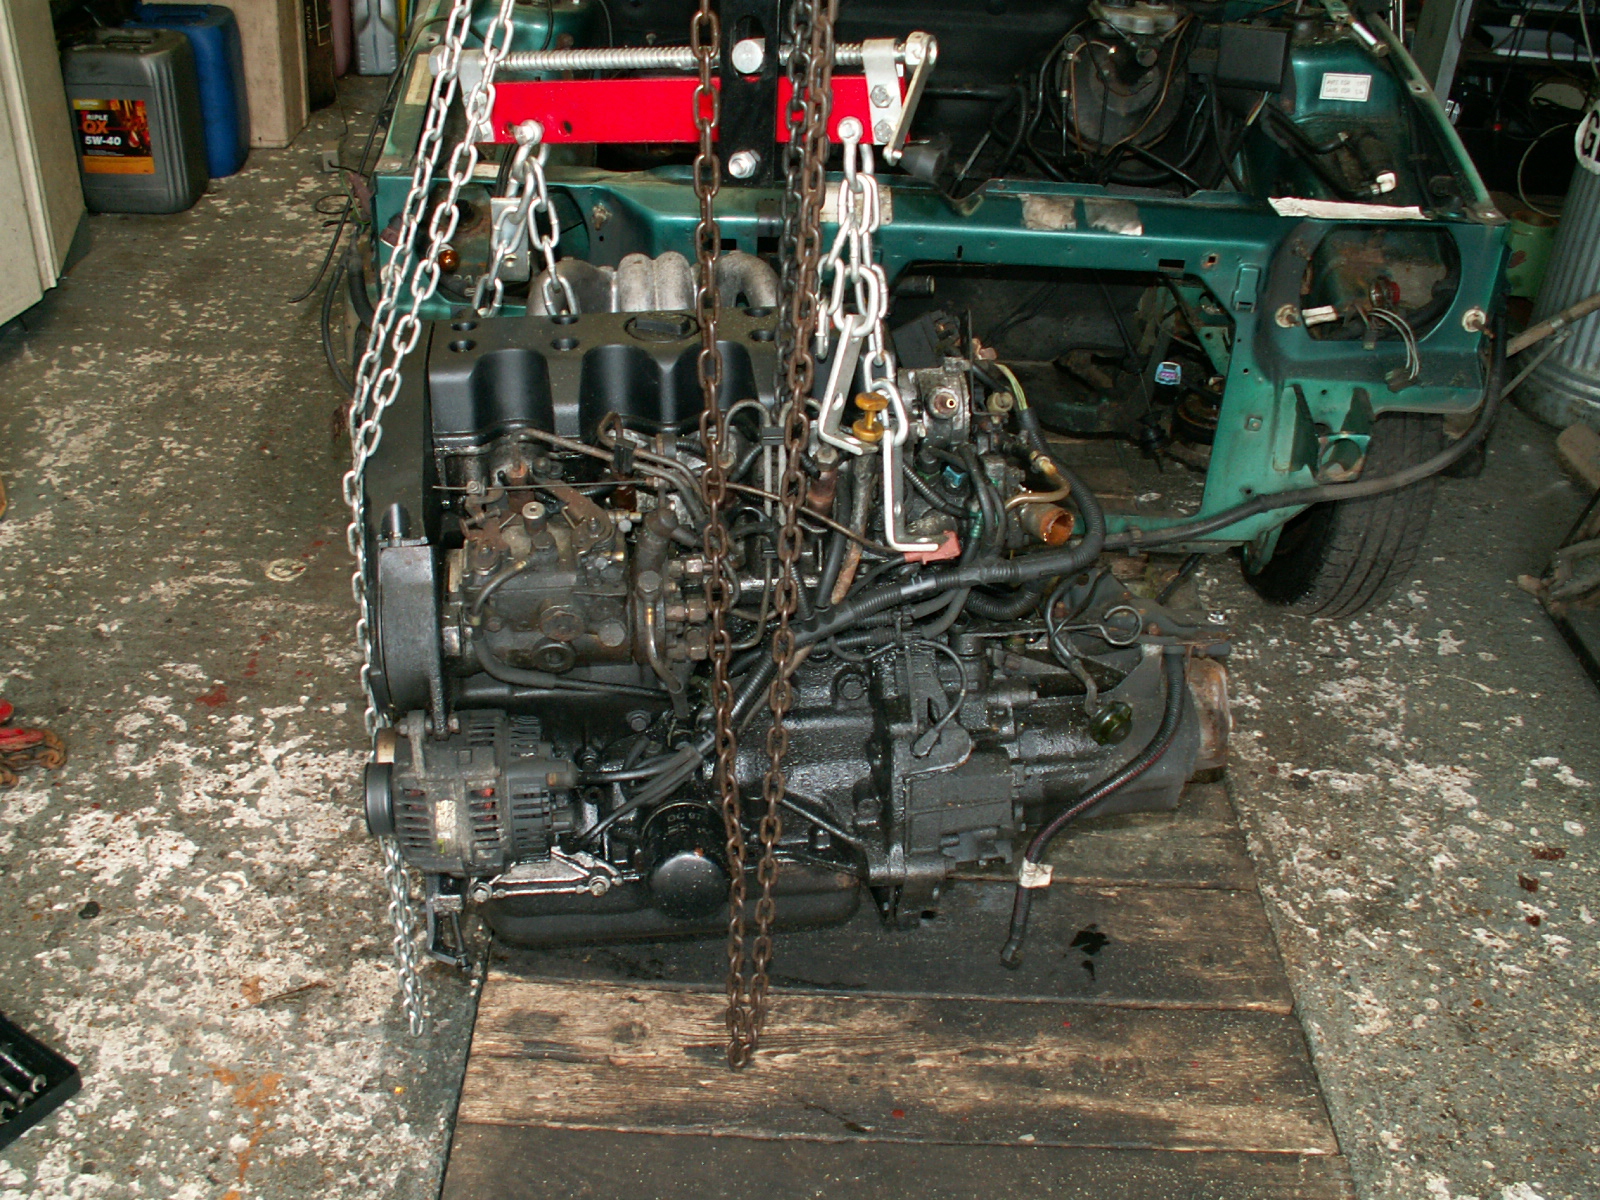
29. Once removed the engine is free.

30. Now the engine is free lower it to the ground, its will only go down! Its too wide to lift up!

31. I use a levelling bar to “balance” the weight and keep the engine level on the hoist.
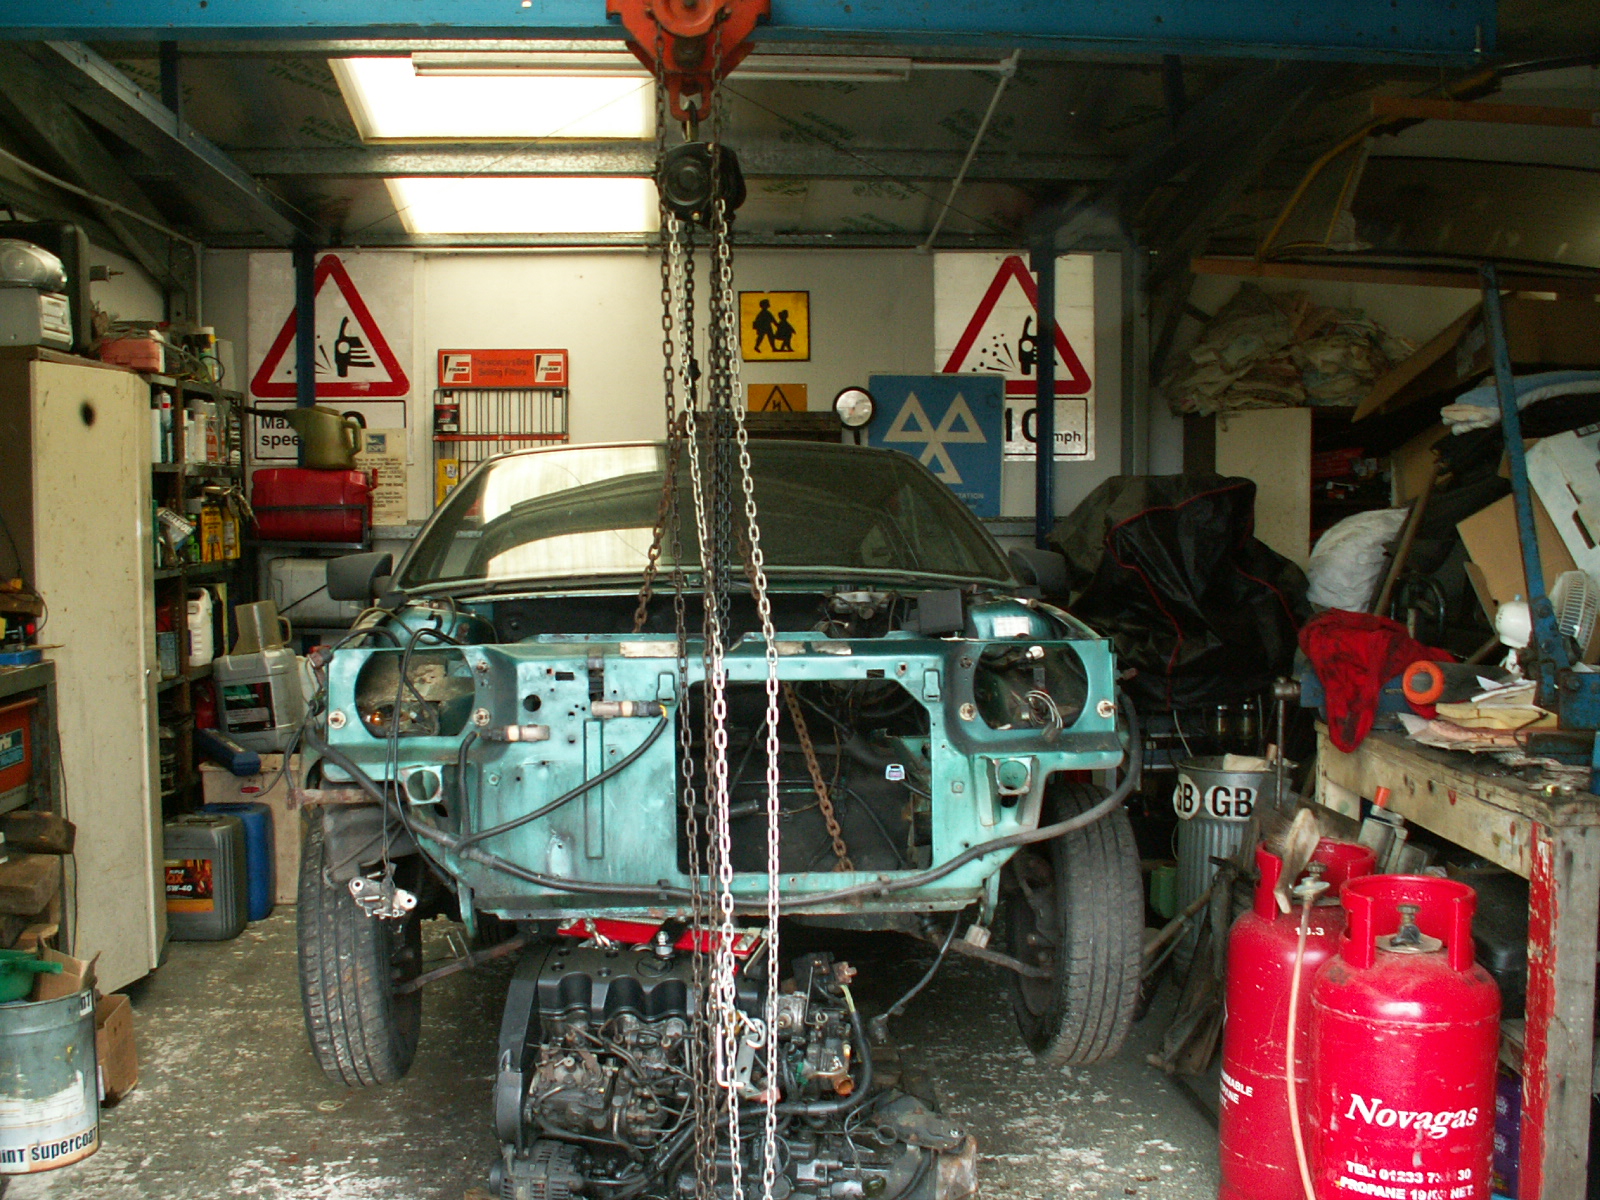
32. Use some wood blocks to steady the engine when it is on the floor. You now have to use the hoist to lift the car over the engine!

33. Use a chain (or rope) around the inner wishbone mounts to lift the car.
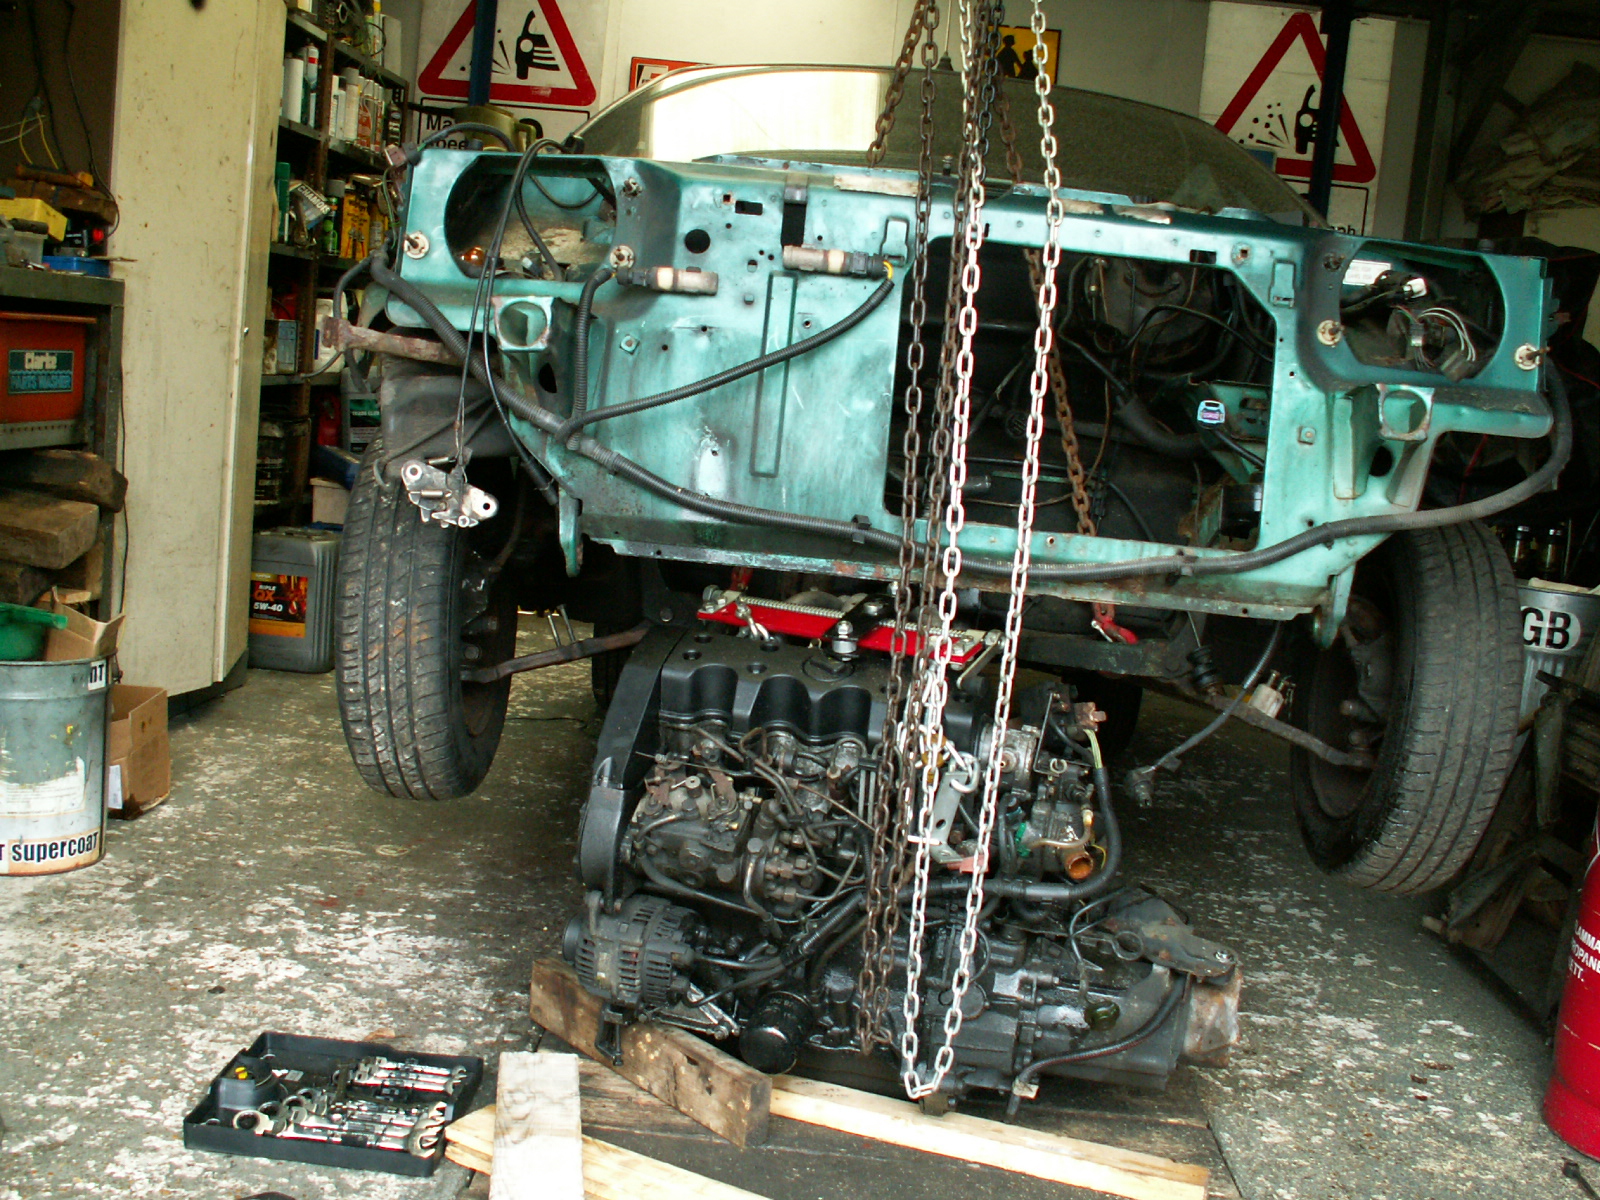
34. Keep lifting the car until it clears the top of the engine – needs lifting around 2 feet (600mm).
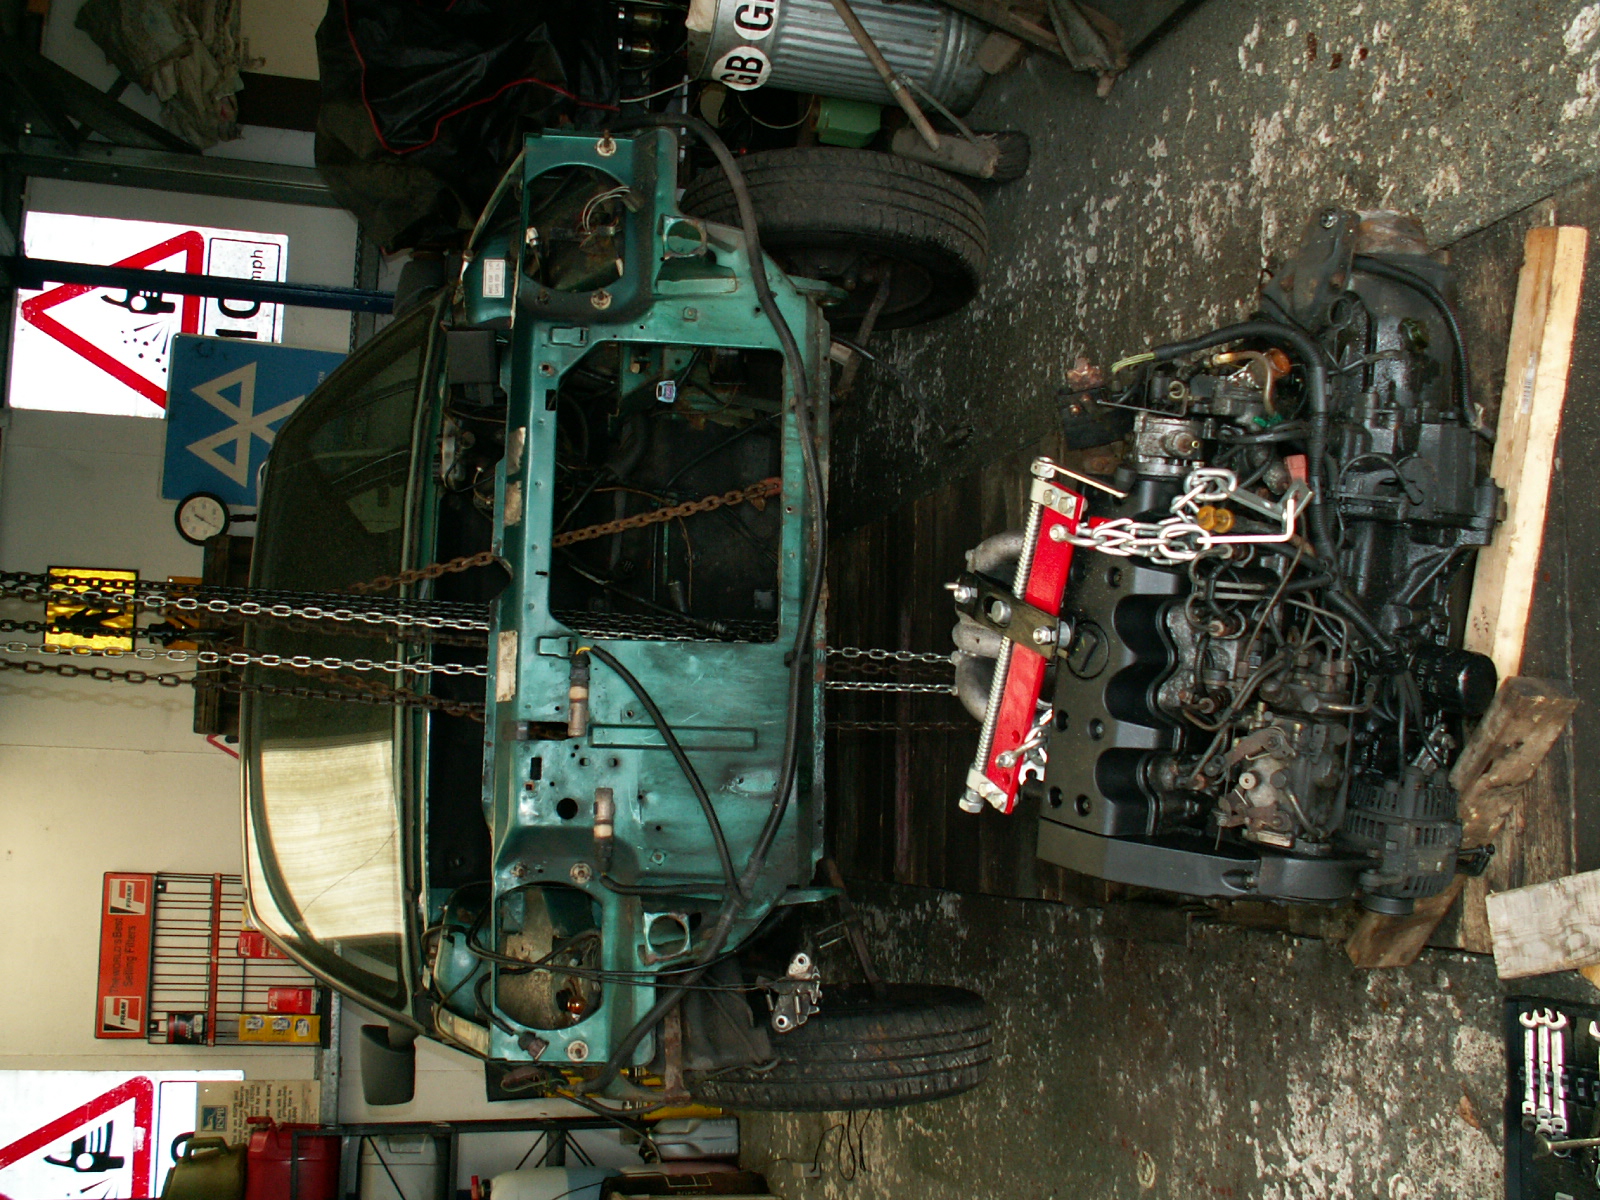
35. Once clear the car can be rolled back clear of the engine.
36. Car and engine are now divorced!
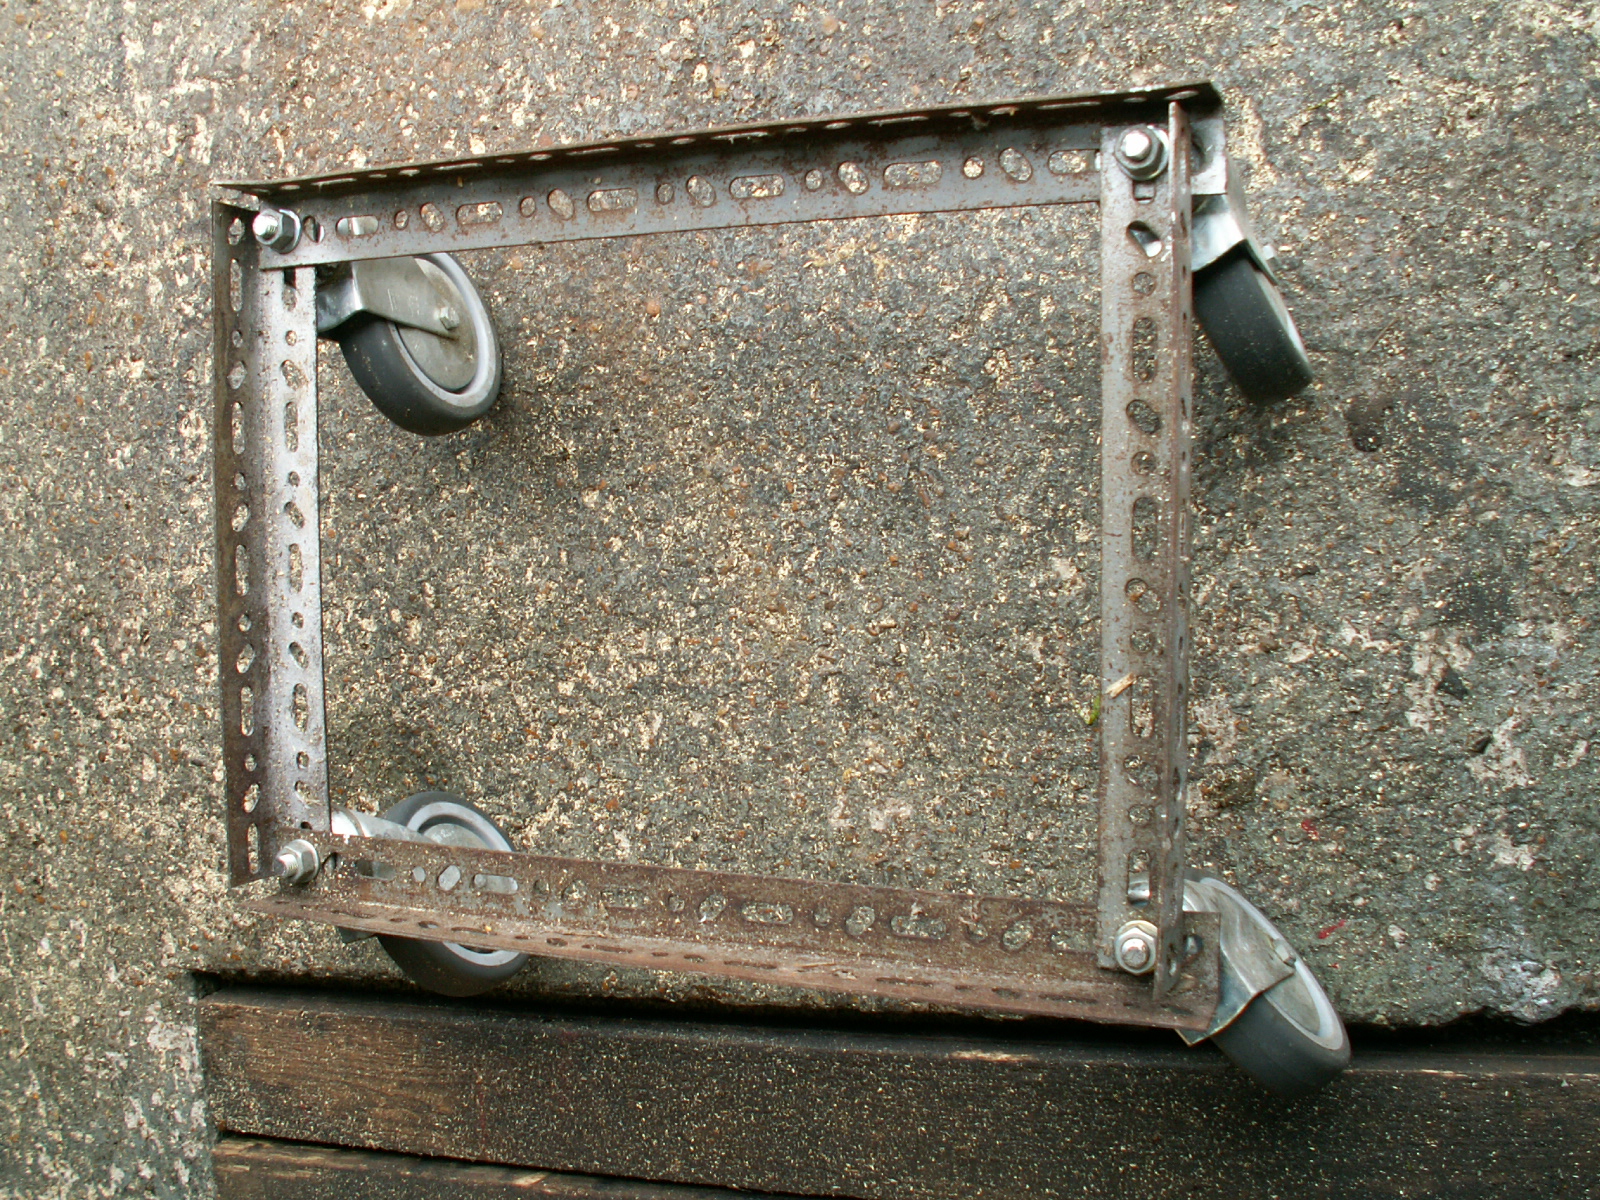
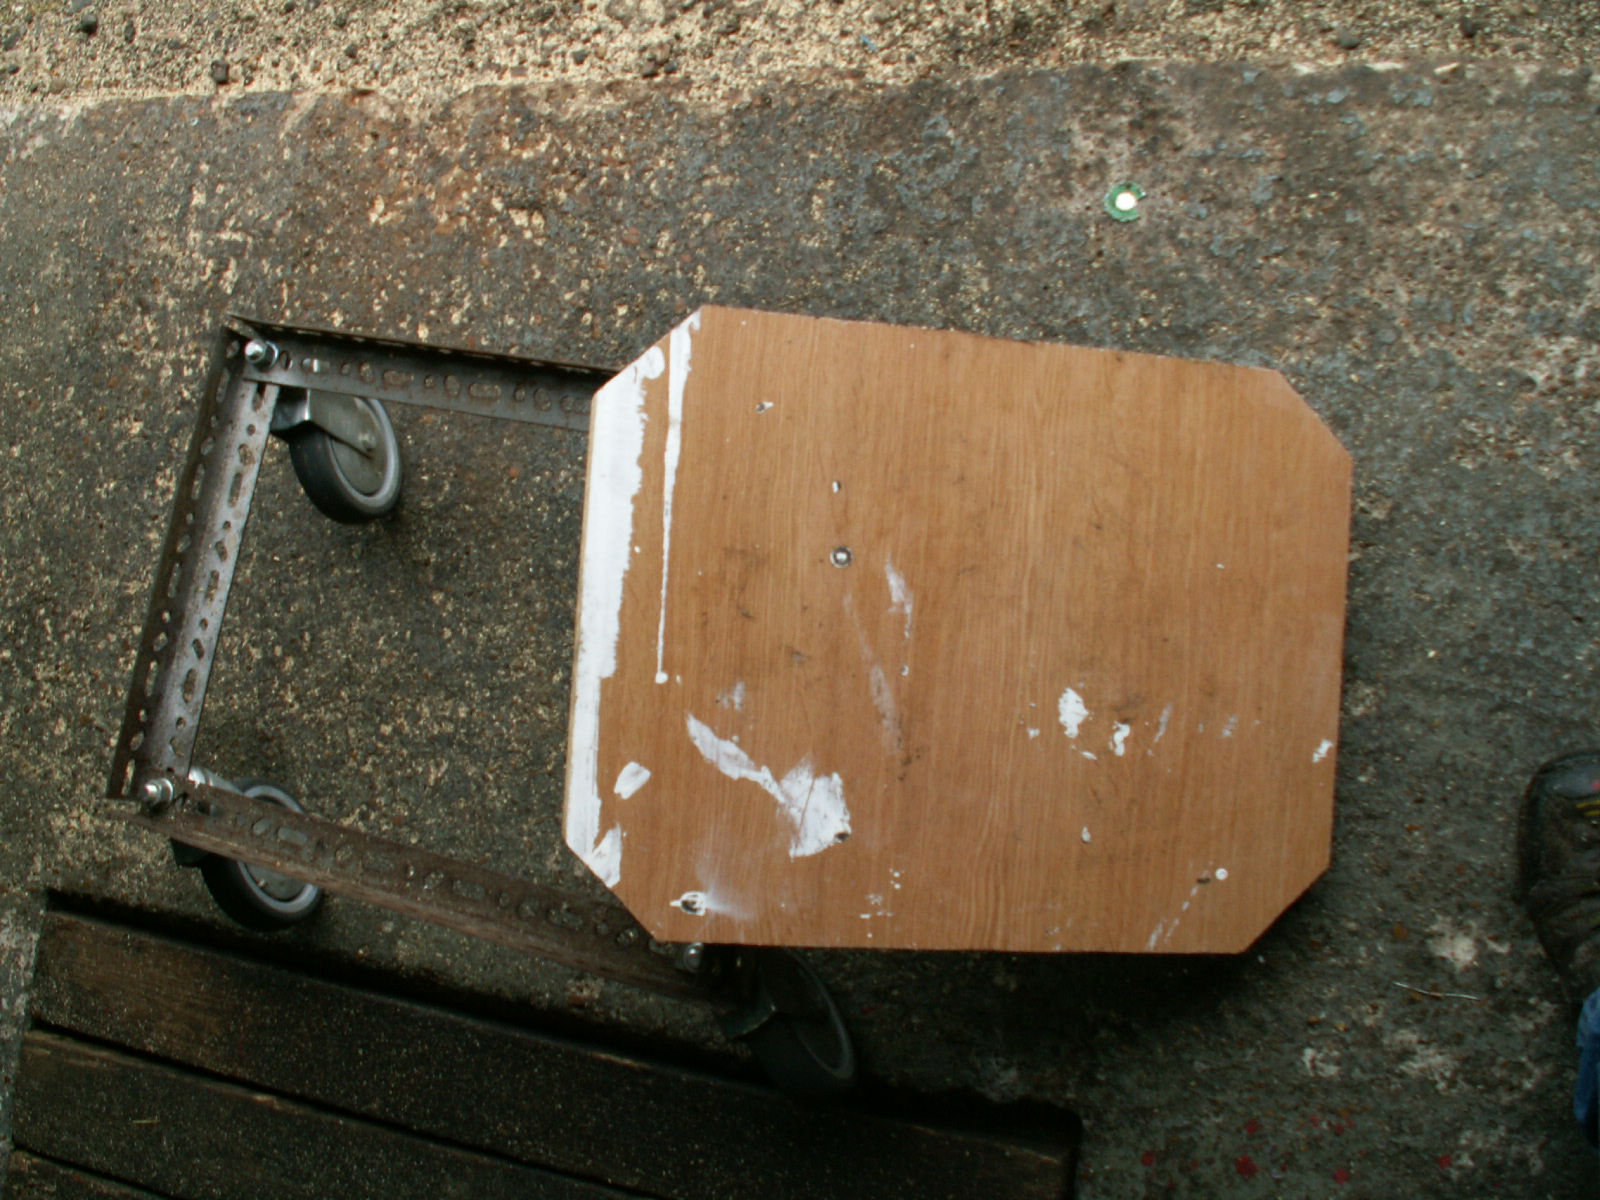
37. Now the engine and gearbox can be lifted onto a trolley to move them out of the way.
38. I made a trolley out of 4 castors, four bits of dexion angle and a bit of old worktop.

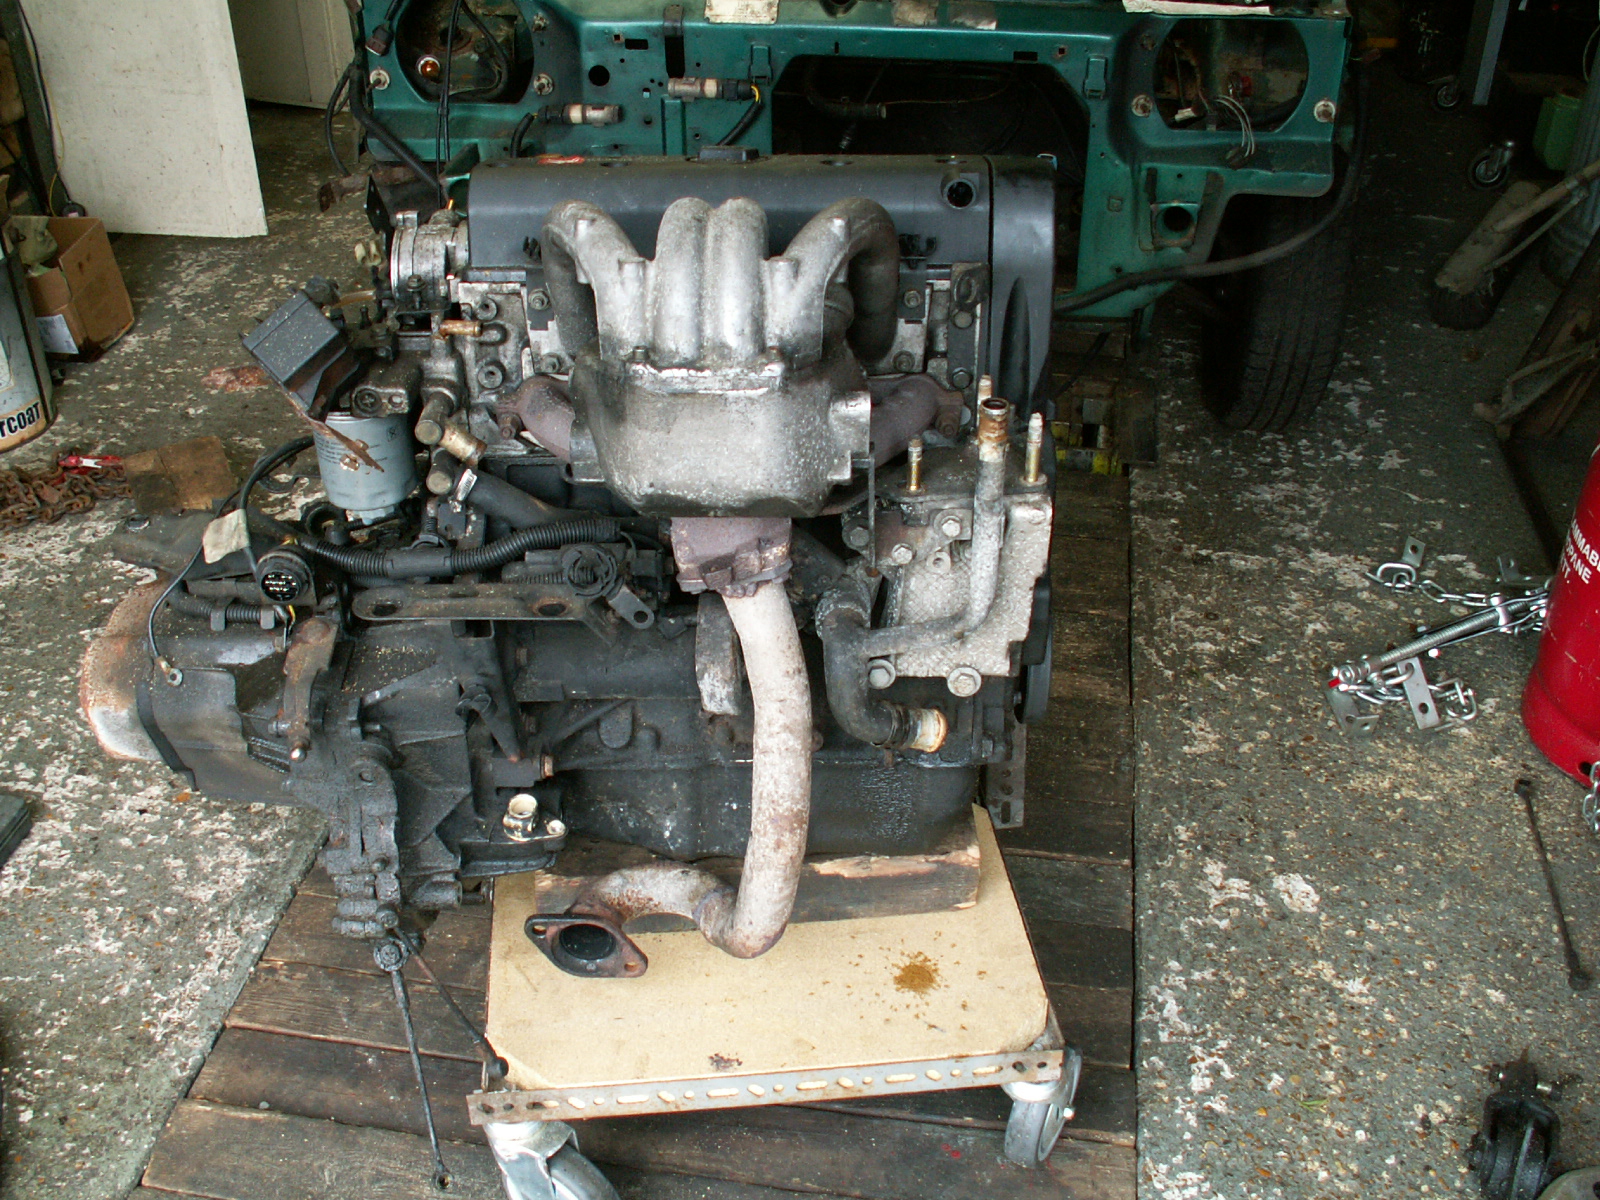
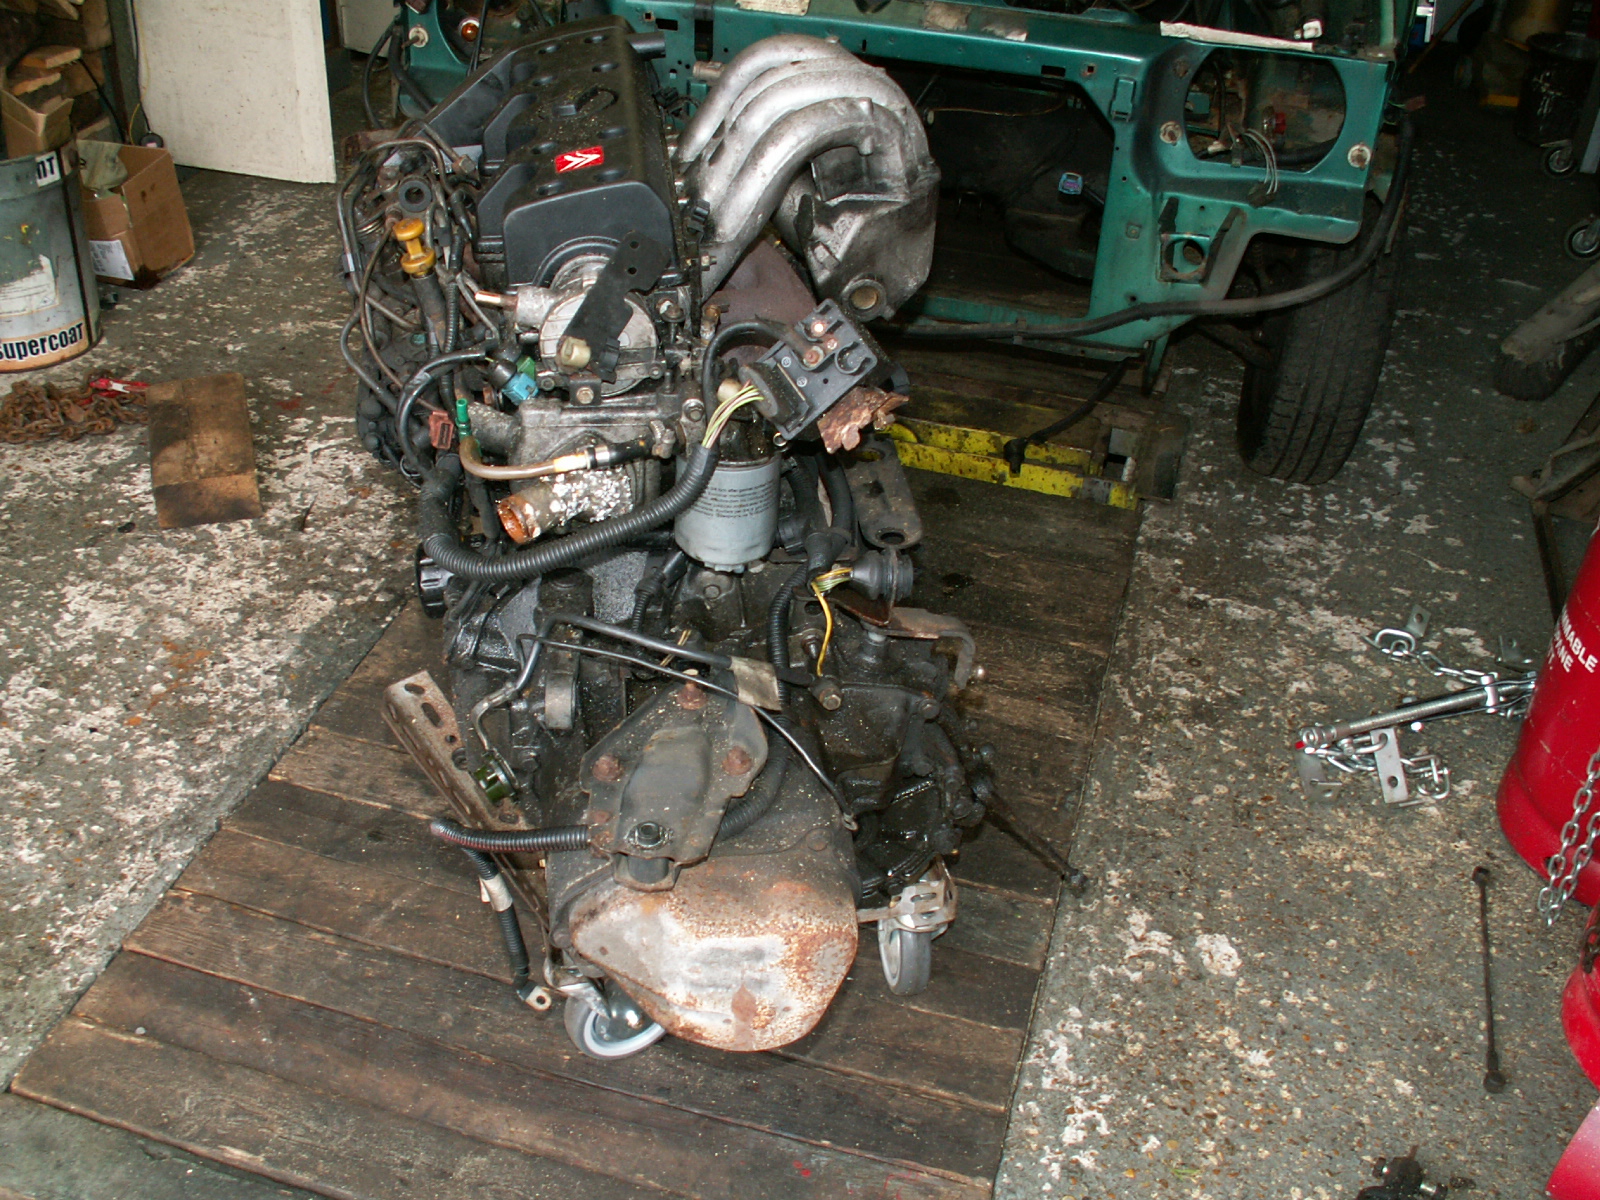
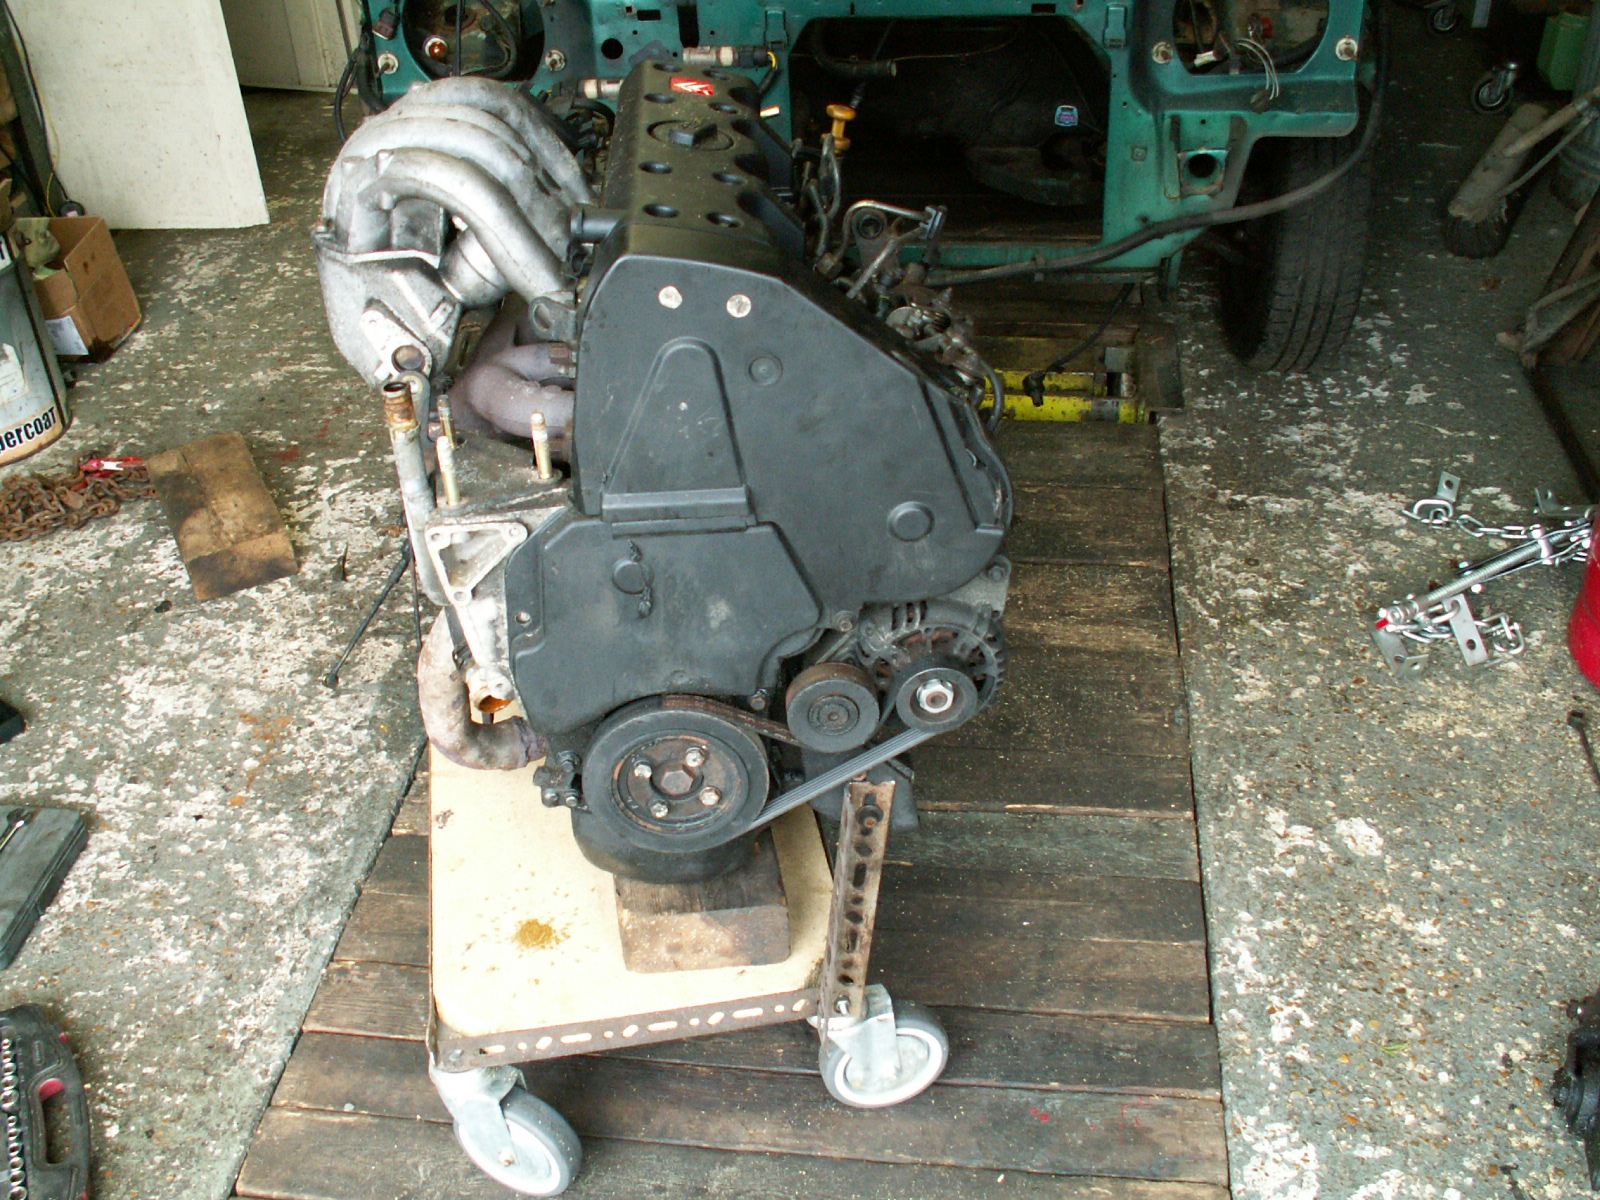
39. Once on the trolley the engine was secured by bolting a couple of bits of dexion angle between the trolley and the alternator mount and another to one of the gearbox bell housing bolts. Saves the problem of the engine tipping over and breaking your leg!

40. So here it is, engine and gearbox removed, doing a twirl on the custom trolley.
41. Next ……. strip the rest of the car to get to the rust!